 Today I have a special treat for you! Andy Knowlton of
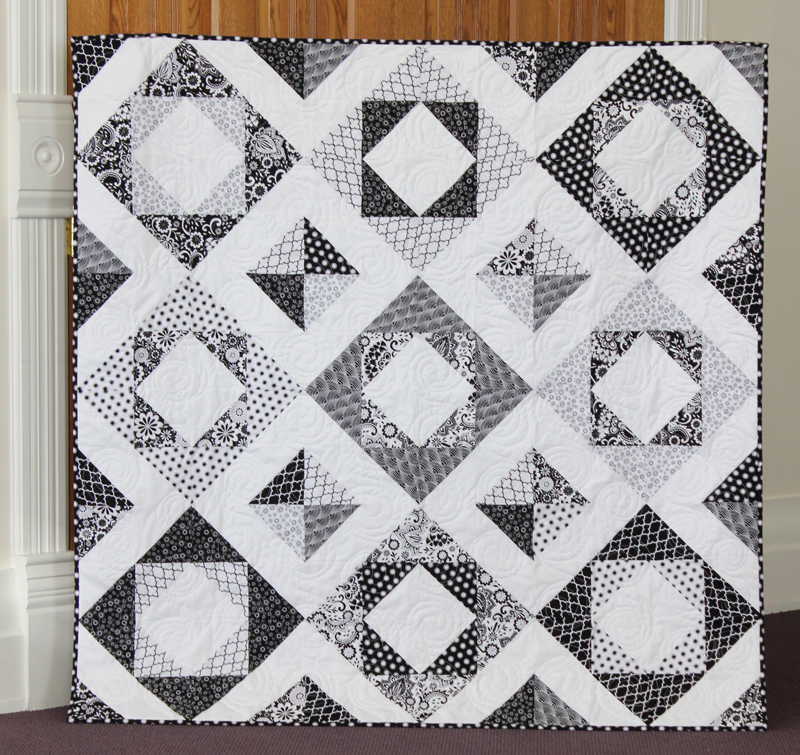
A Bright Corner created this beautiful quilt using my Evening Blooms fabric collection. To top it off, she has agreed to give you all a tutorial on how she made it. There is even a pdf download at the end (scroll to the bottom to download).
So without further ado, here is Andy:
___________________________________________________________________________________________
I love the timeless look of classic black and white and these fabrics don’t disappoint! This quilt is made entirely from half square triangles (HSTs) but don’t let that deter you! I have a fast and easy way to make a ton of HSTs in no time at all.
First I’ll show you how to make your HSTs then I’ll show you how to assemble one block. I’ll add a quilt layout diagram at the end and you’ll be on your way to finishing your own Evening Blooms quilt!
First of all, here’s what you’ll need:
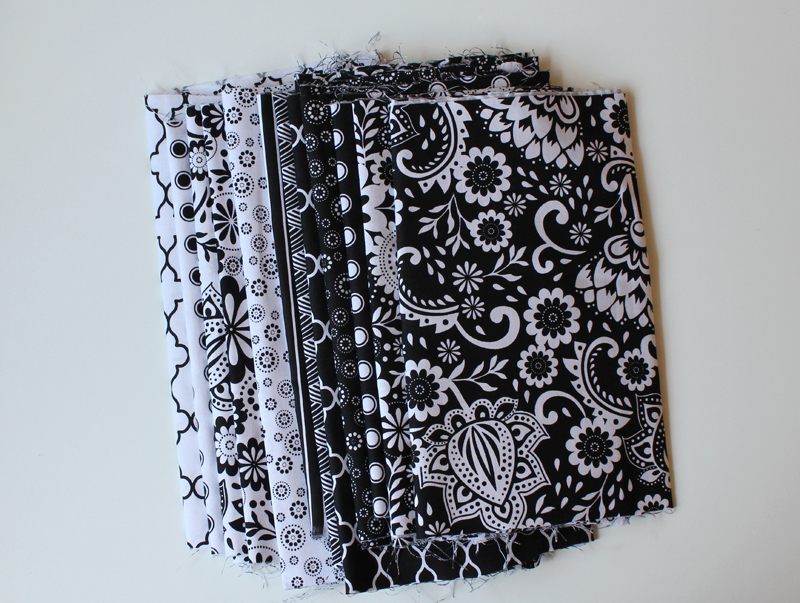
1/4 yard of 7 various dark prints
1/4 yard of 5 various light prints
2 yards of white/background fabric
1/2 yard binding
3-1/2 yards backing fabric
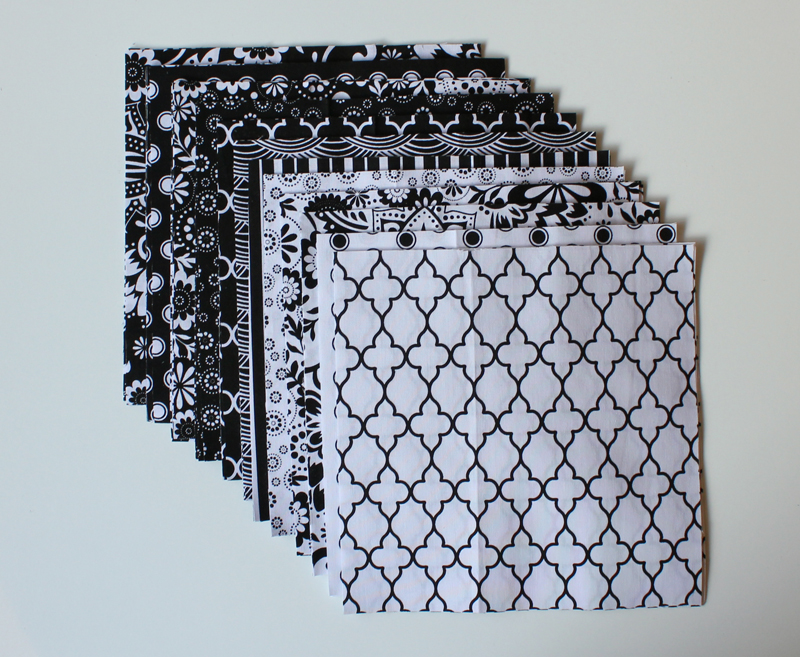
From each of the prints (7 dark and 5 light) cut 3 squares that measure 8″. You’ll need 36 total.
From the white/background fabric cut 8 strips that are 8″ x width of fabric.
Subcut those strips into 36 @ 8″ squares
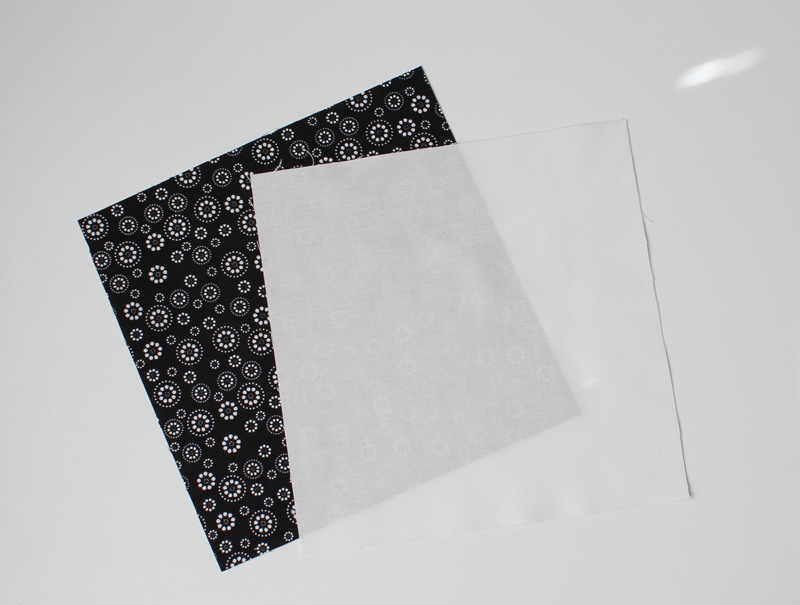
To create your half square triangles, pair up each print square with one white square. Match edges, keeping right sides together.
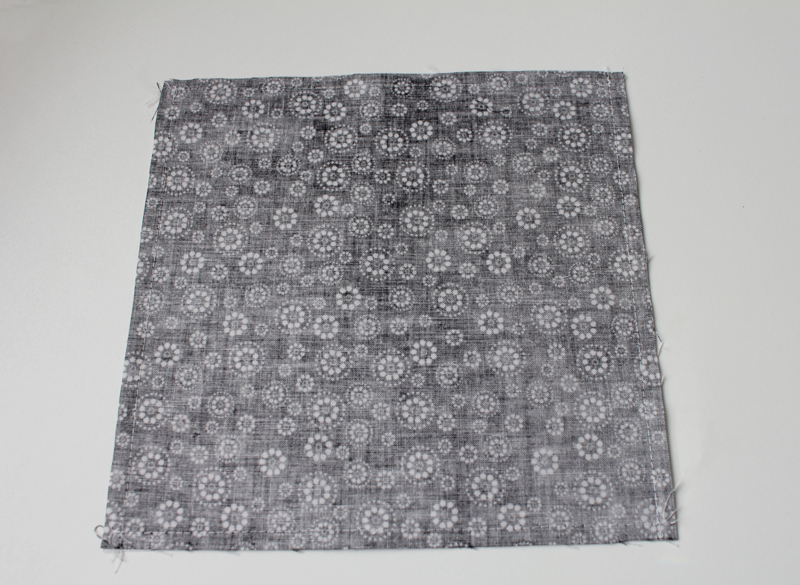
Sew around all four outer edges using a consistent 1/4″ seam.
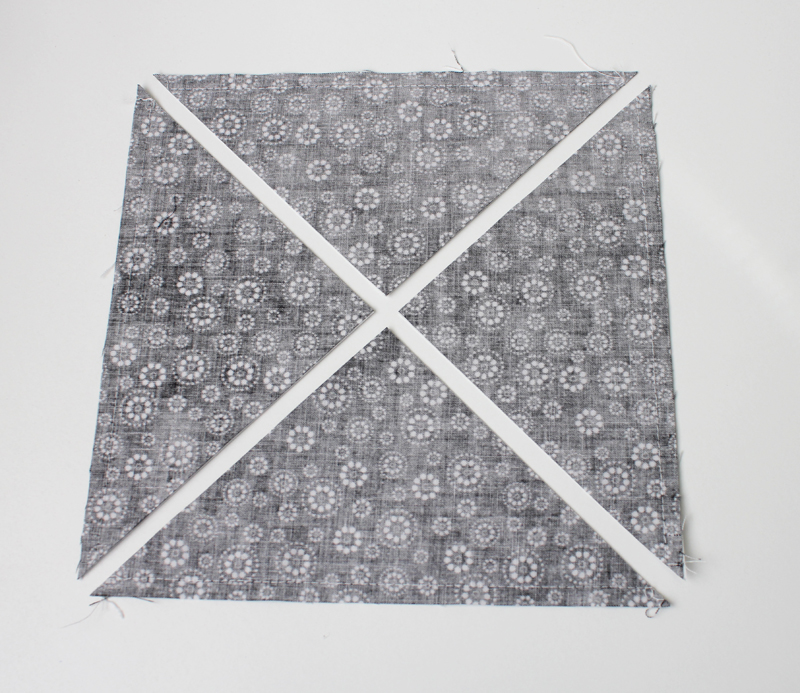
Using your rotary cutter, cut diagonally through each block twice as shown in the photo.
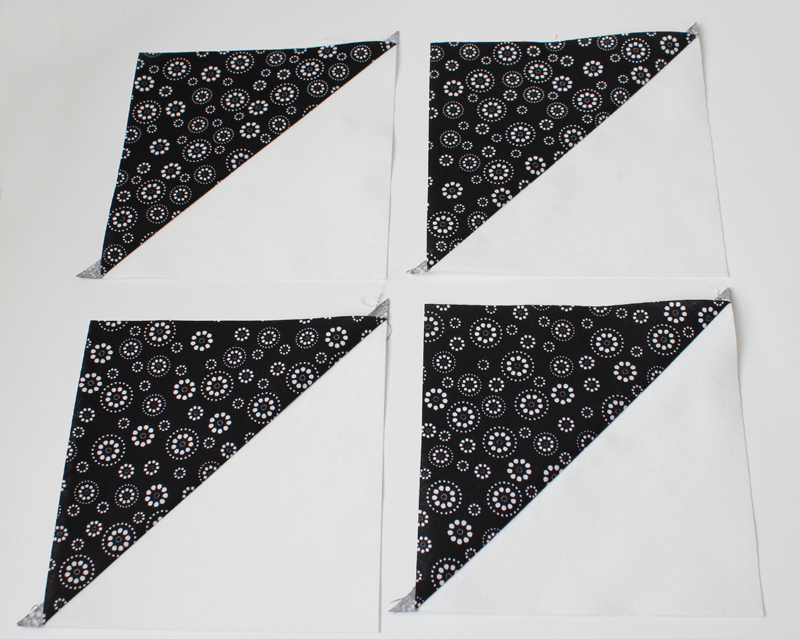
Being careful not to stretch it, press each HST. I prefer to press the seam allowance toward the print. Trim the little tails off of each HST.
If you are consistent with your seam allowances and careful to not stretch the HSTs you should not need to square them up. If you find your HSTs to be varying in size, then square them each up to the same size (either 5.25″ or 5″ each).
Create all of your HSTs and then move on to the block layout.

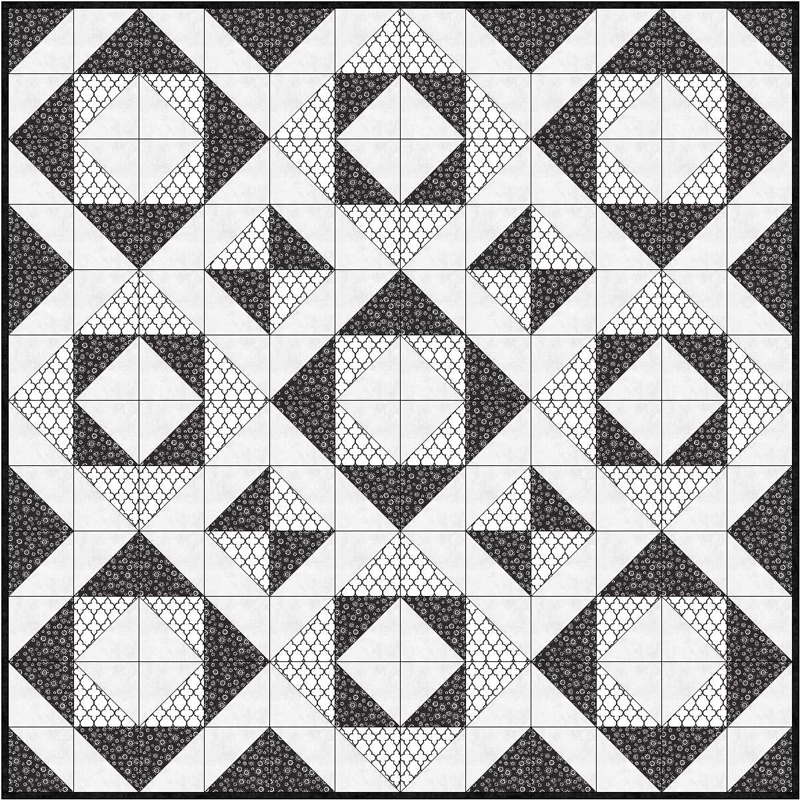
Layout all of the HSTs you need for one block. Notice in the quilt layout diagram that not all blocks are the same. The dark and light prints are alternated for the main part of each block and the corner HSTs are different depending on where in the quilt the block will be located.
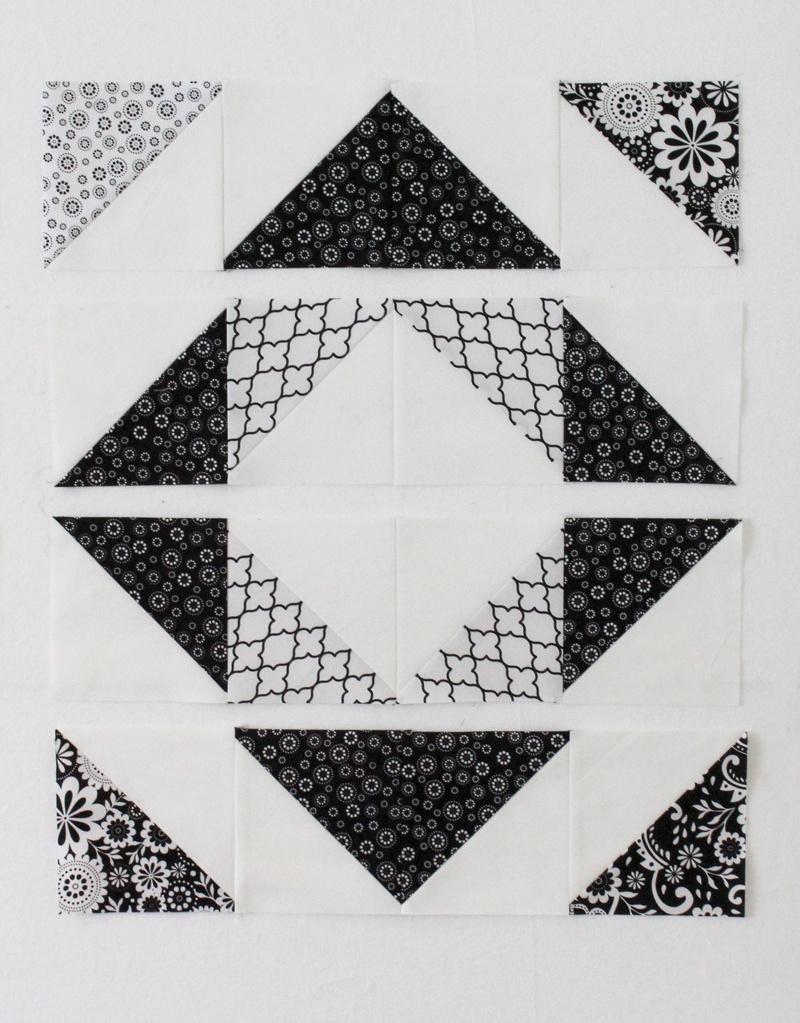
Sew together into rows using a 1/4″ seam.
Sew rows together, matching seams.
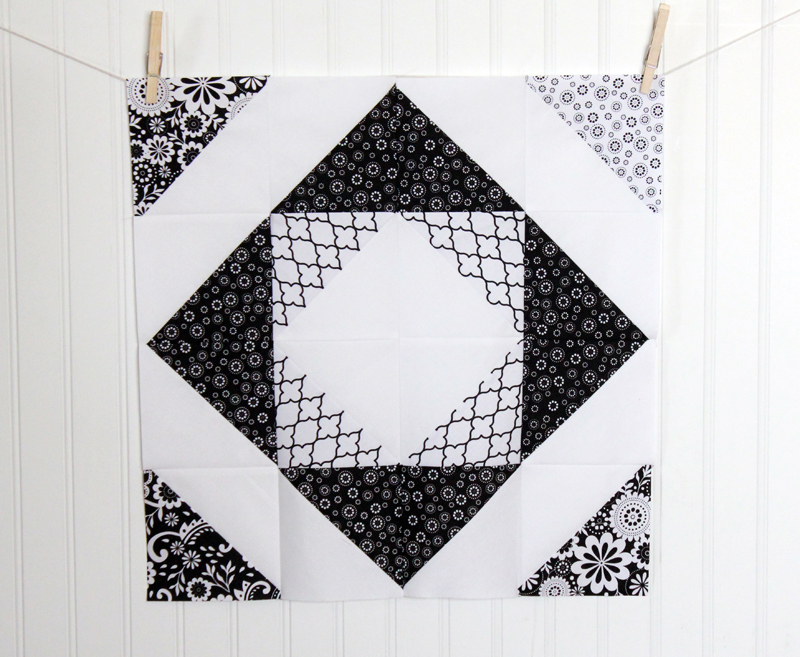
Your block is done!
Now use the layout diagram to make the next 8 blocks.
In the layout diagram I used just two prints – one dark and one light so you can clearly see the placement of each HST.
You can find a printable version of this tutorial here Evening Blooms Quilt Tutorial
Thanks for a great tutorial. What is the size of each unfinished block? What is the finished size of this quilt? If I use a “Layer Cake” (10 inch squares), I figured that I’ll need 2-1/2 yards of background fabric. I’ll figure for the binding and backing when the top is finished. Do I need to increase any other measurements? Thanks for your help.
I just found you and your blog. Thank you for the tutorial, it is a beautiful block. I love black and white quilts.