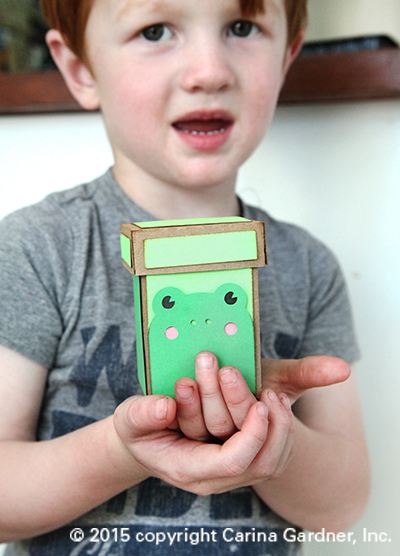
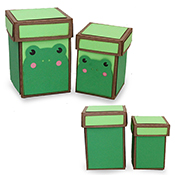
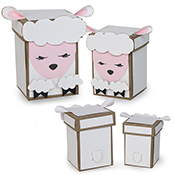
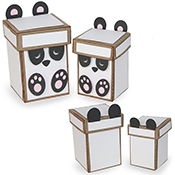
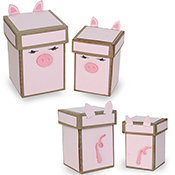
 I know it’s been a lot of Silhouette posts on the blog lately so I promise to have some fabric and scrapbooking posts soon! This week’s releases for Silhouette are these darling little animal nesting boxes and layered gift card tags. Below is the tutorial for putting together these boxes. I create a lot of nesting boxes for my Silhouette Shop and generally they are all put together like the tutorial below.
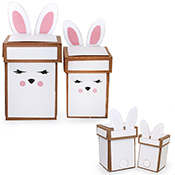
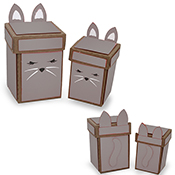
Each svg files set comes with two boxes that nest together (the smaller one fits into the bigger one).
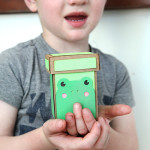
These make darling gifts, easter items, or fun spring decor (filled with candy!) for your home. When I finished making mine, my kids spent quite a bit of time just playing with them and stacking them.
To make these boxes, all you need is kraft paper, solid scrapbooking paper, pop dots (optional), glue (I use a hot glue gun and glue stick), and your cutting machine.
1. Cut out all your pieces on your machine.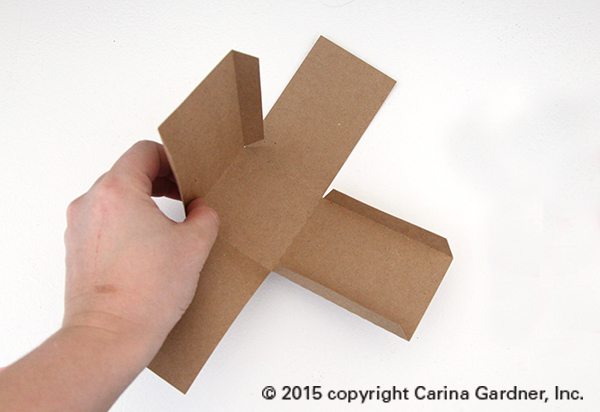
2. Fold all the score lines on the boxes and lids. Put glue on the glue flaps (I used a hot glue gun for this) to put together each box and lid.
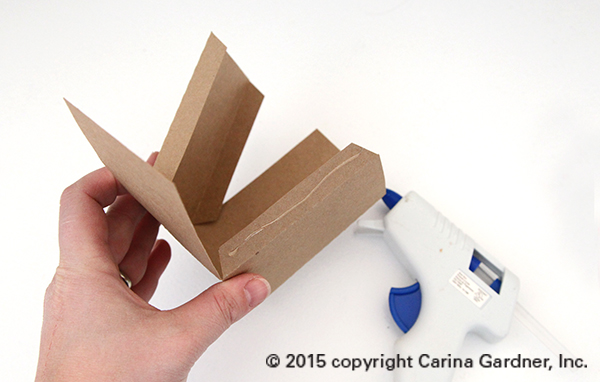
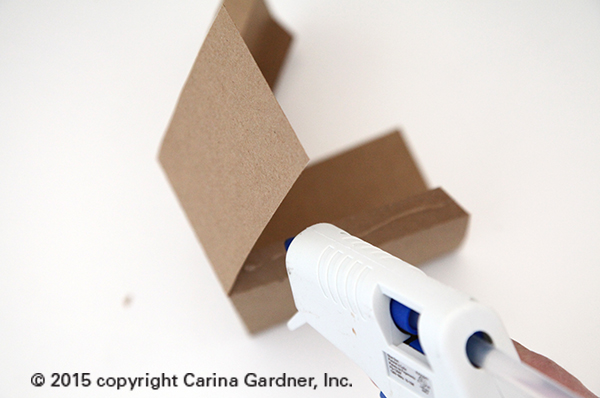
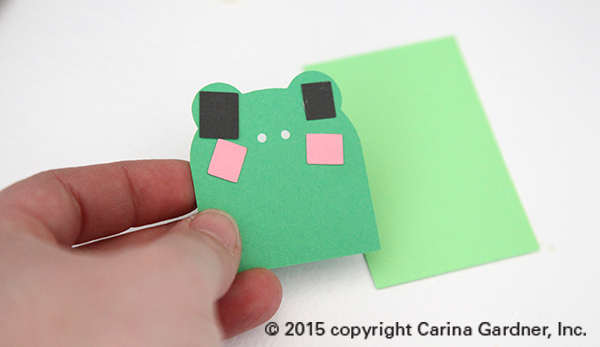
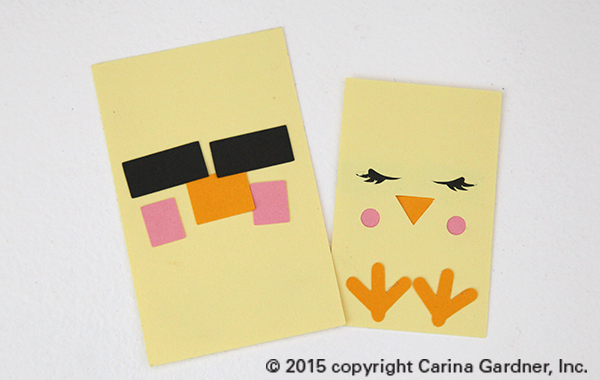
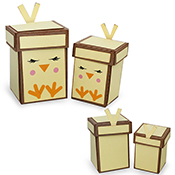
3. Assemble the faces of the animals. Place black squares behind the eyes (all in the svg file), pink behind the cheeks, white behind the whiskers. Use a glue stick for this part. For the frog or any other animal that requires a separate “background”, glue the animal to the background with hot glue. Note: The chick’s feet are placed ON TOP of the face not as the eyes and cheeks are.
4. Glue the ears or feathers to the top of the lid. Once these are glued on, glue the small strips of paper to the lid to cover the ears and other portions of the lid. Glue the assembled face piece and other accent papers to the box.
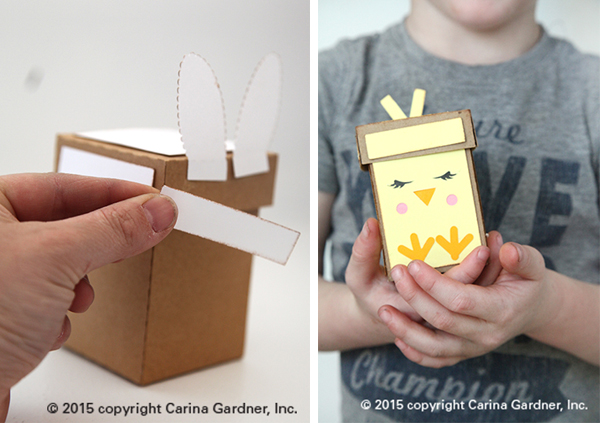
5. Add the tail or any other accessories with pop dots or glue.
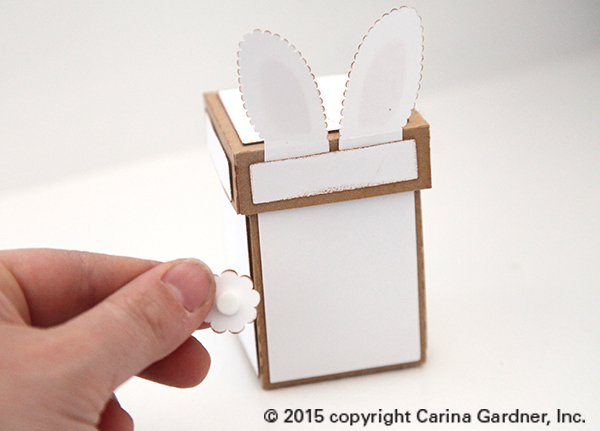
And that’s it! Assembly does take some time but the end result is really darling. Charlie calls each set the ‘baby’ and ‘mommy.’ The animals ‘nest’ together so if you wanted to put a baby bunny in the mommy chick you could. The ears or feather simply fold down (there are score lines) when you place the baby in the mommy.
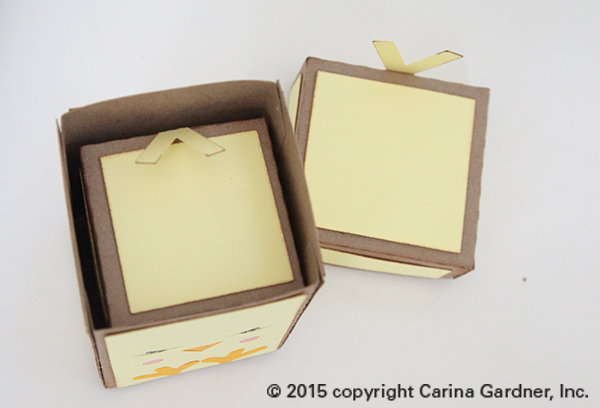
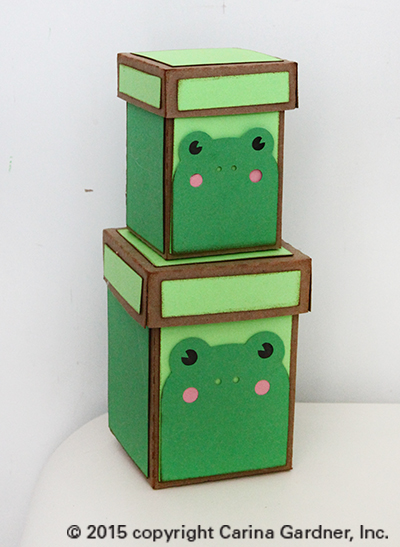
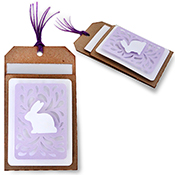
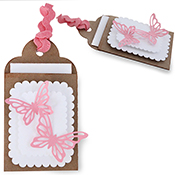
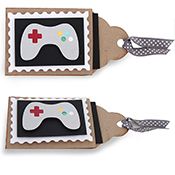
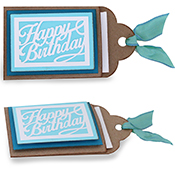
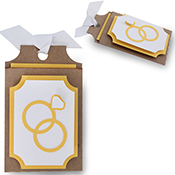
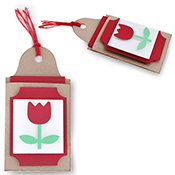
I haven’t included instructions for the layered tags here because there are basic instructions for them in the description (they are simply cut out and adhered together with pop dots or glue).
Hope you are having wonderful spring weather! Craft on!
Carina
(Links will be provided when they become available in the silhouette store on March 30).
____________________________________________________________________________________________
Nesting Animal Boxes
____________________________________________________________________________________________
Layered Gift Card Tags
One thought on “Cute Animal Nesting Boxes for Silhouette”
Comments are closed.