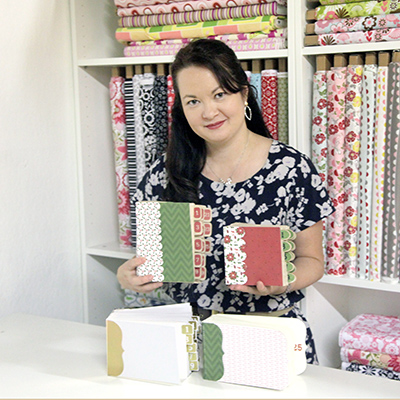
My 25 Days of December French Fold albums have finally hit the shops! It’s just in time to make one before December 1st hits and you start taking photos.
These are a little different than my 25 Days of December from last year because these feature a french fold and hidden binding.
Here are the links to my Silhouette shop and DigiPlayground shop so you can pick up one of these albums!
Here’s how to put this together:
1. Cut out the svg files. The main body of the book I cut out in kraft paper and the cover and frames are my Have a Merry Christmas papers for Cartabella.
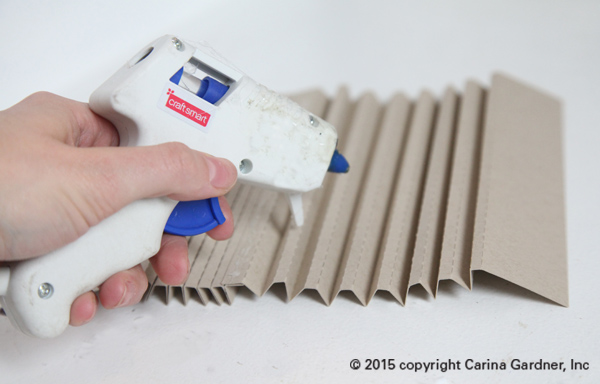
2. Begin with two pieces of the binding and fold along the dotted lines, then glue them together by overlapping the short sides.
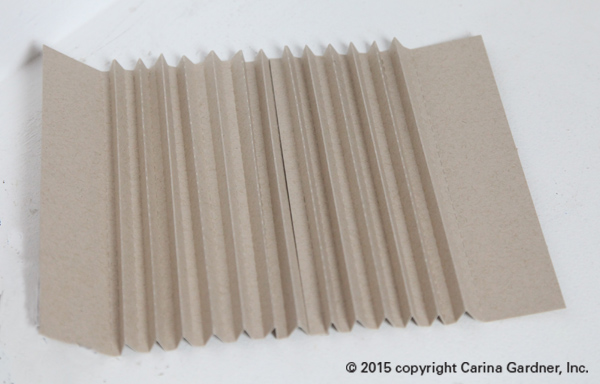
3. Turn it over, and glue the wider folds together so the back looks flat and the front has tabs sticking out.
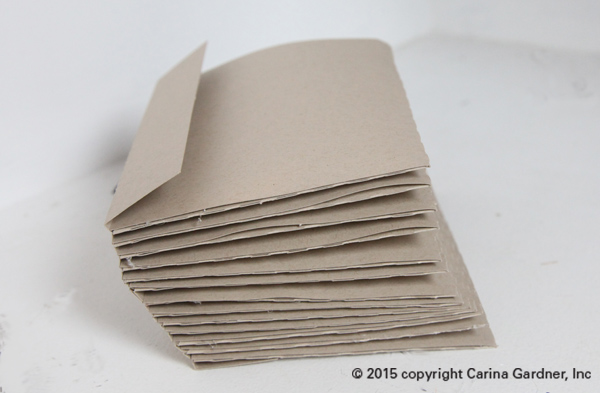
4. Take your pages and fold all of the creases inwards. (The picture below shows the binding on backwards. All those little glued together pieces will become the pages for the album).
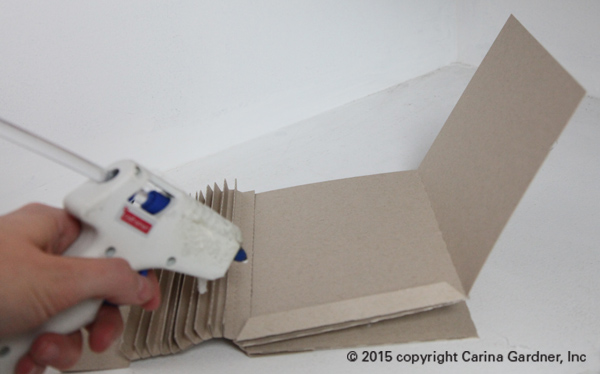
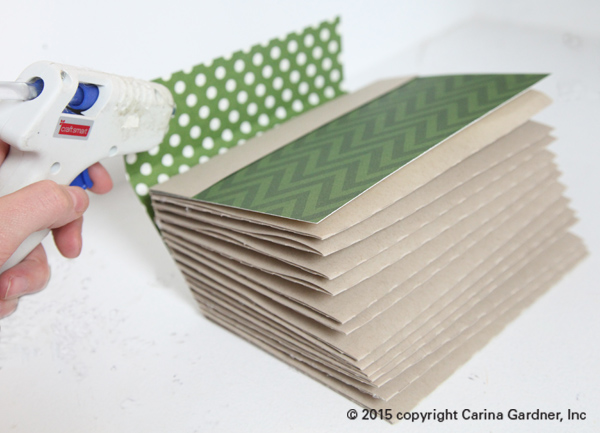
5. Now to add the pages! Glue along the long edge of each page and attach the long edge to the back of one of the folds in the binding. This will create a double-sided/double thick page.
6. Glue the top side of the edge of the long page, as well as the bottom tab and fold the page over. This should create an envelope with an open top. Add a page to each one of the binding pieces.
7. Add the cover by gluing the left side of the cover to the bottom side of the flap. This makes the inside look clean and the binding flap will be covered with the binding cover later.
8. Glue the binding cover by matching up the crease of the binding cover with the square of the book. Glue the front, binding, and back side separately.
9. For the tabs, glue each number onto an oval (or whatever shape you have). Note: one of the albums (bracket) does not use this step.
10. Glue half of the ovals onto each tab, leaving space to slide the tabs into the slits and for the ovals to go on top of the page. There are 13 tabs, so each tab will have two numbers (one and two will be on one tab, three and four another etc.)
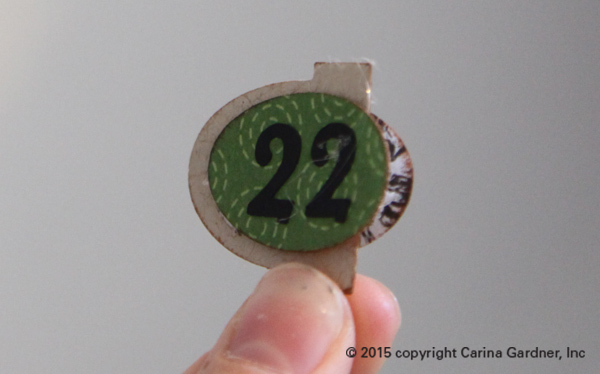
11. Slide the tabs into the appropriate slit on each page. Leave the oval out and glue the other half of the oval onto the outside of the page. Glue odd numbers to the front and even numbers on the back of each tab.
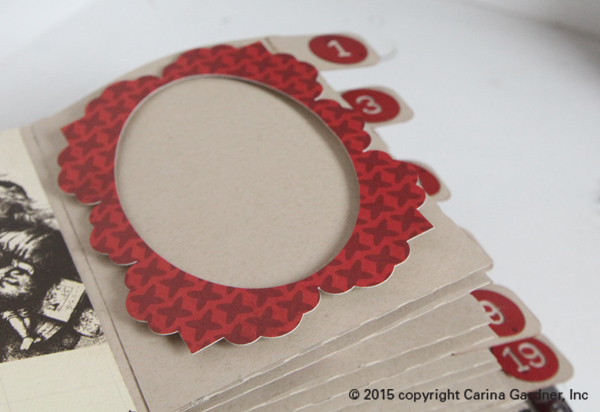
12. For the frames, take each frame and place pot dots on the back.
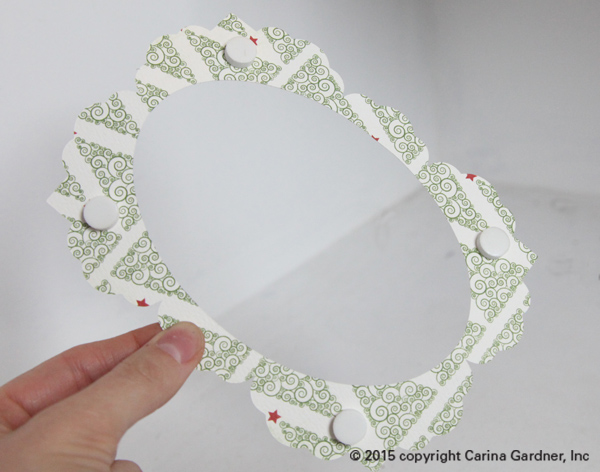
13. Place the frame in the center of the page and make sure the pop dots are firmly in place.
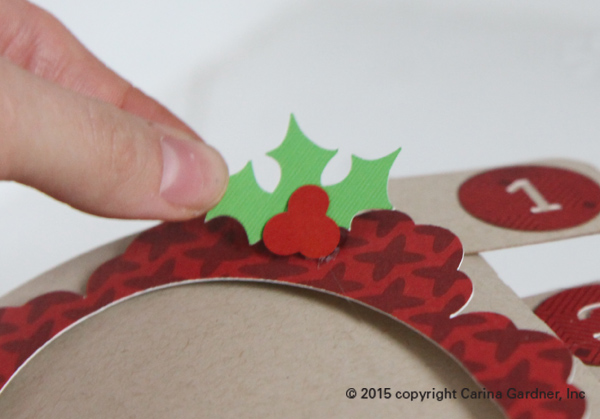
14. Glue the leaves to the berries and attach to the corner of the frame.
15. Place pictures and memories on each page to fill your 25 days of December Album!
Happy crafting!
Carina
necesitaria el tutorial del mini albun