Here are the links to my Silhouette and Digiplayground Shops.
Large Lovely Flower
1. Cut out all svg files.
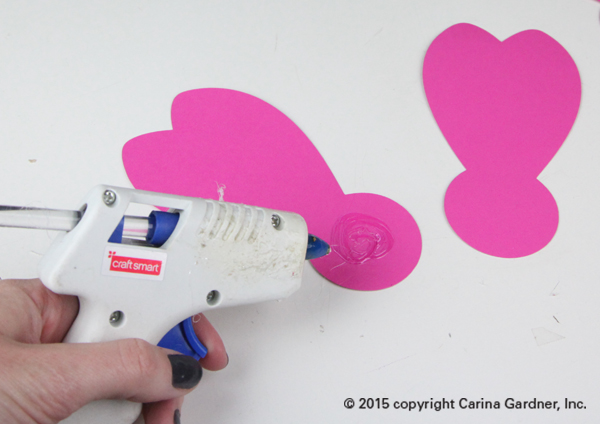
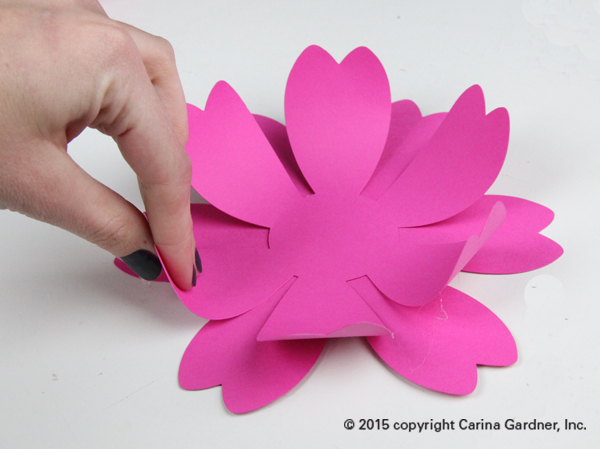
2. Start with the big single petals. These are going to be the first layer of the flower. Take two petals and glue them together using the middle circle. Make sure the circles line up and to fan the petals out about a half of an inch. See the pictures below for how to space them.
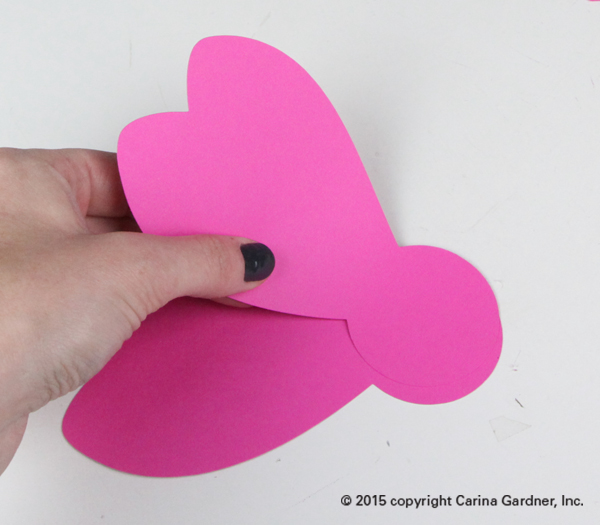
3. Glue the petals one by one making sure the centers align and the spacing is even as you go.

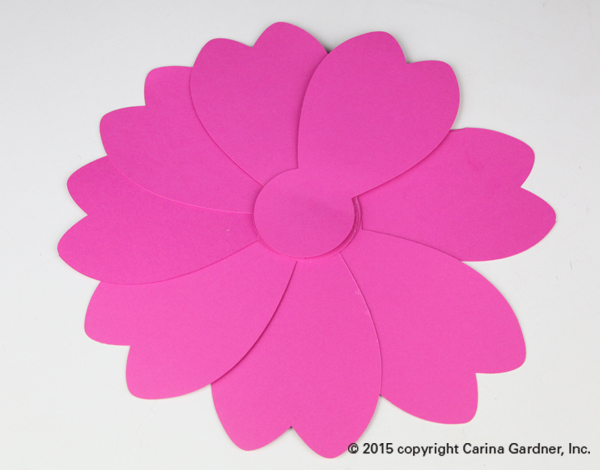
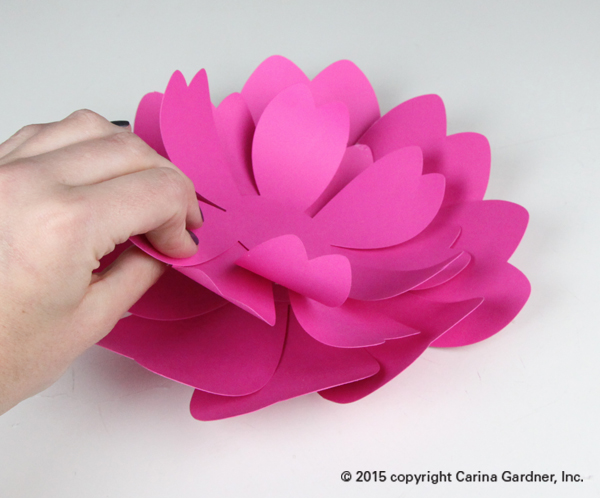
4. Once you are done with the big petals, they should look like this.
5. To add dimension to your flower, finger press the petals so they curve upward.
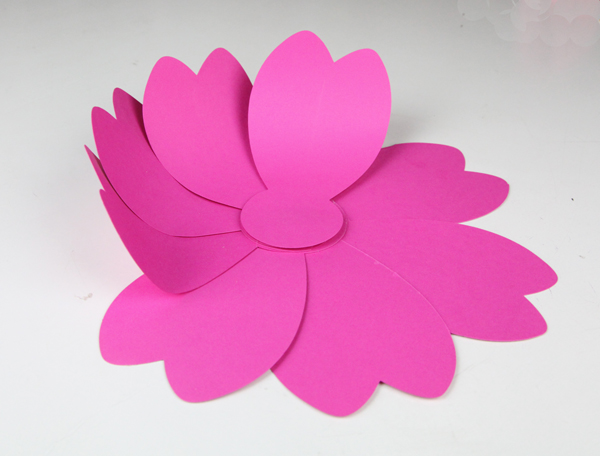
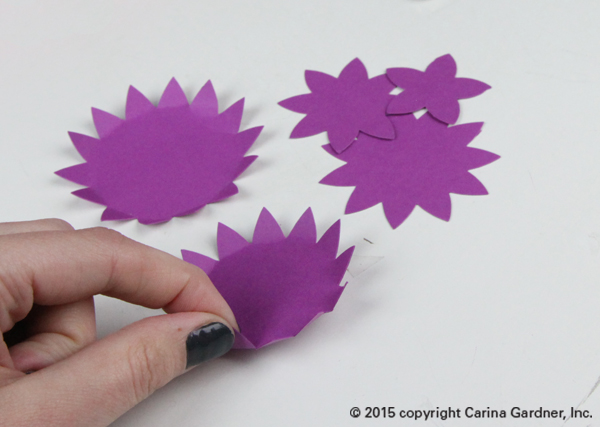
6. Once your done with the first layer, take the smaller petals and glue the centers together, offsetting the petals.
7. Now, finger press the petals upwards the same way as you did the first layer.
8. To add the two layers together, glue the center and put the smaller layer on top being sure to offset the petals.
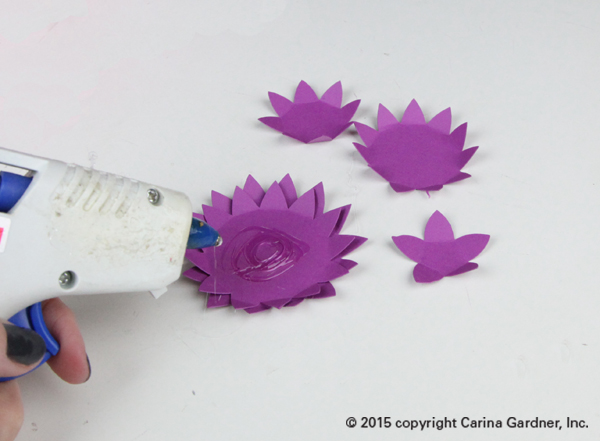
9. For the middle of the flower, start by folding the points upward. For the middle, it is easier to fold them before gluing them.
10. Then, start with the biggest later and glue the centers together going from biggest on the bottom to smallest on the top. We added a big gem to the center to give it a fancy, fun look.
11. To finish, glue the centerpiece to the middle of the flower and you’re done!
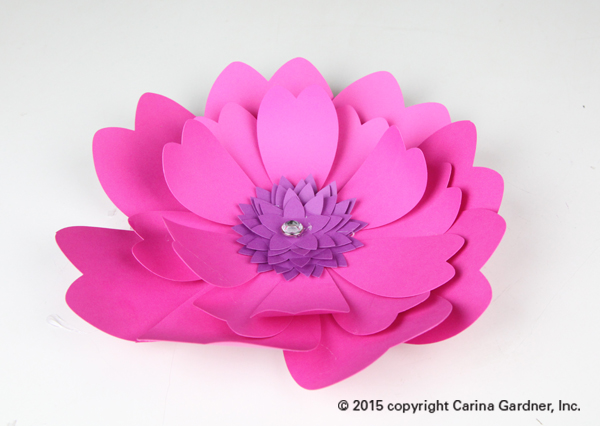
Make the whole set of big flowers to get in the mood for spring or decorate for a party!
Large Rosey Flower
1. Cut out all svg files.
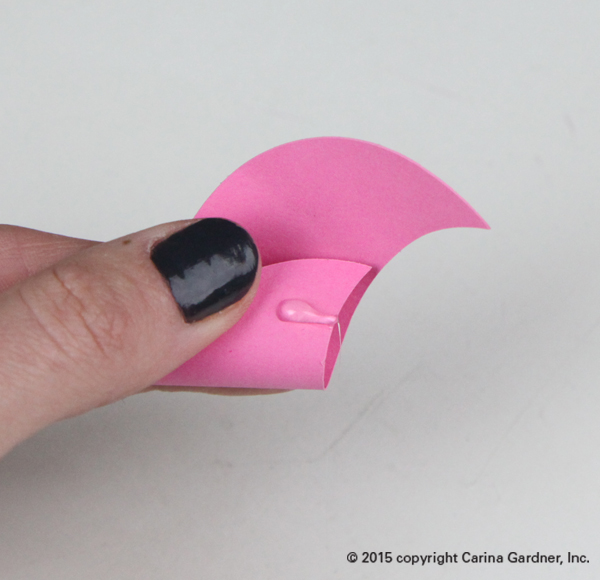
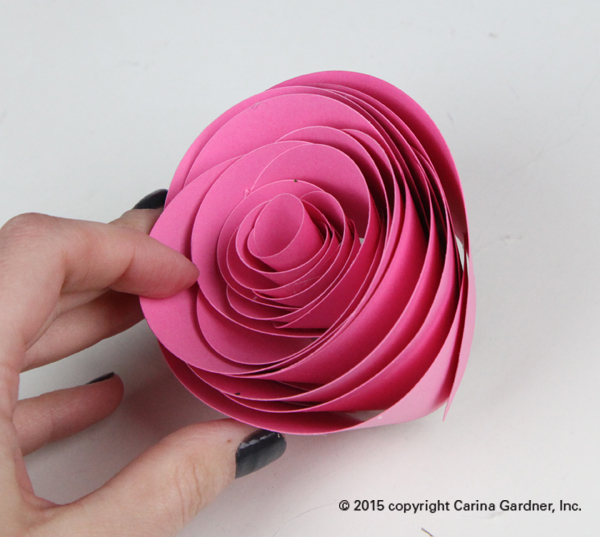
2. Start with the smallest petals. Take one and wrap it around your index finger. Put a drop of glue to glue the ends together close to the bottom. Make sure the bottom of the petal is flat. You’ll want to make sure you do this as you go. This will make the petals flare out more and give the rose more levels.
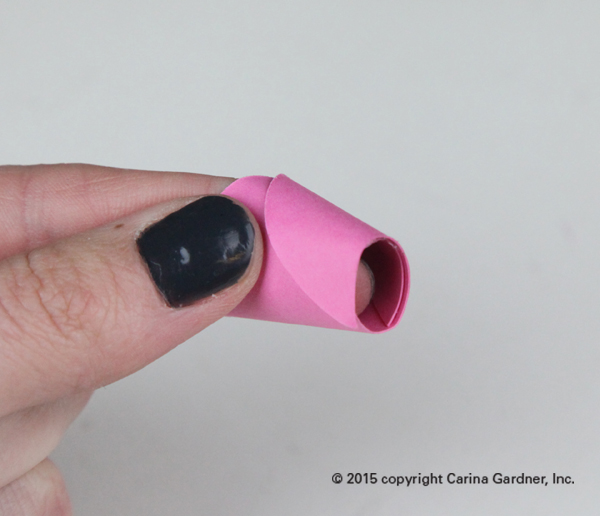
3. Keep the rose on your index finger and wrap the petals around it. Change up where you start wrapping the petals. You don’t need to wrap the petals very tightly. You will get a more rose looking flower if you put the glue on towards the bottom and make sure the bottom of the petals align and stay flat.
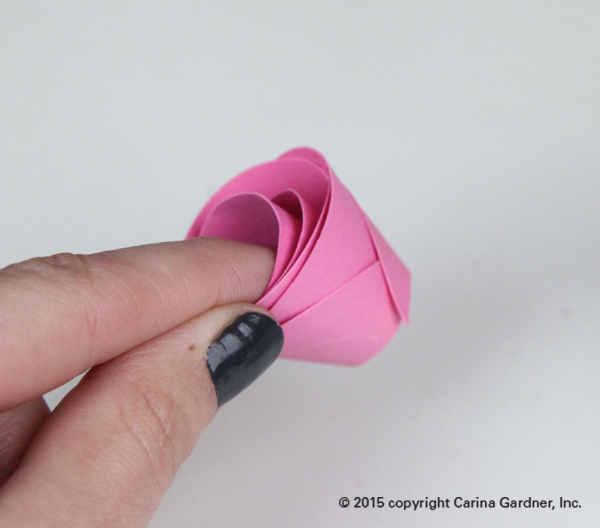
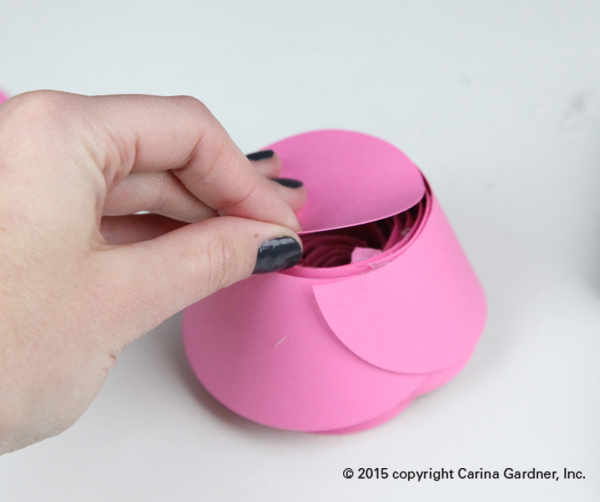
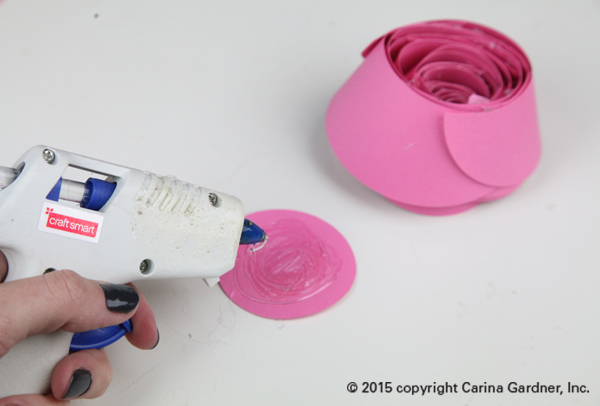
4. Once you’re done wrapping all of the petals, take the circle and glue it to the bottom. This covers up any spaces you have in the bottom and if you want to use it to decorate, it’s easier to attach.
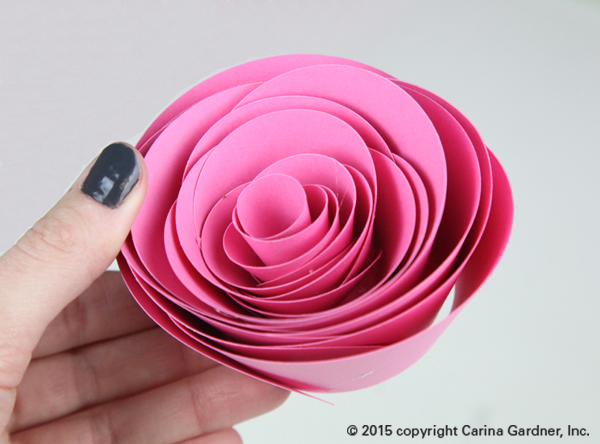
That’s it! Now you can make a whole bouquet or put it with an arrangement!
How large can this pattern be made?
You can cut them as big as the size of paper you have (12 x 12 is what we used). If you do this for all your petals you can have a flower that is about 24 in. x 24 in.
Carina
Love the flowers!! Are the silhouette files be used with a cricut explore air machine ? svg files?
Thanks
I don’t think so. I have svgs in my shop that can be used with most machines. But anything directly from the Silhouette shop will not be compatible with Cricut. Hope that helps!