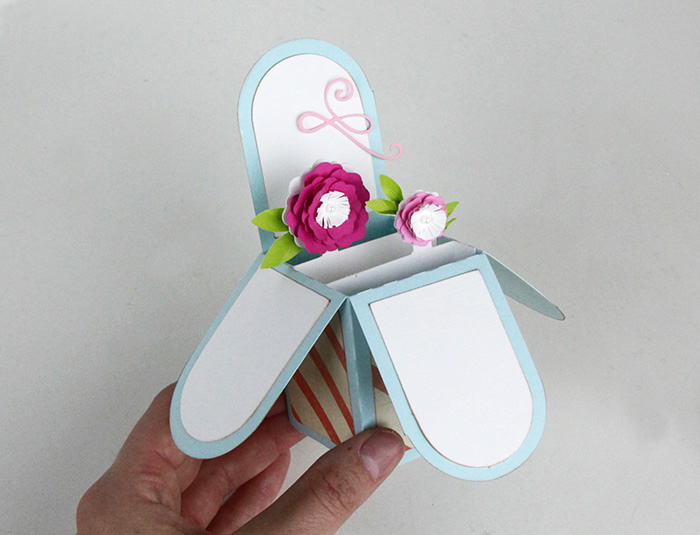
 These adorable box card were released in my Silhouette shop this week! They are so fun to give and receive. You can write an note on them or give them with a present. They fold flat and fit in an A2 envelope so you can mail them easily. They’re pretty simple to put together, and so fun to give! Below is the tutorial for how to put them together.
There are several designs hitting the store for these so be sure to always search MiniLou and box cards!
Instructions for putting together Foldable Box Cards
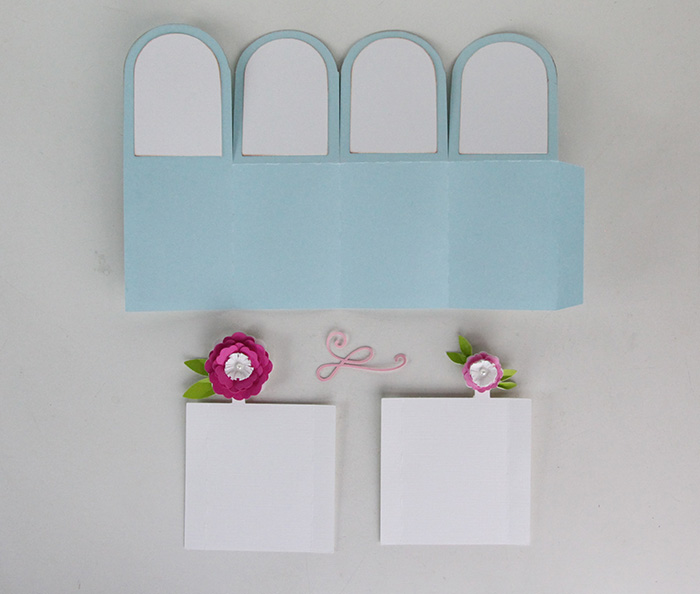
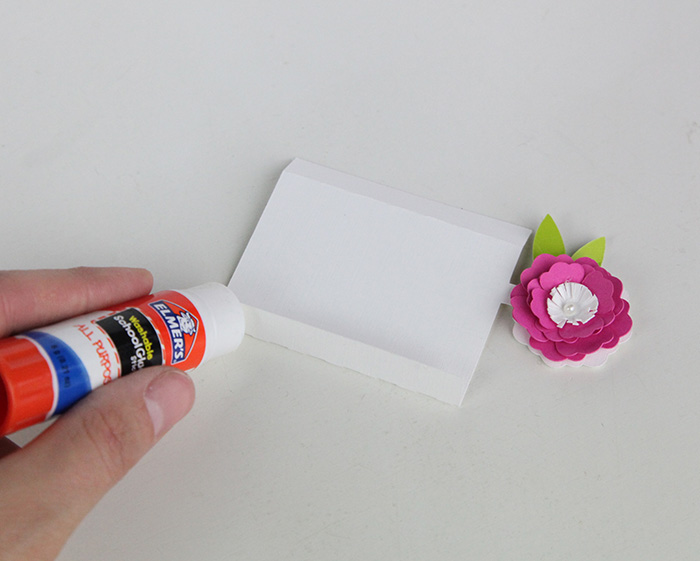
1. Cut out all SVGs provided in the file. Glue on all the accessories to the box as indicated in the photo.
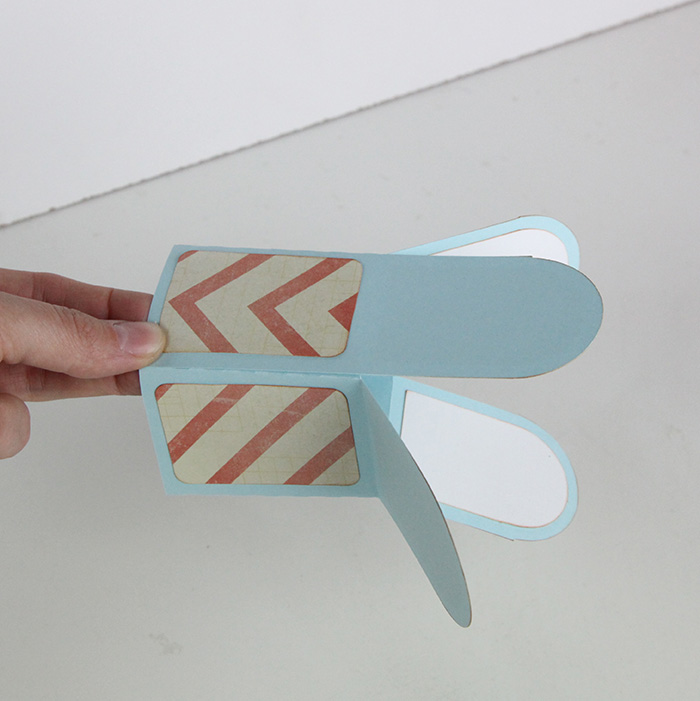
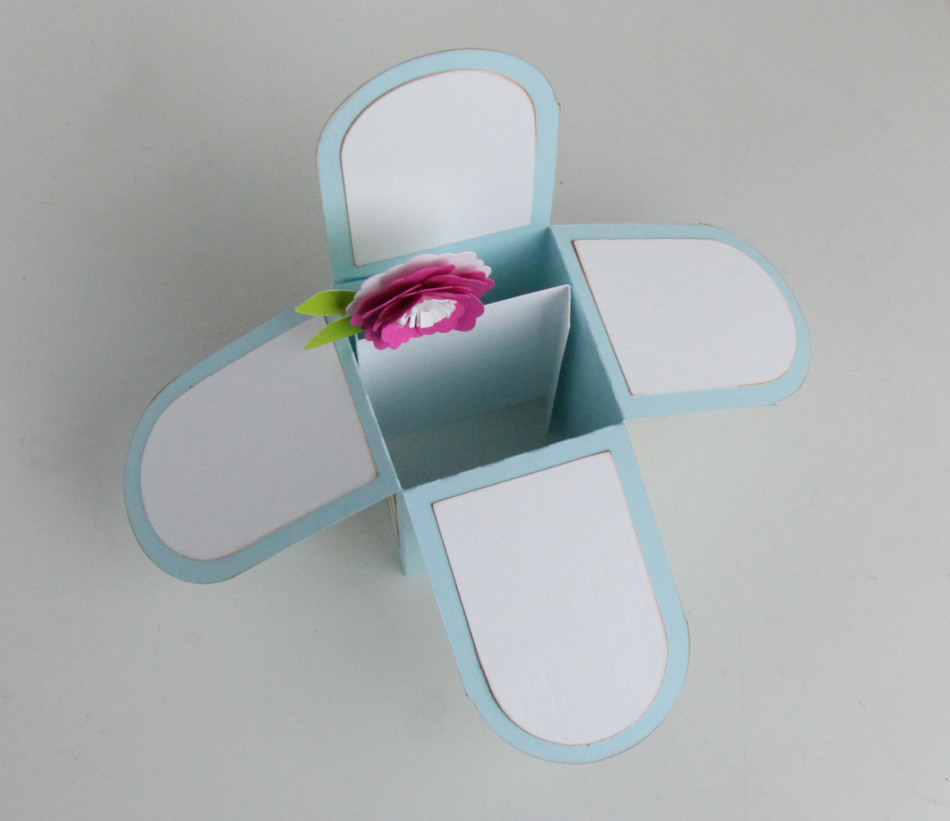
2. Then, to make the core body of the box, fold the box together, and glue the tab on the inside and fold the flaps down.
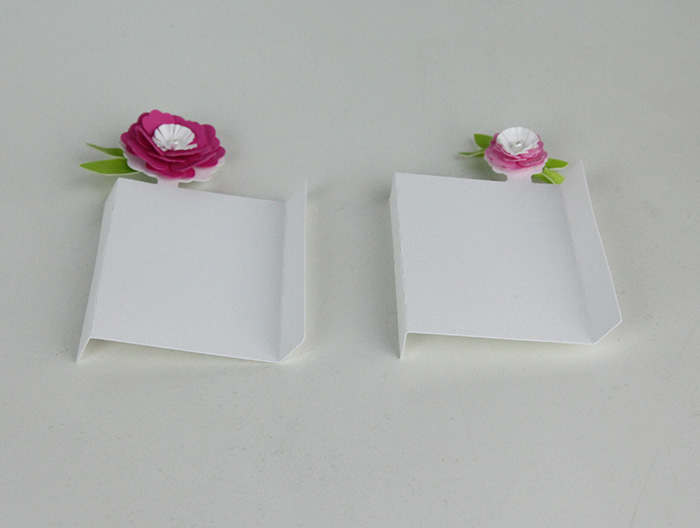
3. Next, Take the inserts and fold them into a “Z” shape. Fold one tab backwards and one tab forward.
4. To attach the inserts, use a glue stick for the tabs and place it in the box without sticking the tabs to the sides. When you are gluing the tabs, make sure to keep it in the “Z” shape, so each tab has glue on the opposite sides of each other.
5. When you have the insert where you want it, fold the box flat so the tabs attach. Make sure the top and bottom line up as you do this.
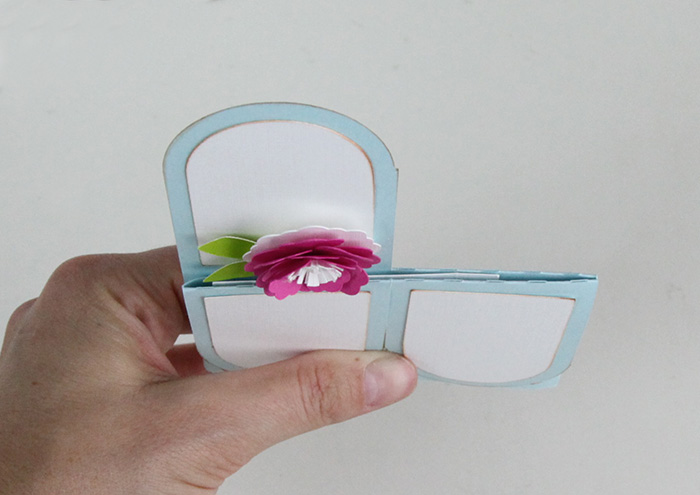

6. Next, glue the second tab on the same way.
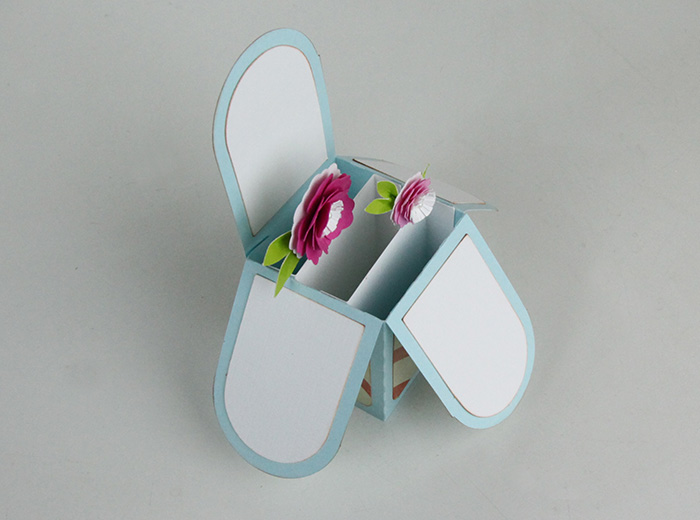
7. Add any embellishments, and you’ve got an adorable card to put in the mail!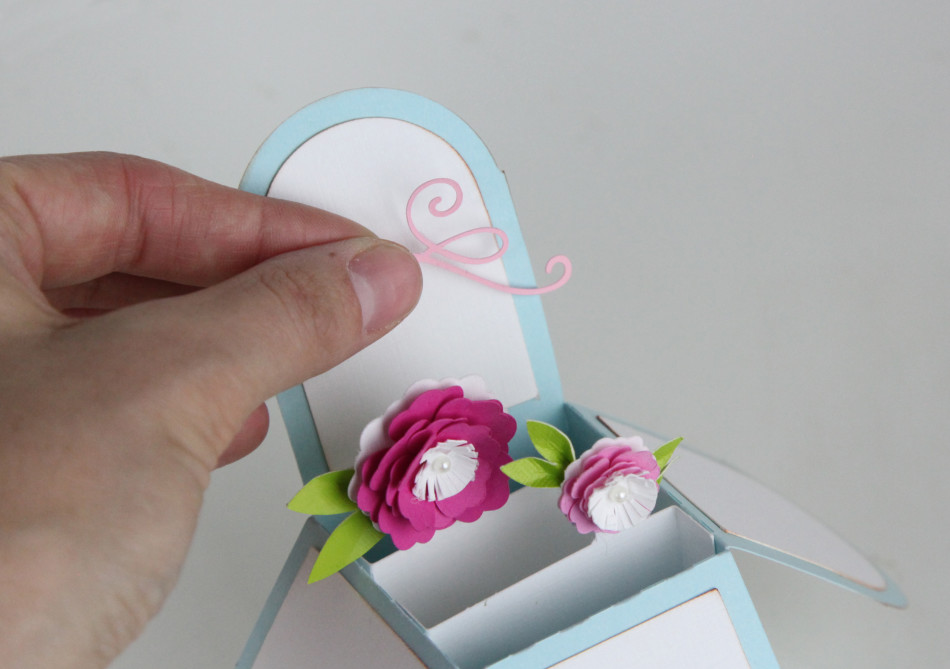
Happy Crafting!
Carina