Eek Boo Shriek’s 18 inch Doll Panel Instructions for Riley Blake Designs

My new fabric line has started shipping, and I’ve gotten requests for the downloadable instructions (with illustrations) for the new 18 inch doll panel. So here it is!

DOWNLOAD THE 18 INCH WITCH DOLL PANEL

I also decided to make a video of this one because I wanted to walk you through how I make this panel. I hope you enjoy! Make sure and subscribe to my youtube channel for more great sewing projects!

Happy sewing!
Carina

Silhouette Design Store JOANN Stores

Round up of 5 Springtime Silhouette Cameo Cuttables!

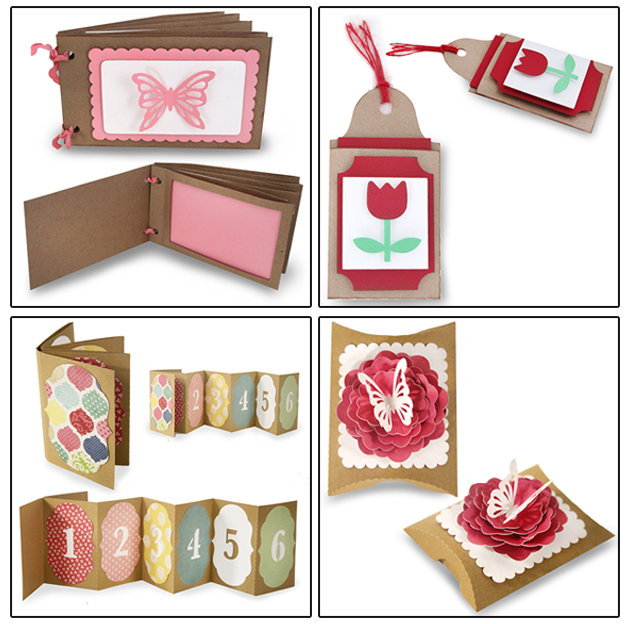
Sometimes I forget to tell you about projects I’m doing or have loved that are amazing! So here’s a ROUND UP of some favorite SPRINGTIME projects that you can get from my Silhouette Shop.

1. ​​Accordion Number Album Design ID #75919 https://www.silhouettedesignstore.com/view-shape/75919

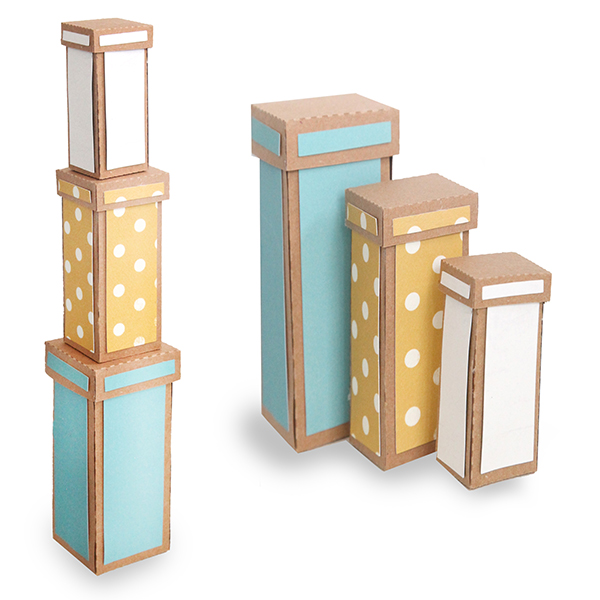
2. 3 Stacked Skinny Square Boxes Design ID #76544 https://www.silhouettedesignstore.com/view-shape/76544

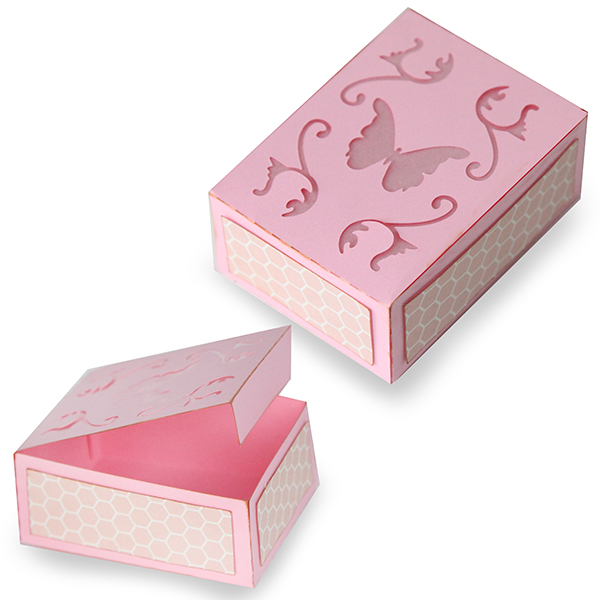
3. Butterfly Perched on a Flower Pillowbox Design ID #76289 https://www.silhouettedesignstore.com/view-shape/76289

4. Layered tulip gift card Tag Design ID #77394 https://www.silhouettedesignstore.com/view-shape/77394

5. 4 x6 Window Photo Pocket Album Design ID #77713 https://www.silhouettedesignstore.com/view-shape/77713


​Hope you have some fun with these! I also have a fun bonus for you! Use coupon code SPRINGTIME30 for 30% off diecuts from my shop through May 1st!

XOXO- Carina


Silhouette Design Store JOANN Stores

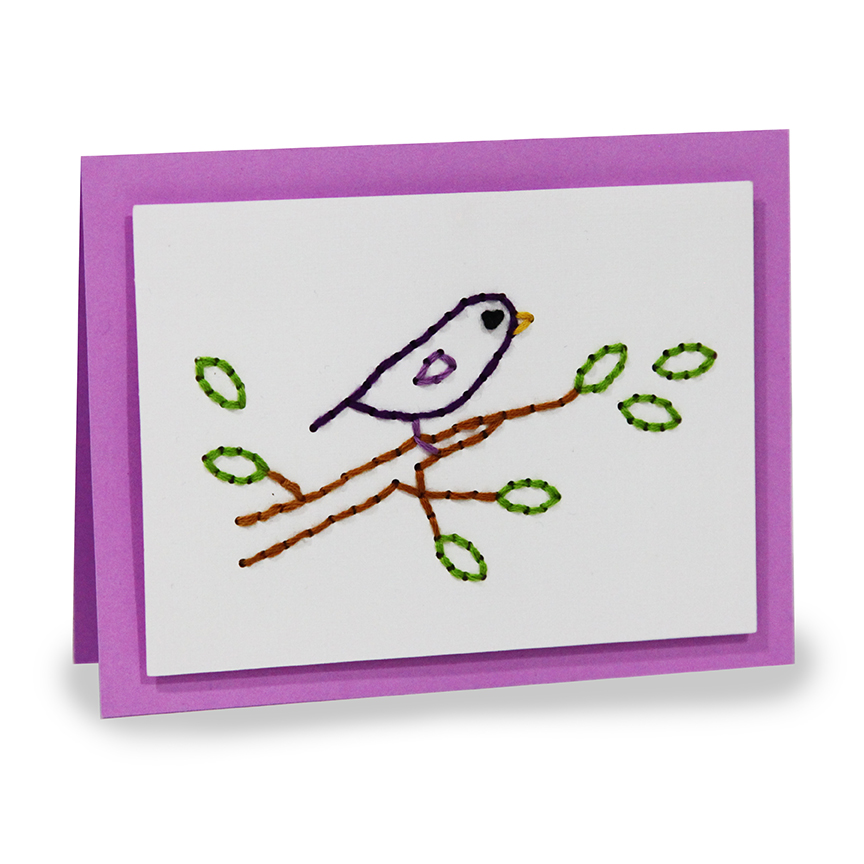
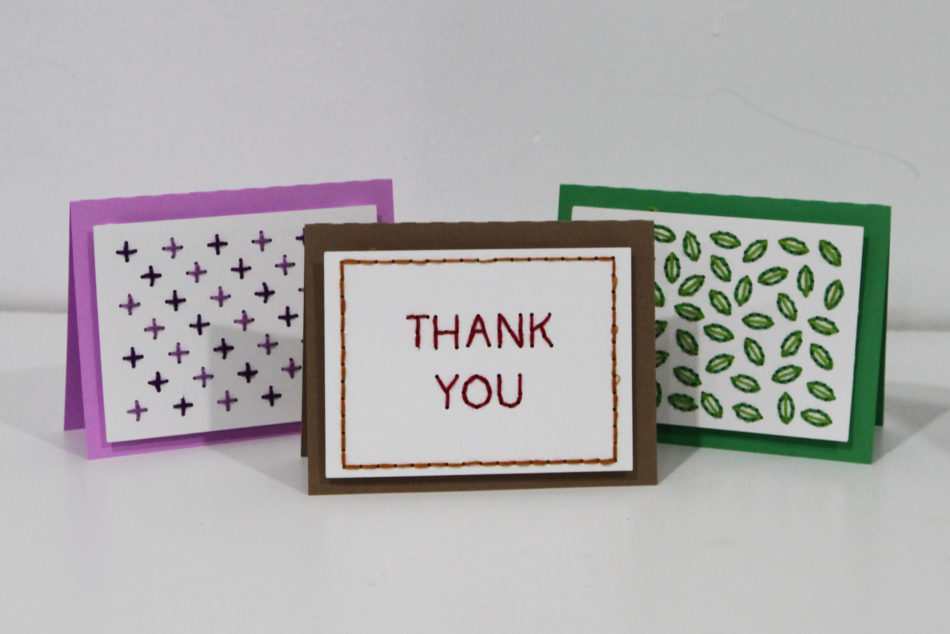
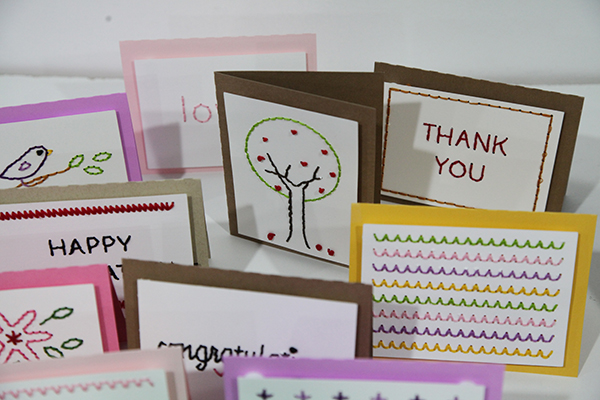
Embroidery Folded Card for Silhouette

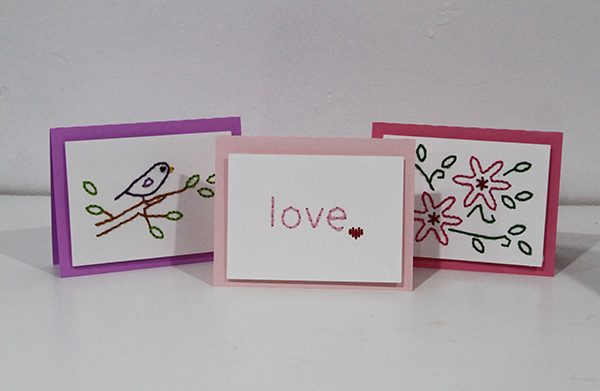
I’m so excited to show you these amazing Embroidery Folded Cards I’m releasing with MiniLou this week! Links will be added to this post once the cards are up on Silhouette (You can find the Carina Gardner Store here and the MiniLou store here).

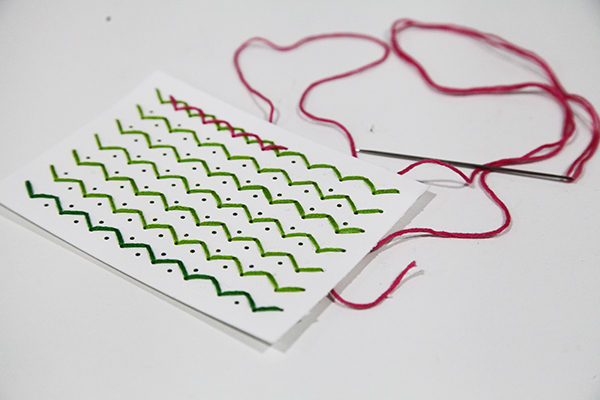
I have a great video showing you how I straight stitch, knot my thread, end the floss, and make a french knot! Check it out below!

I hope you have a chance to check out all of these designs! There are so many cool ways to work with these designs and they are AMAZING for kid projects!


Happy Crafting!
Carina

Silhouette Design Store JOANN Stores

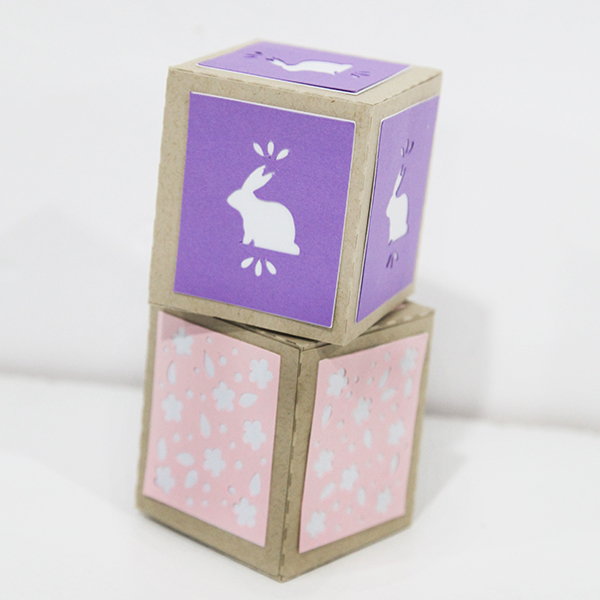
Flat Folding 3D Boxes Tutorial

I’m loving anything that folds down flat (so I can actually keep it!) these days. These foldable boxes are easy to put together. You can find them in my Silhouette SHop here: https://www.silhouettedesignstore.com/artists/252689

Instructions:
1. Cut out all pieces in your file.
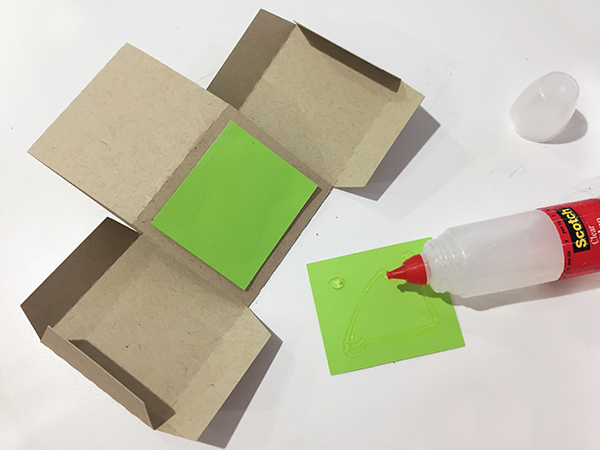
2. If you have layered accent pieces, glue these together first ( for example, a bunny overlay on a white background).
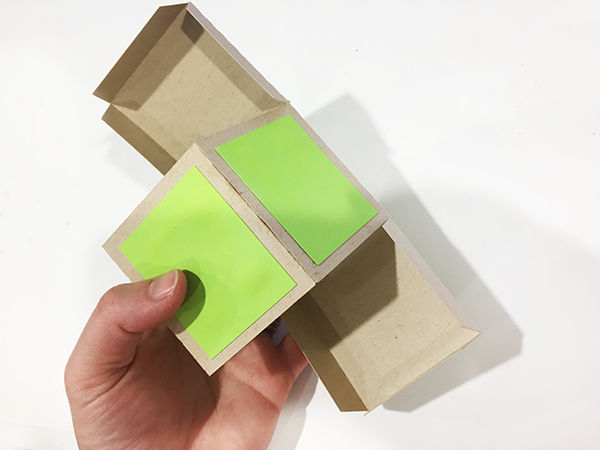
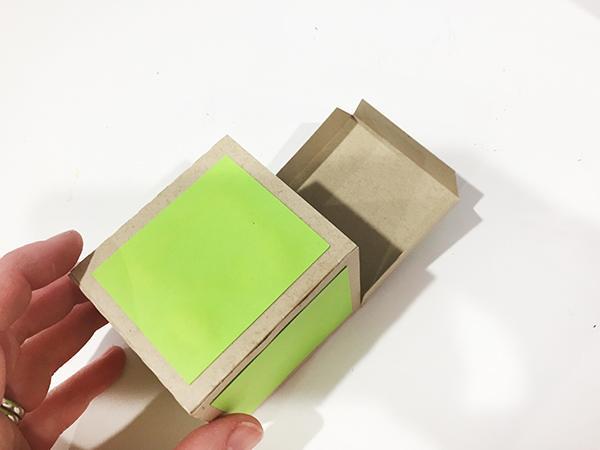
3. Then fold up all the edges of the box. Glue together the inside flap to create the main body of the box.
4. Glue on the accent pieces.
5. Fold the box top and bottom up and slide into place. You do NOT have to glue the top and bottom on.

Happy Crafting!
Carina

Silhouette Design Store JOANN Stores

5 Reasons Spring is the Best Time to Create

IMG_0022_1webThere are lots of reasons that spring is a favorite time of year for most of us. Whether it’s the sunshine, bulbs in bloom, or the chirping of birds back from their winter hideouts; spring is a time of renewal. For me, I feel re-energized to make again. Here are some of the reasons spring is the best time to get your Silhouette machine out to CREATE!

1. Holiday crafts

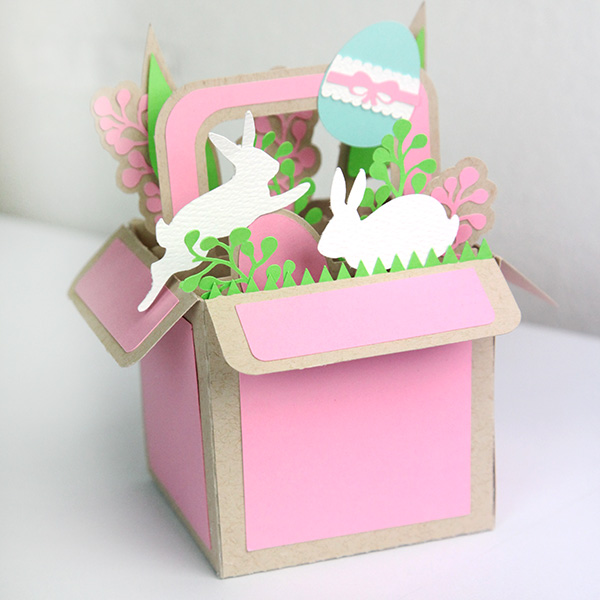
Sure, you love making stuff for Christmas, but what about St. Patrick’s Day, Easter, Mother’s Day, and Graduation? These are some of my favorite holidays to make cards and projects for! (Animal Explosion Basket – Easter Bunny Design ID 122681)

2. Flowers

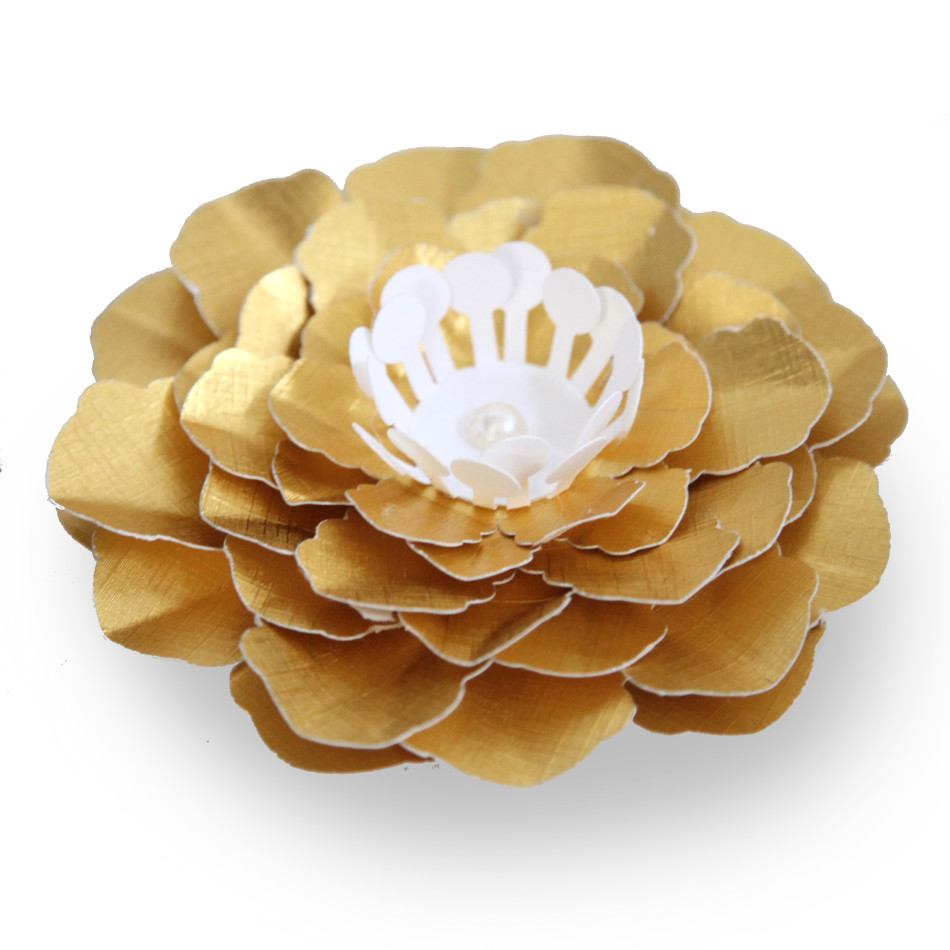
I don’t have to tell you that there are SO many good flower projects in the Silhouette Shop…because there always are! Party it up with some great floral projects! (3D Gold Fringed Petal Flower Design ID 109882)

goldcrimpededgeflower3. Spring Cleaning

You would think this would be a reason NOT to be making stuff, but the truth is once your spring-cleaning is done, there is nothing like sitting down to your craft table to make. That’s right, creating in a clean space is pure happiness. And once you have cleaned, declutters, and dejunked your house, isn’t it the perfect time to make something to fill it back up again (wink)!

4. Butterflies

There’s never a time I like to pull out all the butterfly projects more than in the spring. Who’s with me? (Vellum Top Butterfly Box Design ID 79311)

vellumtopbutterflybox5. Organization

Spring is officially the best time to get organized. There are so many great FUNCTIONAL (not just pretty) projects to get your photos, knick-knacks, and office supplies organized.

Hope you are enjoying spring as much as I am!

XOXO-Carina

Silhouette Design Store JOANN Stores

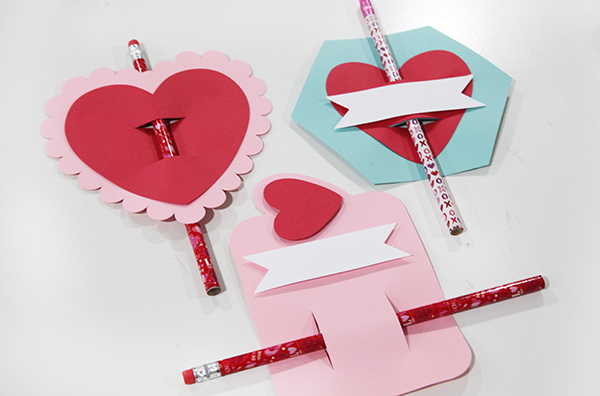
Kids Pencil Valentine Cards

IMG_7052_1web
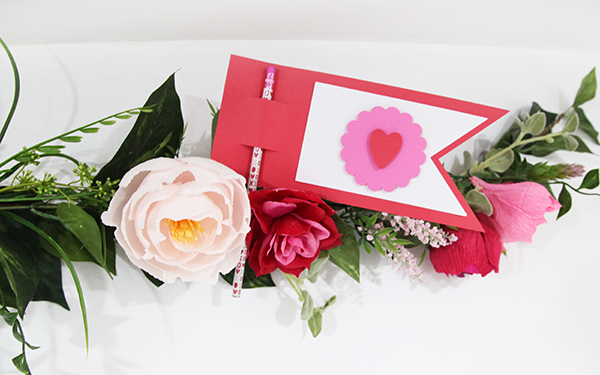
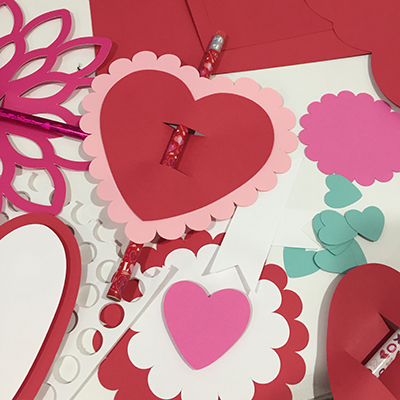
IMG_8715_webThis week is the last one I’ll be releasing Valentine’s so I’m going out with a bang!  I also decided to double dip. These pencil cards are not only my final Valentine’s release but are also Felicity’s class gifts. She’s going to write on each of them, and I’m sure we’ll add a few quotes like “I’m write for you.”

You can find them in my Silhouette shop here.

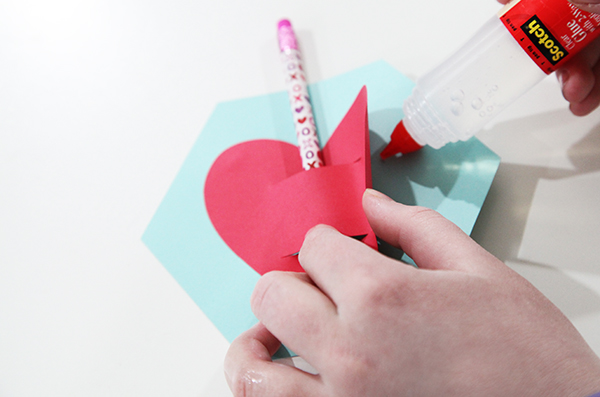
TIP 1: When you are putting these together, I recommend putting your pencil through the slits FIRST and then gluing your pieces into place (see photo below).

There are several designs were two or more papers have slits that match up. Use the slits as your guides. Place the pencil through the slits first and then pull open the edges of the top paper to glue it into place.

TIP 2: I LOVE pop dots with these designs! And glitter. And stamping ink on the edges. I kept them all simple on purpose. So you can jazz them up or use them as a kid activity.

TIP 3: Add a printable. Simply use whatever word processing software you use and write up a cute phrase in a cute font. Print, cut and attach to these Valentine’s cards!

IMG_6996_1web

And in case you missed it (haha), I’ve been releasing Valentine’s for the last month. In fact, we have been releasing Valentine’s for both CGInc. and MiniLou for the past several weeks. You can check both shops here:

Carina Gardner Silhouette Shop

MiniLou Silhouette Shop

IMG_7059_1web

Happy crafting!
Carina


Silhouette Design Store JOANN Stores

Santa’s Glitter Village SVG Tutorial for Silhouette

img_5692_edited_web

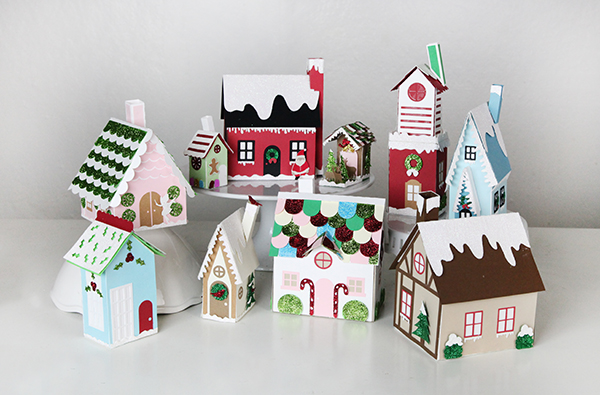
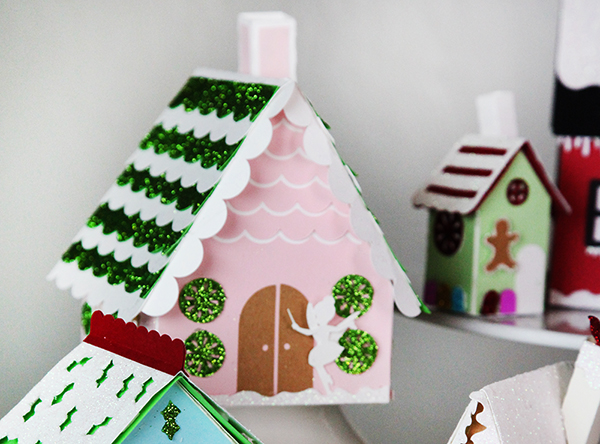
I’m SO excited about the new village I designed this year for Christmas! It’s called Santa’s Glitter Village and you can download all of it from my Silhouette shop! You can add it to any pieces you have from my original Christmas Village or build these separately! There is even a cool download showing you how I made the snowy centerpiece the either village is made on. You can use that for this village too!
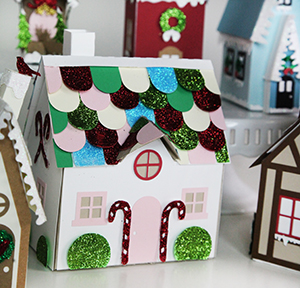
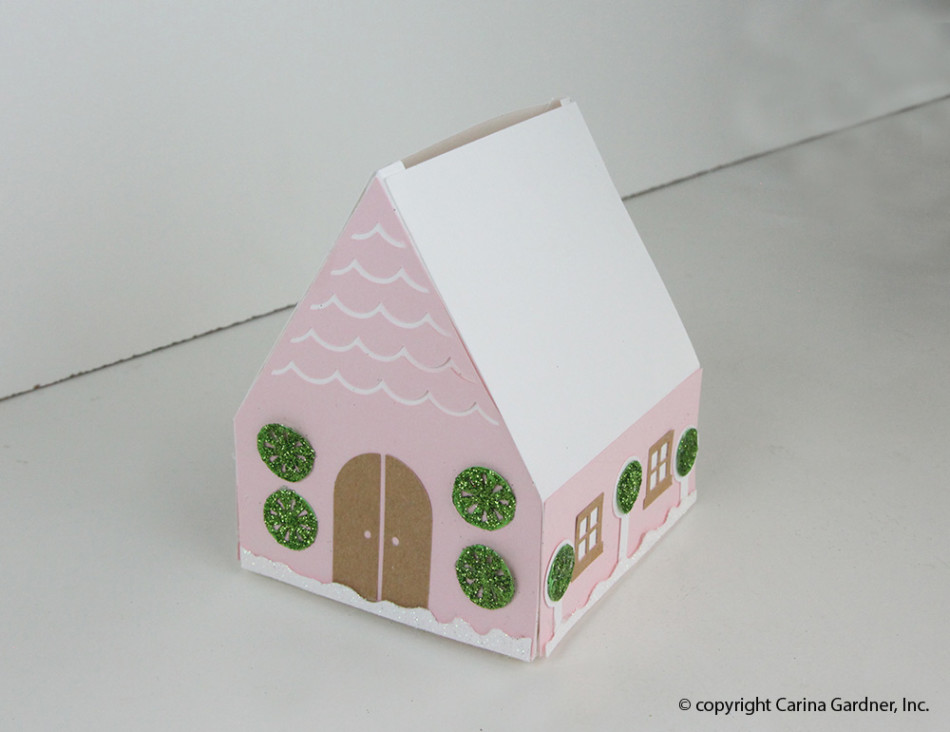
img_5710_1webThis year it is all about GLITTER! I have a great tutorial for you on how you can put together below. I do NOT have individual tutorials on these houses because many of them are made THE SAME. The tutorial I have below is for the Sugar Plum Fairy’s House and most of the buildings are built in this way. There are also extra instructions below for pieces I thought you might like a little extra help with. So scroll on down to see if there is something there that will help you!

This year, the Santa Glitter Village includes: Santa’s Cottage, Candy Cane Place, a Chapel, Elf Dwelling, Reindeer Stables, Santa’s Tower, Snow Bird House, Sugar Plum Fairy’s House, Tiny Mistletoe House, and the Winter House. Many of these come with openings at the bottom for an electric tea light (or two). The smaller houses do not because a tea light would not fit:).

You can find ALL my tutorials on my main Silhouette landing page here: https://carinagardner.com/silhouette/. I noticed that when I went back to look at previous projects in the Silhouette store, that some of the links are broken. That landing page is your end all for ALL of my tutorials. You can also watch many tutorials I have filmed on my YOUTUBE channel.

I hope you have a wonderful time building Santa’s Glitter Village! Every piece is unique and sweet! I think I’m placing mine on my piano this year.

Happy crafting!

XOXO-Carina
img_5700_1web


Supplies

-Glitter (we used fine glitter, but you could use more course glitter)

-Mod Podge (we used gloss, but you could use any kind)

-foam brush

-1 piece of copy paper

-SVG card cutouts

Instructions

Note:  These instructions work for all of the houses in Santa’s Glitter Village.  At the end of the tutorial there are instructions on how to put a few of the more intricate pieces together.

1.  Cut out all SVGs provided in the file.

2.  Before putting the house together, decide which pieces you want to glitter.  I did mine on the green scallop pieces of roof, peppermint swirls, and snow.

3.  Once you have all of the glitter pieces and supplies, take a piece of copy paper and fold it in half (this makes it easier to put the extra glitter back in the jar later).  This paper will be your working surface to catch the extra glitter and Mod Podge.

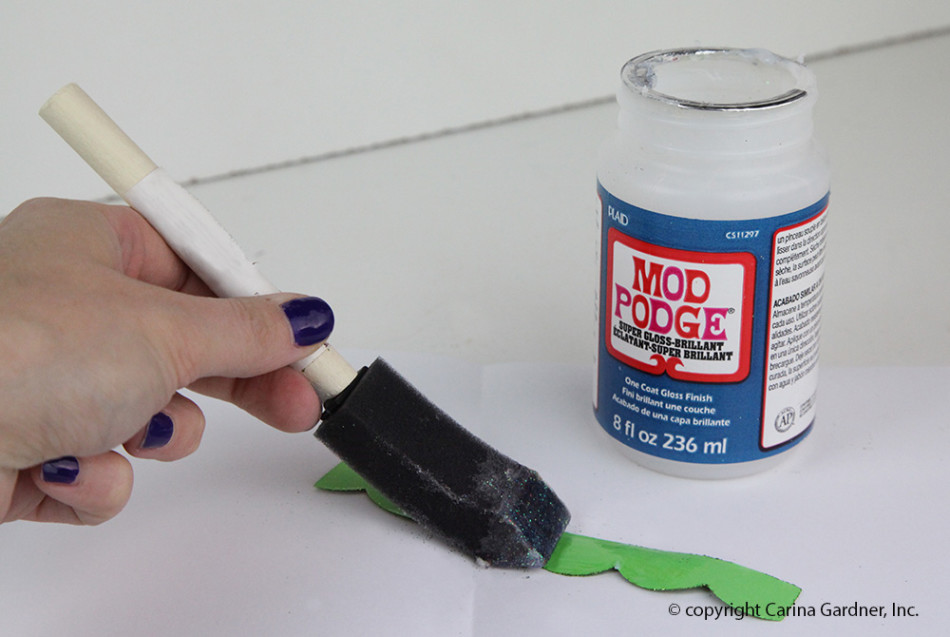
4.  Next, take your foam brush and dip it in Mod Podge.  Cover any area you want glittered with a thin layer of Mod Podge.  Put the copy paper underneath to contain any Mod Podge and glitter that goes over the edge.
img_5560_web-copy

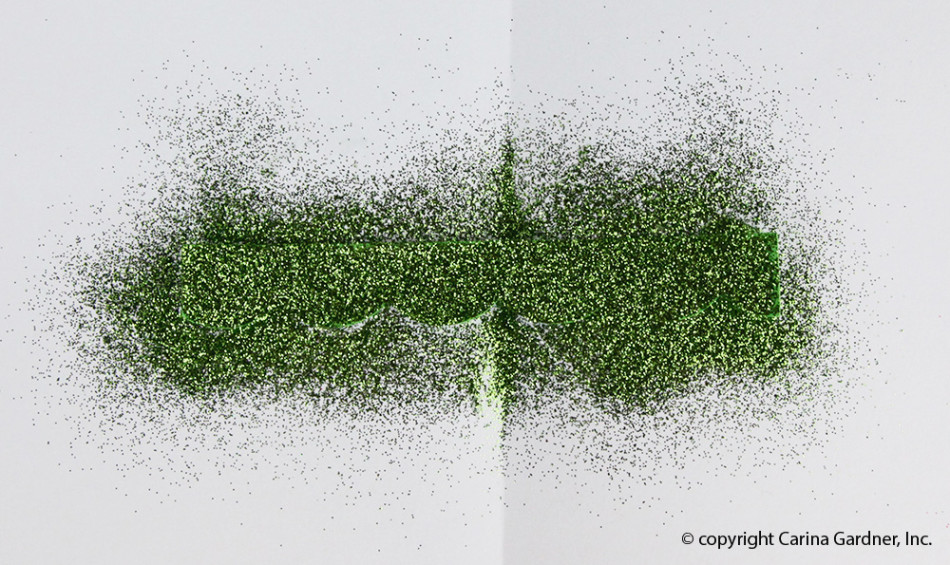
5. After the whole piece is covered in Mod Podge, take the glitter and sprinkle it over the area the Mod Podge covers.  Be very generous with the glitter so it covers everything.  Remember, you will be able to put the extra back in the container so make sure everything is covered well.
img_5564_web

6. To make sure the glitter to stays in place better, use your finger to tap the glitter lightly.  This make sure more glitter adheres to the Mod Podge.img_5569_web
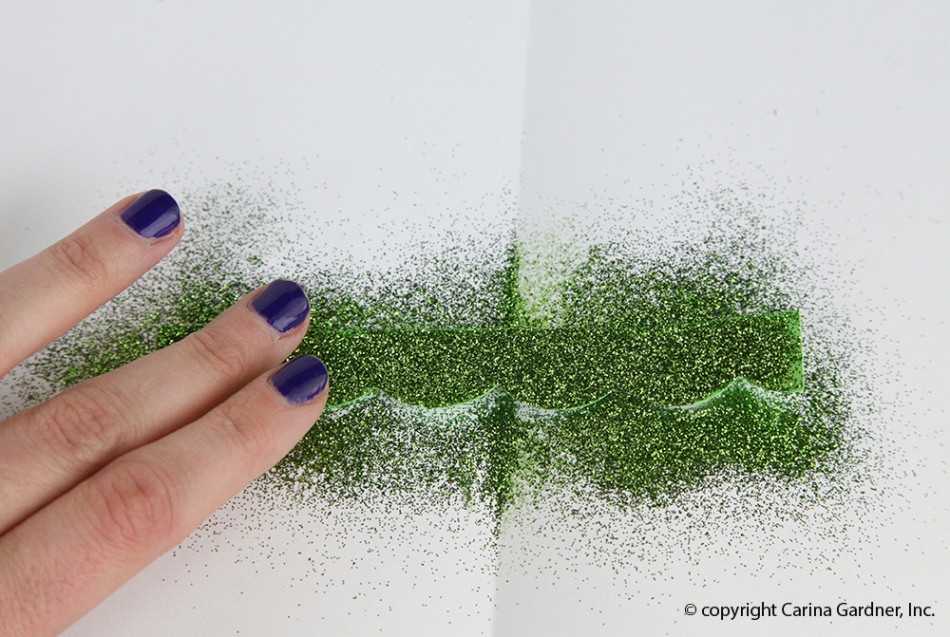
7.  Wait for the Mod Podge to dry a few minutes, and tap off the excess glitter.

Tip:  If you are worried about the glitter transferring too much, you can put another layer of Mod Podge on top.  If you use gloss Mod Podge, the glitter wont lose it’s sparkle.

8.  Once you’re done with the glitter, fold the copy paper with the glitter on the inside and pour the excess back into the container.img_5573_web
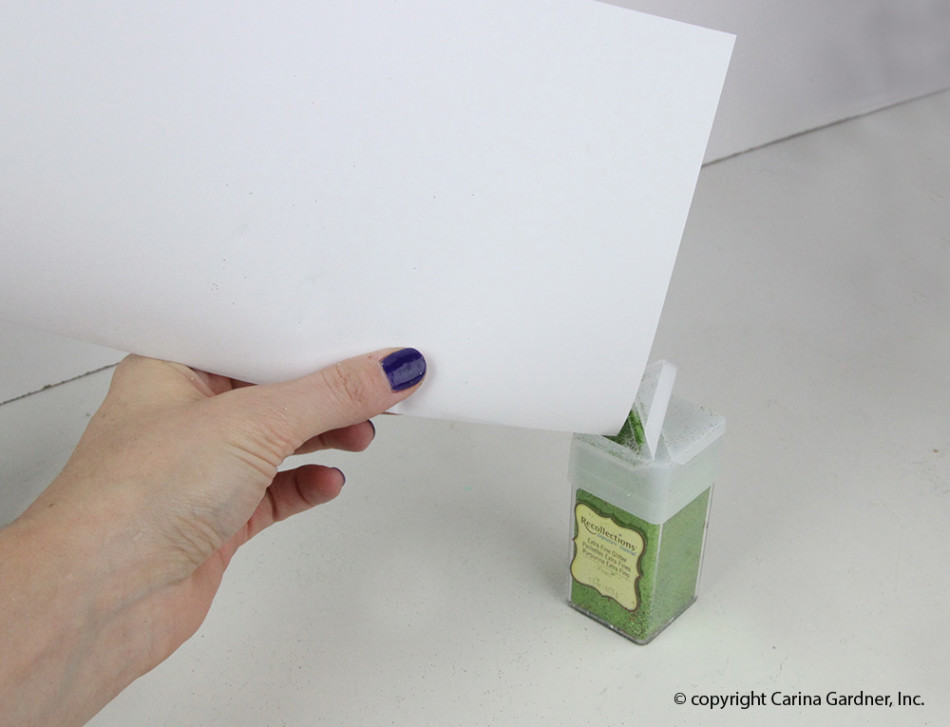
9.  You’re done with the glitter, now onto how to put together the rest of the house!

10.  To put the house together, first, take the facades and glue all of the embellishments to them.

11.  Next, glue the facades to the side and front pieces.

12.  Then, glue the tabs of the back and side pieces to the tabs of the bottom.  It should form a “T” shape.
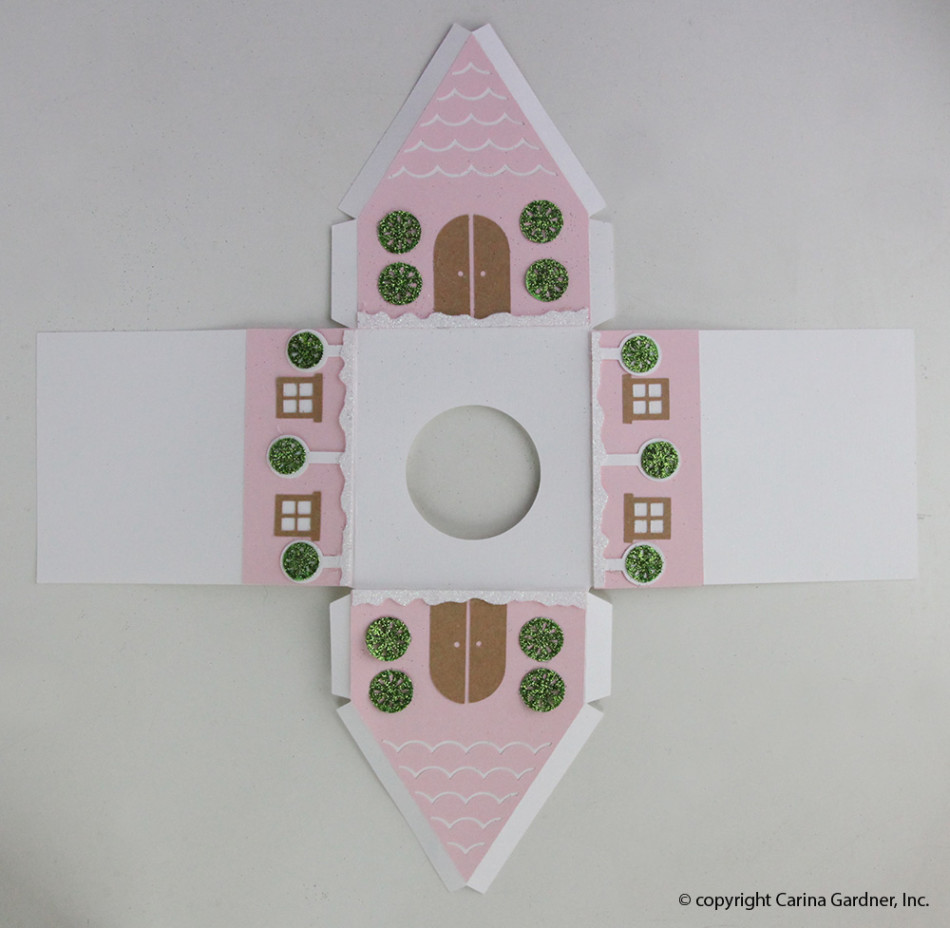
img_5576_web

13.  To make the house 3D, hot glue the tab on the side of the front piece to the side piece.  Do this for all of the tabs until you have a house shape.
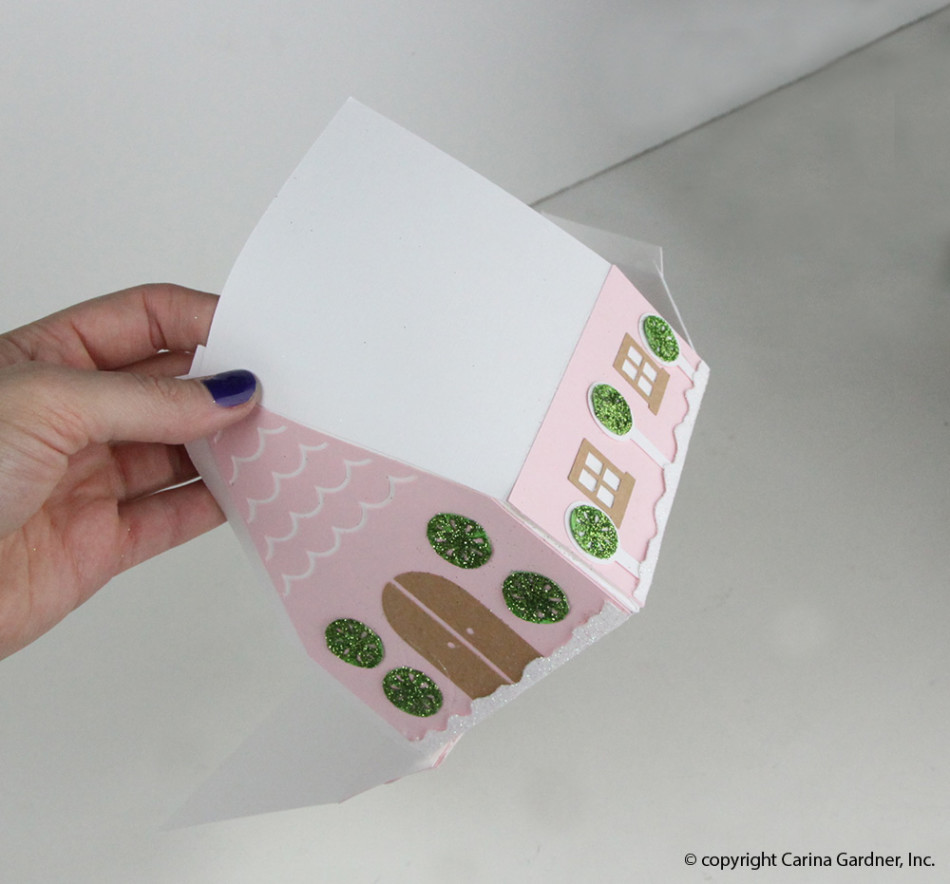
img_5578_web img_5580_web

14.  After the house is done, gather your roof pieces.  Hot glue the scallop pieces to the roof piece.  Make sure you overlap each scallop piece and switch off between colors as you glue.  It’s best to estimate your spacing before your start glueing so the scallop pieces cover the roof evenly.img_5586_web
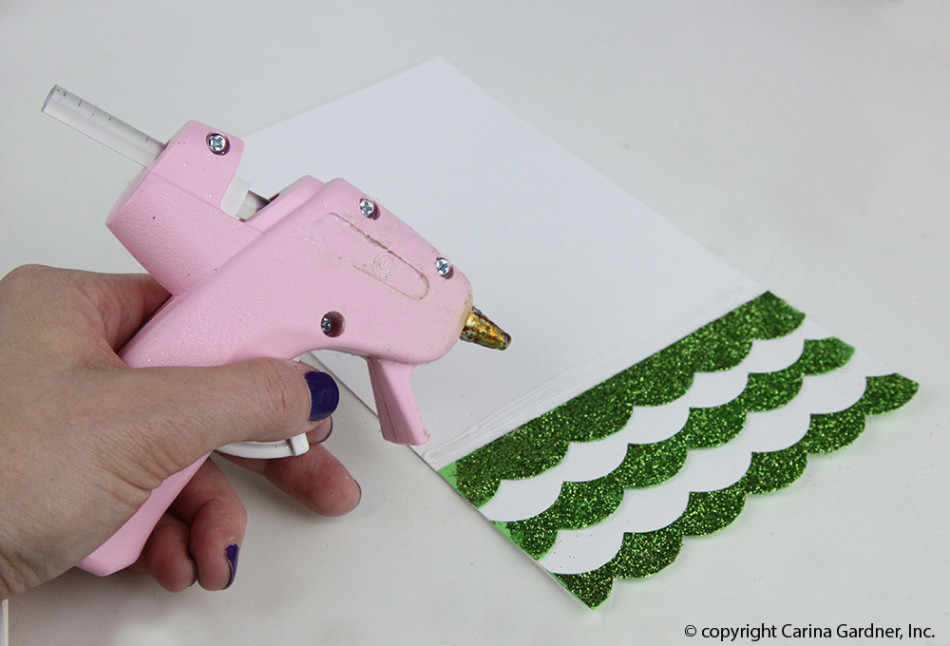
14.  Next, add the long scallop piece to the side of the roof by glueing it on the underside of the roof.
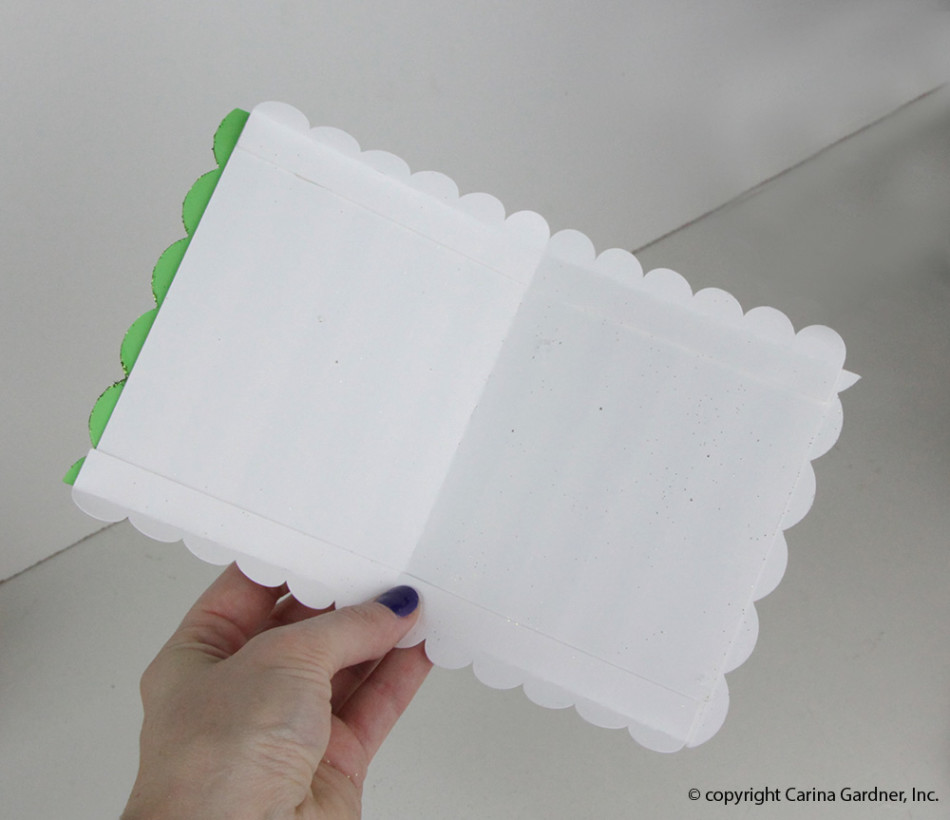
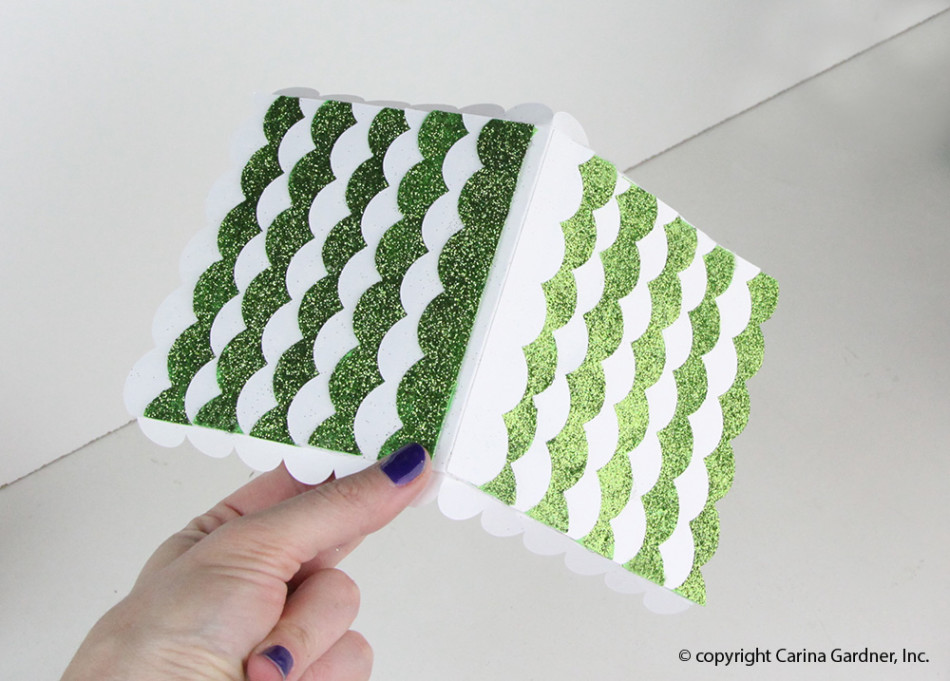
img_5590_web img_5591_web

15.  Then add the roof by glueing one side, making sure it’s centered and the top creased is lined up.
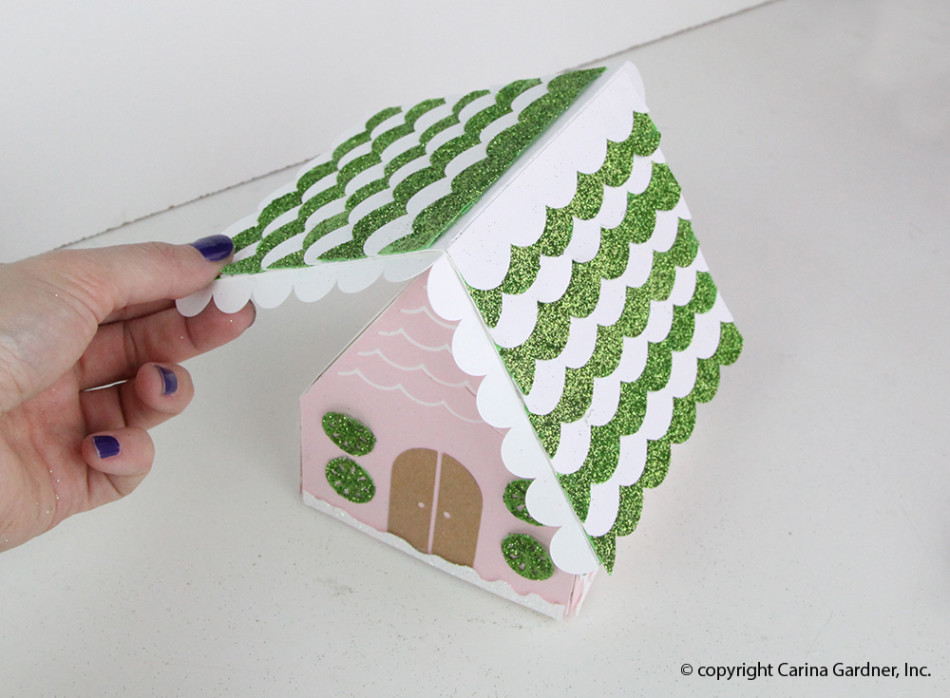
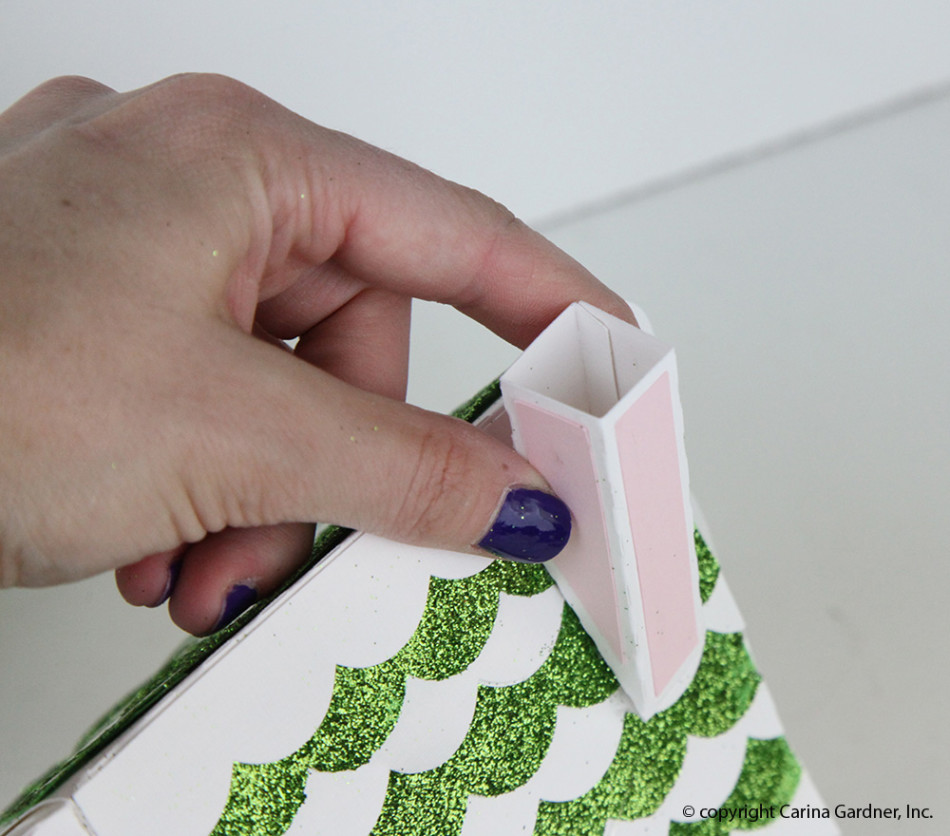
16.  The last thing to add is the chimney!  Take the chimney piece and fold it into a box shape.  Then, glue the tabs on the angled side to the roof.img_5596_web img_5597_web
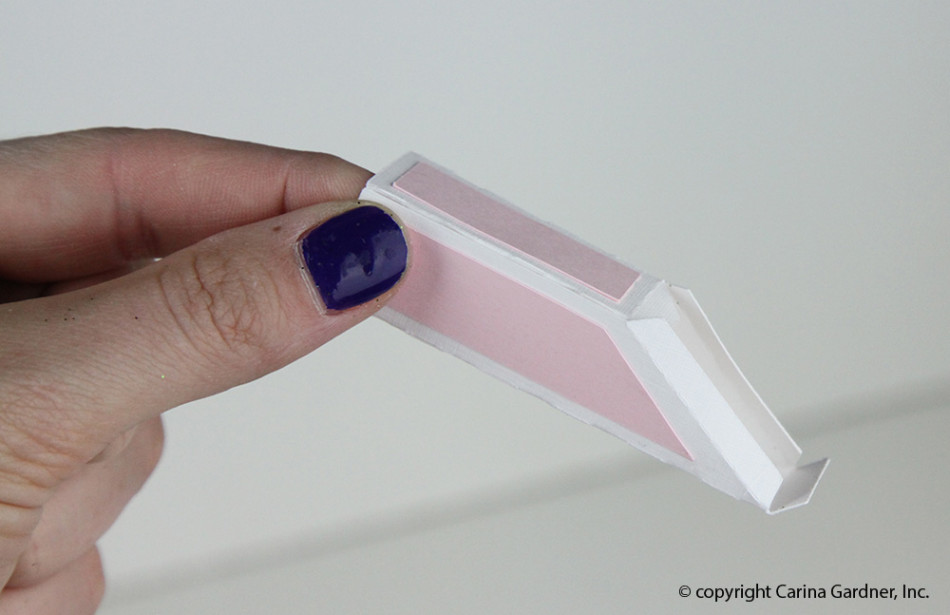
Now you have the most adorable Fairy House for your Glitter Christmas Village!
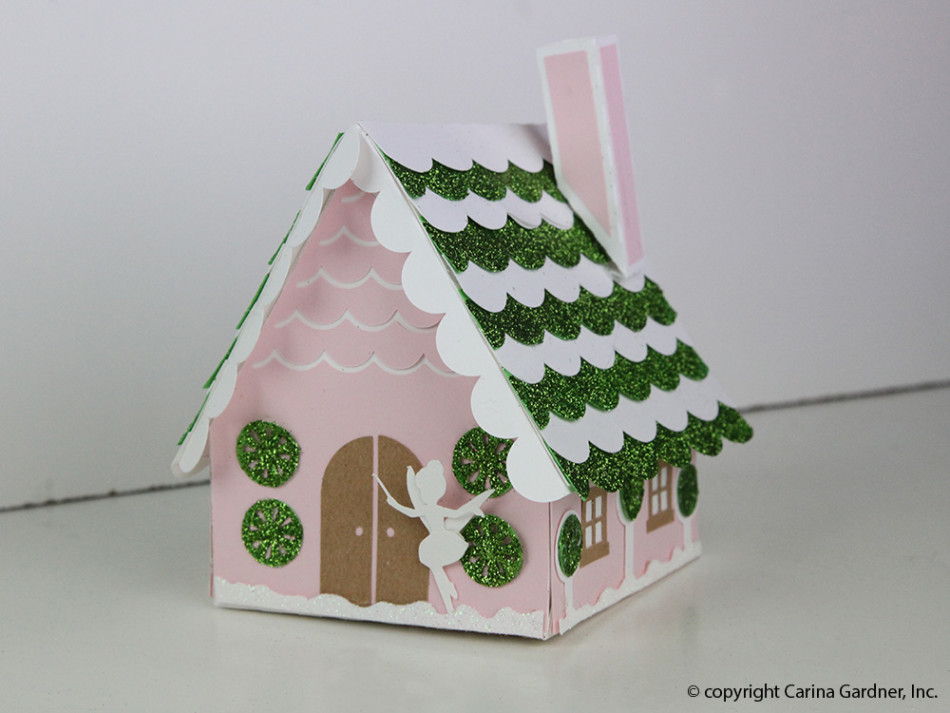
img_5606_web

Here’s a few more instructions on some of the parts that are specific to each piece.
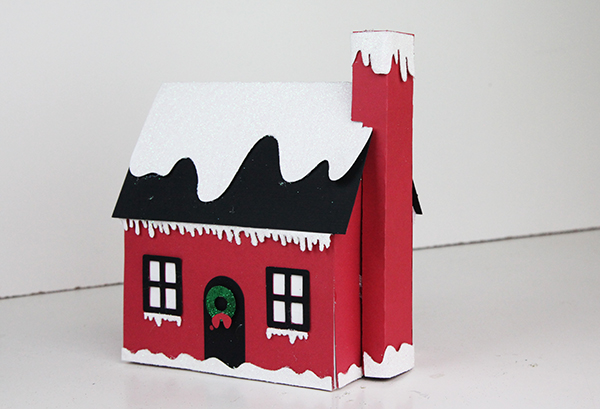
img_5649_1web

Chimney on Santa’s Cottage:

  1.  Start by folding all of the score lines.
  2.  Next, glue the tab on the long side and glue it so it makes a box.
  3.  Then, Glue the tabs on the open part to the house.
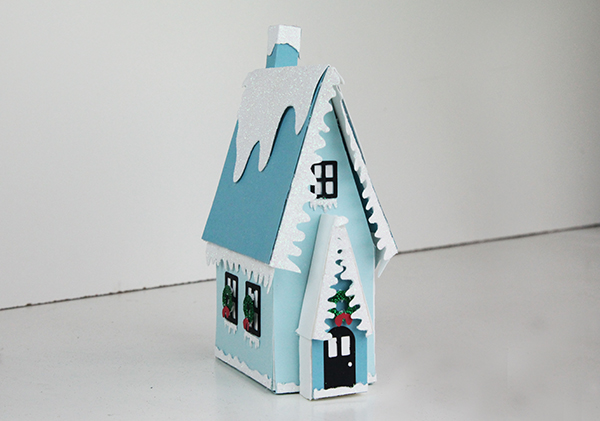
img_5627_1web

Front Door piece on Chapel:

  1. Start by adding all of the embellishments to the facade.
  2. Then, glue the facade to the front/back piece.
  3. Next, take the long bottom piece and glue the tabs to the front/back piece.
  4. Add the roof/snow like you would for the other houses.
  5. To finish, glue the front door piece to the front of the chapel.
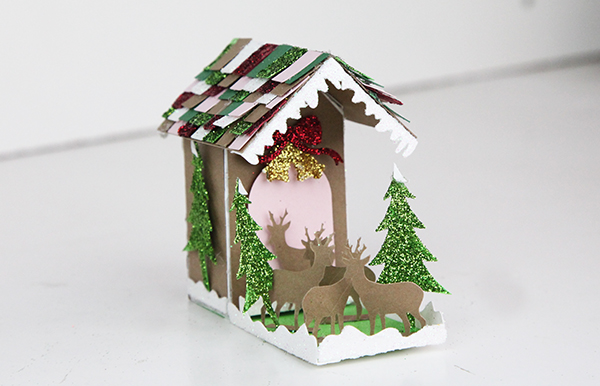
img_5669_1_web

Reindeer Stables:

  1. Start by assembling the house.
  2. Then, take the green piece and glue it to the bottom of the house.  The green piece will cover the entire bottom of the house and then extends into a yard.
  3. Next, glue the reindeer and tree tabs to the yard area.
Silhouette Design Store JOANN Stores

Halloween Boo Marquee Letters Tutorial

img_4593_web

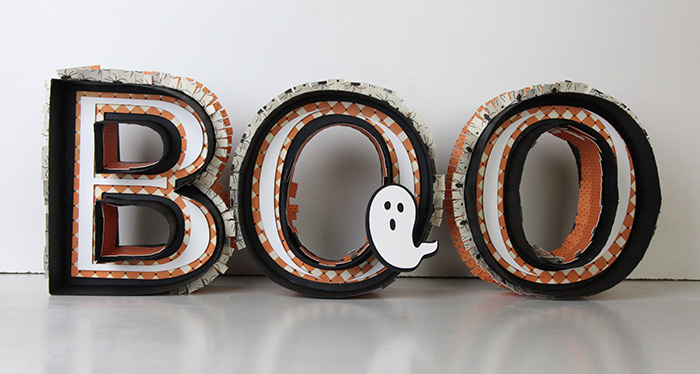
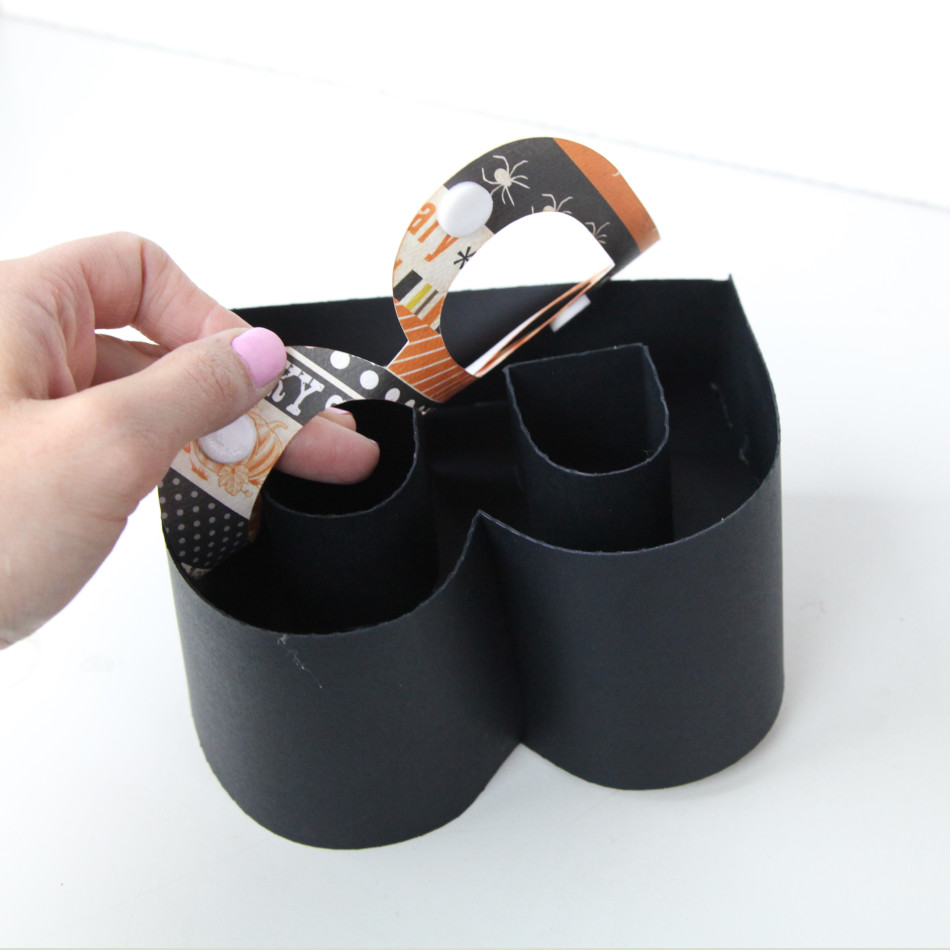
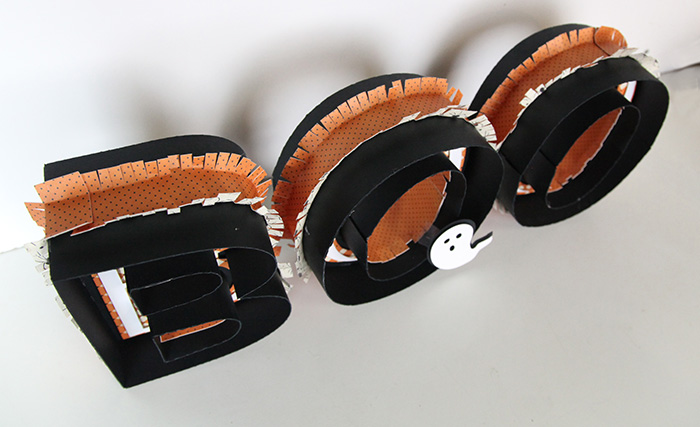
This week I released these fun BOO marquee letters on Silhouette!  They take some time to put together, but are so worth it!  They are similar to my original marquee letters, but have more decorative element to make them fun for Halloween.  Click here if you want a tutorial on how to put the letter part together.  You can see how to put together the festive Halloween pieces below.  Happy crafting!
1.Cut out all SVGS.  We did the letters in black, and the other pieces in fun Halloween scrapbook paper.

2.  For instructions on putting the letter together, click here.

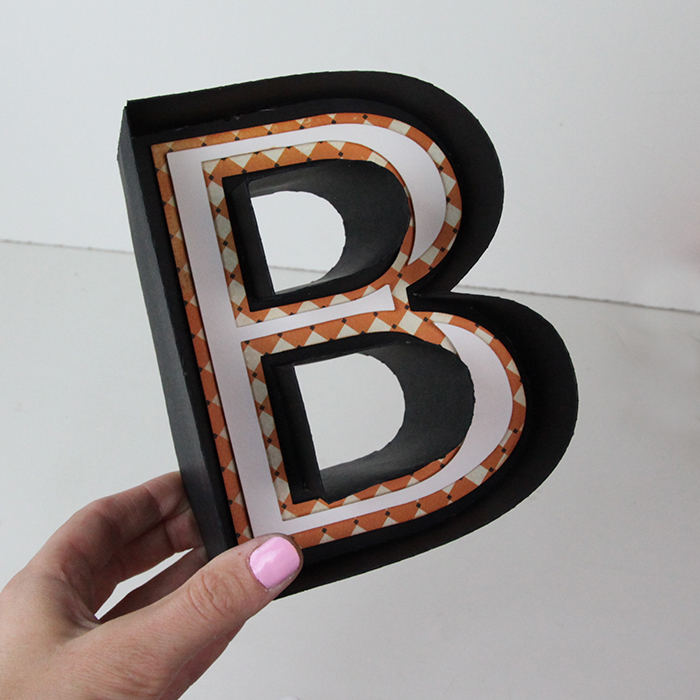
3.  Once your black letter piece is put together, pop dot the back of the flat letter piece and place it in the letter.

img_4408_web

4.  After the flat letter piece is placed in the letter.  Add the skinnier, flat letter pieces to the letter using pop dots.img_4418_web

5.  Once the letter part is done, add the fringe to the outside.  Before you start glueing, make sure you know where the fringe pieces fit.  Then hot glue down the center to attach it to the outside of the letter.  Make sure not to glue the fringe to the letter because you want to be able to bend it up.

6.  After all of the fringe pieces are glued down, bend the fringe pieces up.

img_4602_web

That’s all there is to making the BOO marquee letters!  Hope you have a much fun making Halloween decorations as I have!

Silhouette Design Store JOANN Stores

Shadow Box Sliding Card

I’m still recovering from Quilt Market and I’m hoping to have photos up by Thursday! We had a great show and I can’t wait to tell you all about it. For now, I’ve added my shadow box to the Mini Episodes! We have been making so many gorgeous little videos of the new Carina Gardner and MiniLou products coming out in our Bundle Shop and in the Silhouette shops. You’ll see them premier on instagram so check it all out there!

XOXO-Carina

Silhouette Design Store JOANN Stores

Last Minute Projects for Mother’s Day

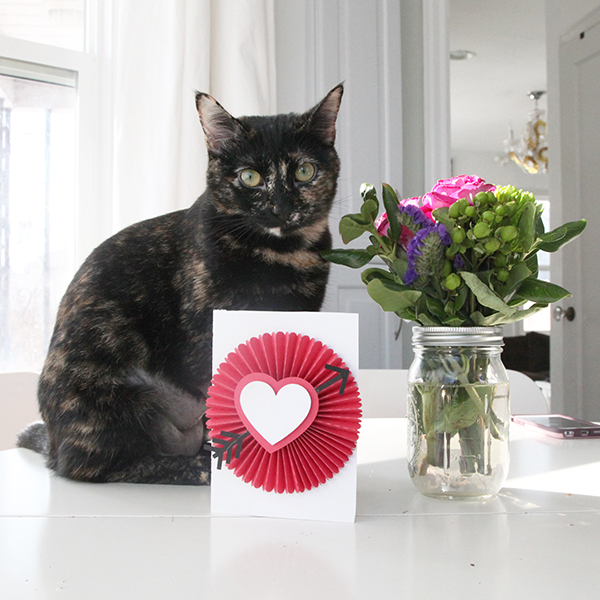
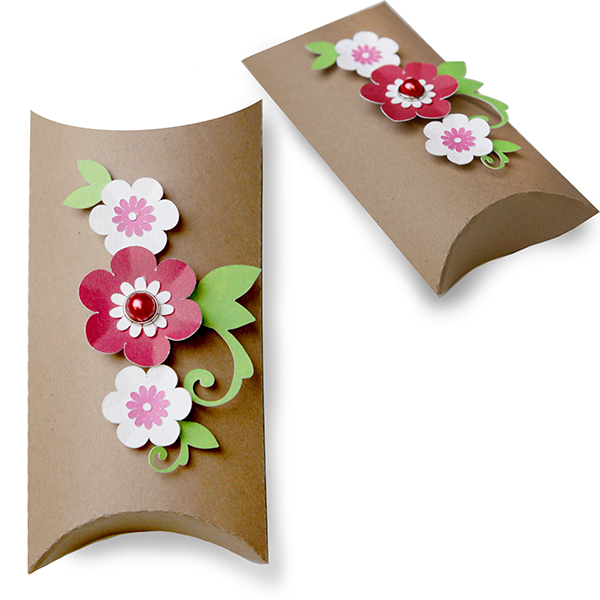
IMG_4595_instagram_webIt might FEEL too late to throw something together for Mother’s Day but it really isn’t. Sometimes I think we get caught up in putting together something REALLY fabulous or REALLY intricate and while that is great once in a while, I think it’s just as appreciated to put together a simple card or pillow box (with a gift card in it for extra ease!).

This year is one of the first years I’ll be with my mom ON Mother’s Day (she’s flying in!). And she KNOWS it’s a busy time of year for me and there is a good chance I’m not going to have time to shop for that incredibly thoughtful gift (she’s also incredibly easy going about gifts).

Because of this, I’m going to be giving her a stack of fabric (something she will definitely use) and maybe something sweet to send home with her. And time. I’m going to really try and spend some time with her.

I know what types of things, I want from my kids…hugs, kisses, maybe a chance to put up my feet instead of cleaning the kitchen (let’s be honest, I wish for that everyday). But mostly I want time. It goes quickly, doesn’t it?

floralpillowbox

I love a little pillowbox with a giftcard in it. Thoughtful but easy.

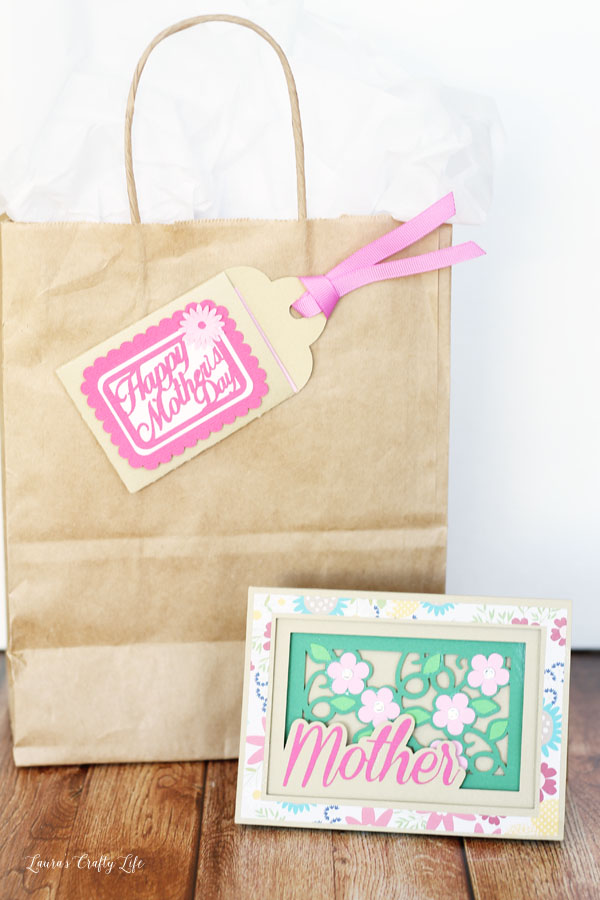
Mothers-Day-Card-and-Gift-TagI also have a Mother’s Day bundle in our SVG shop (for all types of cutting machines) that makes me pretty happy! Laura from LaurasCraftyLife made the sweetest gift and tutorial for Cricut users on how to put these projects together. Check it out if you have a chance! The shadow box card takes a moment to put together but everything else requires a couple of cuts and then you are off to the races!

Hope you are prepping for a fabulous Mother’s Day!

XOXO-Carina

Silhouette Design Store JOANN Stores

CarinaGardner.com Now Has Diecutting File Bundles!

homebanner_32016_svg

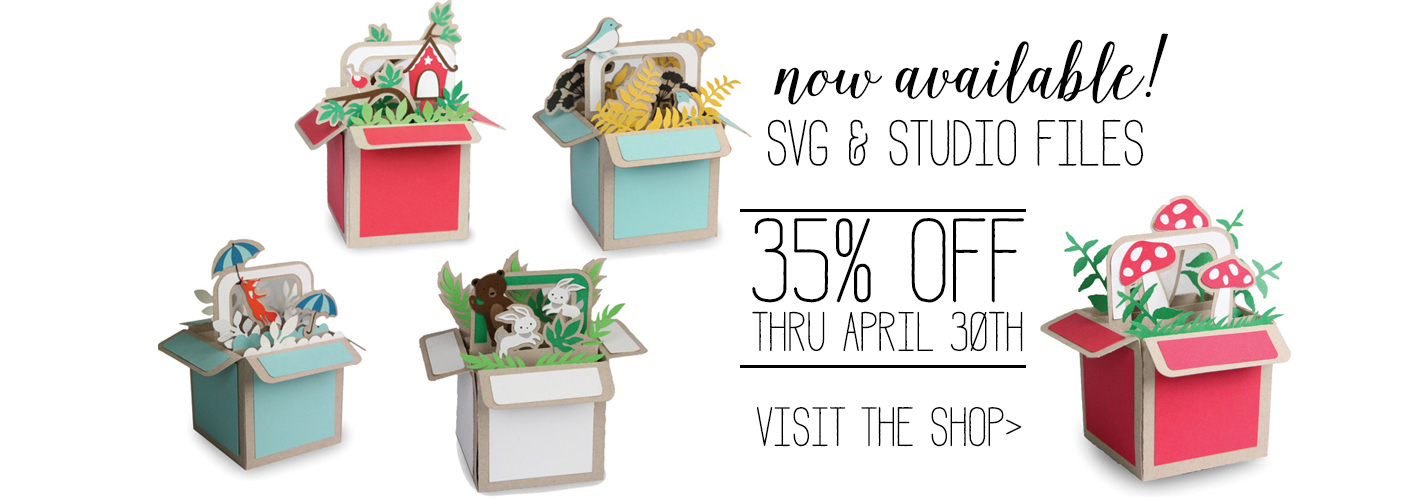
So after weeks of my production assistant and designer telling me it was TIME, I finally gave in and we are hosting bundles of SVG files on our site! This is a bit of a leap of faith on my part. I’m so hopeful that you will like what we have done and those of you with different types of machines (other than a Silhouette) have access to my designs!

So here is the deal: Each of our file sets include an svg file that works with most softwares & the Silhouette Designer Software AND it includes a studio file for the free Silhouette Software. In our descriptions, we have linked instructions, our private facebook groups, and added video tutorials so you can watch instructions DIRECTLY in the instructions. How cool is that?

And the best part is that we are doing a 35% off sale THIS MONTH ONLY to kick everything up! Want to get even more off? Join our private facebook group who get their own coupon codes and our newsletter who also get separate coupon codes.

Everyday, the team is uploading new bundles to the site so that you have access to all of my SVGS as well as MiniLou’s SVGs. Now all your cutting and crafting is easier than ever! Go check it out!

XOXO-Carina

Silhouette Design Store JOANN Stores

Tutorial for 25 Days of December French Fold Album for Silhouette and DigiPlayground

carinagardner_november182015_2_web

My 25 Days of December French Fold albums have finally hit the shops! It’s just in time to make one before December 1st hits and you start taking photos.

These are a little different than my 25 Days of December from last year because these feature a french fold and hidden binding.

Here are the links to my Silhouette shop and DigiPlayground shop so you can pick up one of these albums!

Here’s how to put this together:

1. Cut out the svg files.  The main body of the book I cut out in kraft paper and the cover and frames are my Have a Merry Christmas papers for Cartabella.

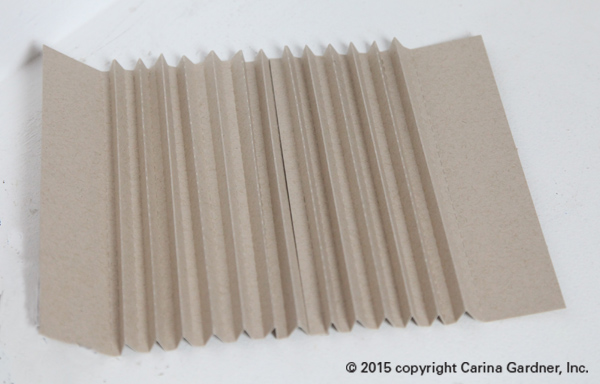
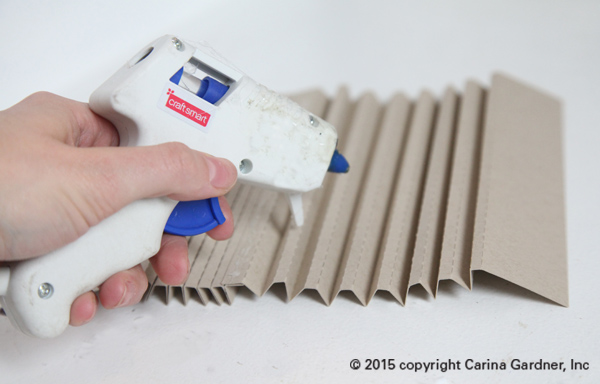
2. Begin with two pieces of the binding and fold along the dotted lines, then glue them together by overlapping the short sides.

IMG_1028_web

3. Turn it over, and glue the wider folds together so the back looks flat and the front has tabs sticking out.

4. Take your pages and fold all of the creases inwards. (The picture below shows the binding on backwards. All those little glued together pieces will become the pages for the album).

IMG_1030_web

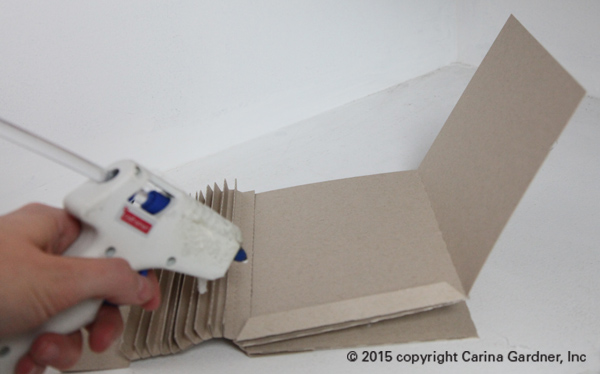
5. Now to add the pages! Glue along the long edge of each page and attach the long edge to the back of one of the folds in the binding. This will create a double-sided/double thick page.

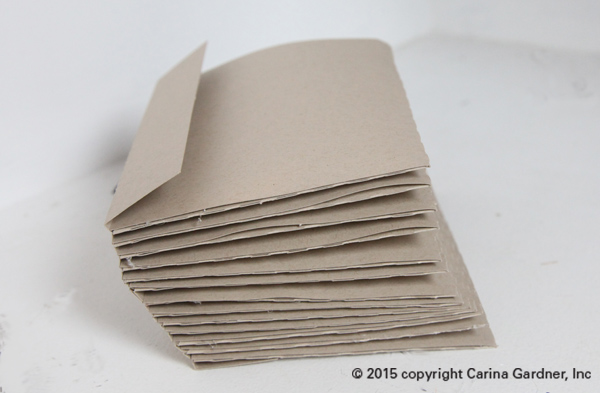
6. Glue the top side of the edge of the long page, as well as the bottom tab and fold the page over.  This should create an envelope with an open top.  Add a page to each one of the binding pieces.


IMG_1038_web


IMG_1041_web

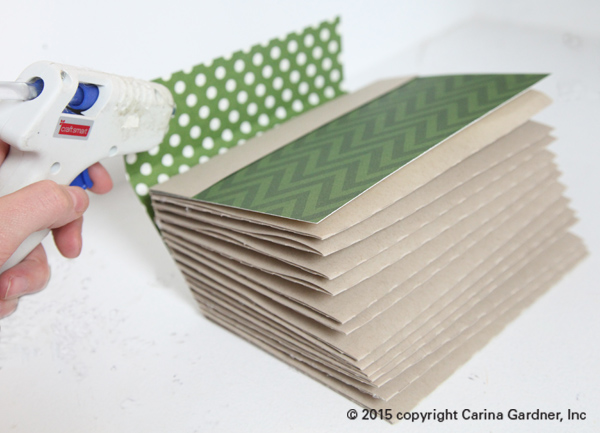
7.  Add the cover by gluing the left side of the cover to the bottom side of the flap.  This makes the inside look clean and the binding flap will be covered with the binding cover later.

8. Glue the binding cover by matching up the crease of the binding cover with the square of the book.  Glue the front, binding, and back side separately.

IMG_1043_web

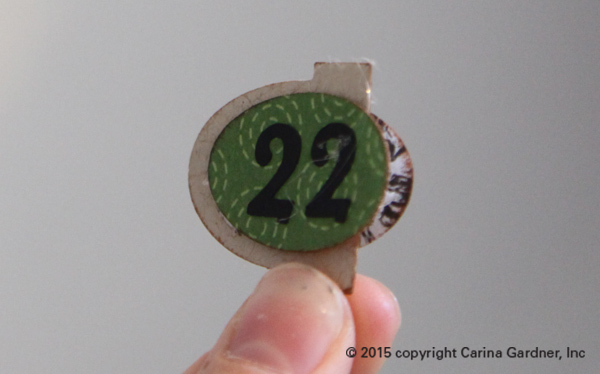
9. For the tabs,  glue each number onto an oval (or whatever shape you have). Note: one of the albums (bracket) does not use this step.

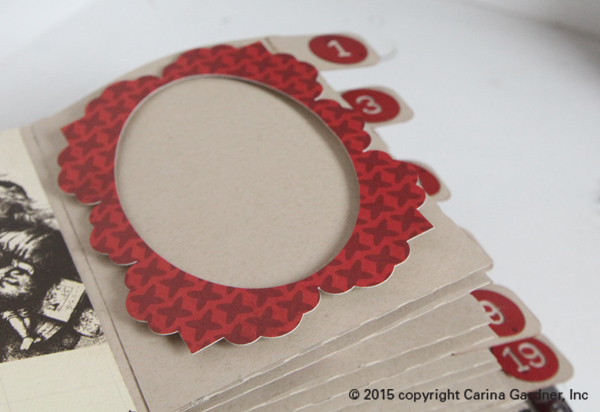
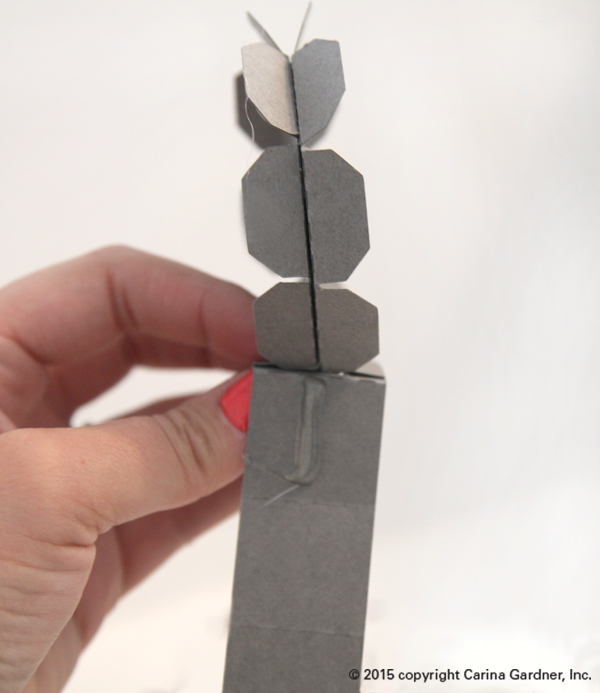
10.  Glue half of the ovals onto each tab, leaving space to slide the tabs into the slits and for the ovals to go on top of the page.  There are 13 tabs, so each tab will have two numbers (one and two will be on one tab, three and four another etc.)

IMG_1277_web

11.  Slide the tabs into the appropriate slit on each page.  Leave the oval out and glue the other half of the oval onto the outside of the page. Glue odd numbers to the front and even numbers on the back of each tab.

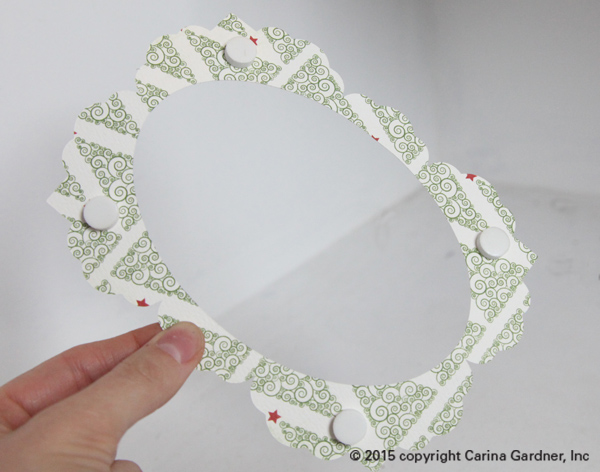
12. For the frames, take each frame and place pot dots on the back.

IMG_1056_web

13. Place the frame in the center of the page and make sure the pop dots are firmly in place.

IMG_1057_web

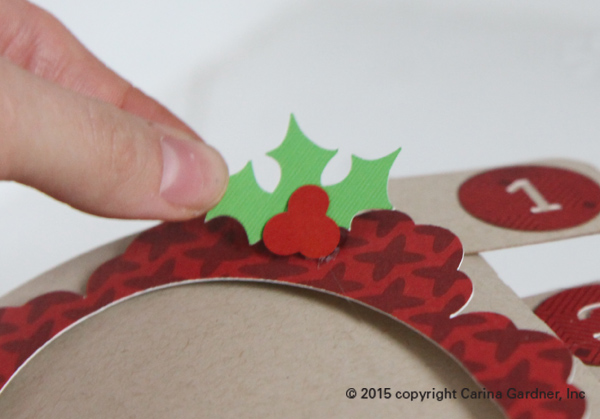
14. Glue the leaves to the berries and attach to the corner of the frame.

IMG_1058_web

15.  Place pictures and memories on each page to fill your 25 days of December Album!

Happy crafting!

Carina


Silhouette Design Store JOANN Stores

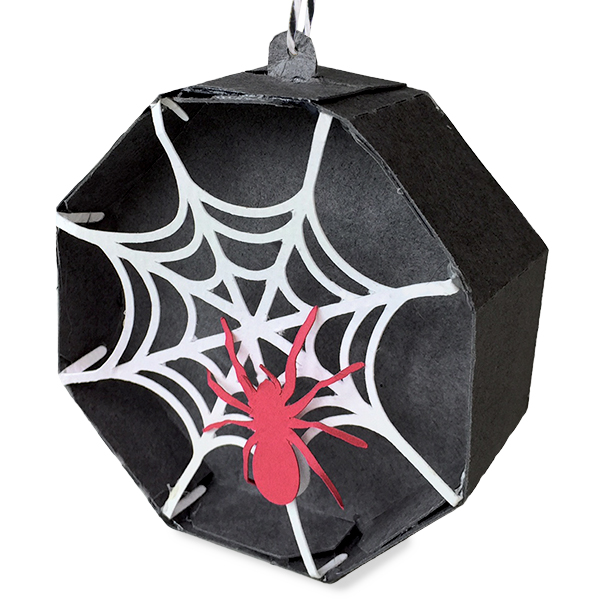
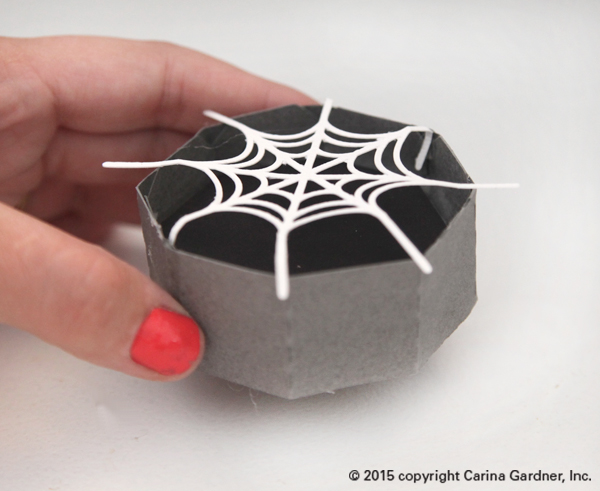
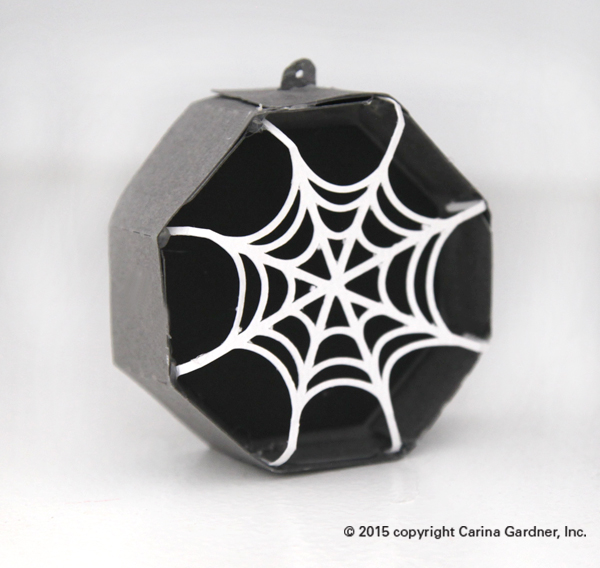
Hexagon Halloween Ornament

DS-C-8.6824W-CG-Spider Ornament

I love some dead branches in a vase as halloween decor. These little ornaments are the perfect accessory for those branches! They’d also be cute strung in front of a window or as a banner.

Every one of these ornaments are made a little differently. I’ve chosen to show you how to put together the hardest one. Most are simply layered with hexagons and shapes. Feel free to mix and match all of the ornaments in this collection!

Here are the links to my Silhouette shop and DigiPlayground shop.

Here’s how to put this together:

1. Cut out the svg files.  The main body of the ornament I cut out in a deep gray and the interior is a matte black with white spider webs and red spider.

IMG_9216_web

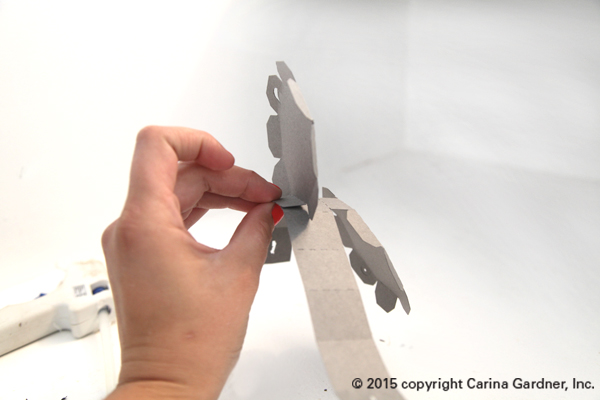
2. Next take the hexagon sides and fold the flap that is connected to the long rectangle piece back onto itself and glue down. Repeat on the other side.

IMG_9223_web

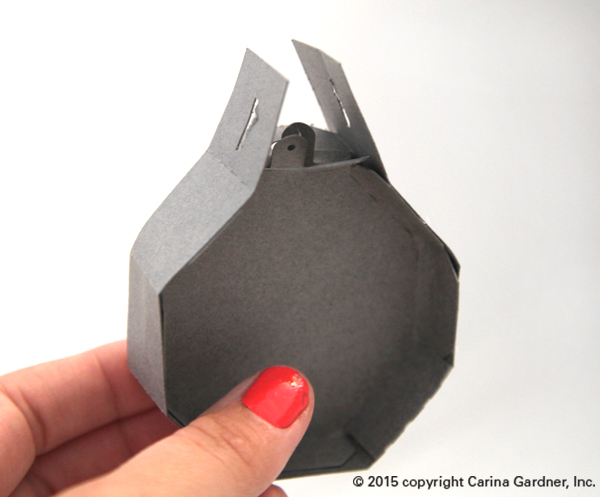
3. Fold all hex flaps away from each other so that they create a flat surface that you are going to glue your rectangle piece to. There are fold marks where each side of the hexagon’s flaps should be glued to your long rectangle. Repeat all the way around until you end with 2 open slits at the top

IMG_9228_web

4.  Slip the ornament hangers from the hexagon through those two open slits and glue together.

IMG_9231_web

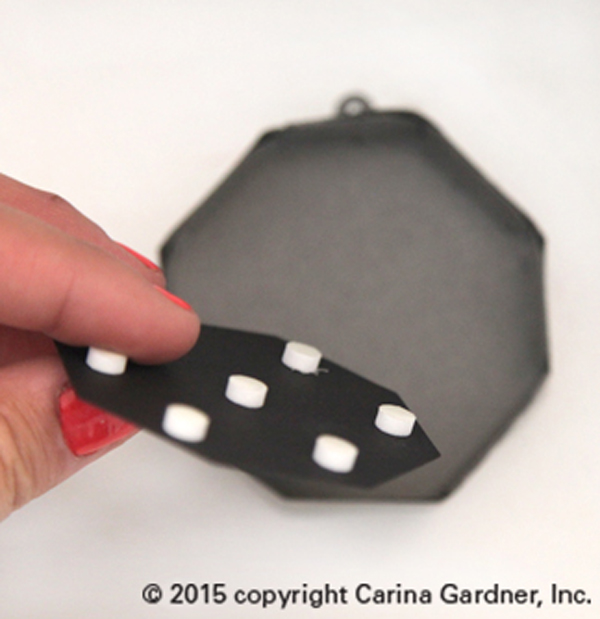
5. Take your flat hexagon accent pieces and pop dot them on each side of your ornament.

IMG_9235_web

6. Lay the spider web over the top of your ornament with the long webs aligning with the corners of your hexagon. Bend them over the edges to give you a good idea where to glue. Neatly tuck your folded spider web string to the inside of the corner to the hexagon and glue together. Repeat all the way around and the other side.

IMG_9236_web

7. Once your finished pop dot your spider to the web and you’re done!

Hope you have fun making these!

Carina.

Silhouette Design Store JOANN Stores