
 I found these darling skirts at Gymboree clearanced out. So of course, the only sizes left were 9 and 10…a bit big for a 3 and 6 year old (and I wasn’t about to let these bad boys sit idly in a closet for a few years!). So I made these skirts into dresses.
With just a bit of ribbon and a giant flower (I got mine from The Lace Place), these skirts become dresses for my girls. Here’s what you’ll need to do a project like this:
+ 1/2 yard to 1 yard of ribbon that matches or contrasts your skirt (I went with the pink satin ribbon)
+ 1 yard of ribbon for a bow or silk flower
+ large safety pin
+ Fray check
+ small, squirmy child to try it all on
1. Fit the skirt to your child. Most likely you’ll need to bring it in a little. I’m not the kind to pick apart the whole thing and put it back together. I just turn it inside out and sew an inch (or whatever) into the seam. I don’t even sew the length of the dress! I just taper off after a couple of inches.
2. Cut the ribbon in 1/4 to 1/6 lengths and fit to your child ( you’ll need 2 lengths for each “sleeve”).
3. Sew the ribbon into the skirt wrong side out (You’ll do this four times…one at each point the skirt and ribbon connect). Sew at least two lines of stitches. Put fray check on the raw edges.
4. Put the safety pin through the large flower or bow you’ve made. Then attach it to the dress. I like the safety pin because then you can take it off when you wash the dress or use it as an accessory on other clothing.
I think this project took me an hour from start to finish. Modeling for me is my darling niece Lola (I think my own kids have had it with me and the blog modeling!). She was actually excited about wearing Felicity’s dress (that’s a welcome change!).


 I’m excited to show you what’s new in my shop! This new video is part of this week’s new releases. You can visit my new products here:
 TUTORIAL/LIVE VIDEO SCHEDULE

 I’ve been making a lot of content but it has been hard for me to keep up with posting them here on the blog so I have a few 15 second videos for you in this one post. These are originally posted with Reels at either
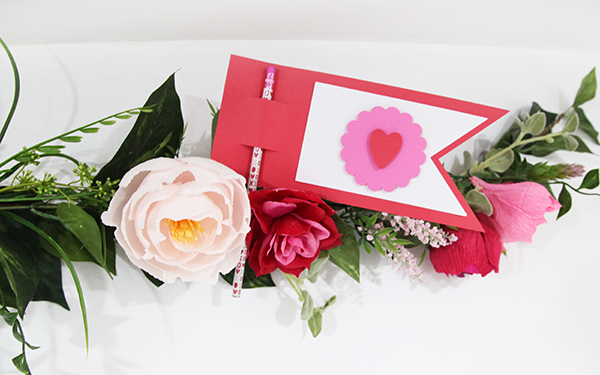
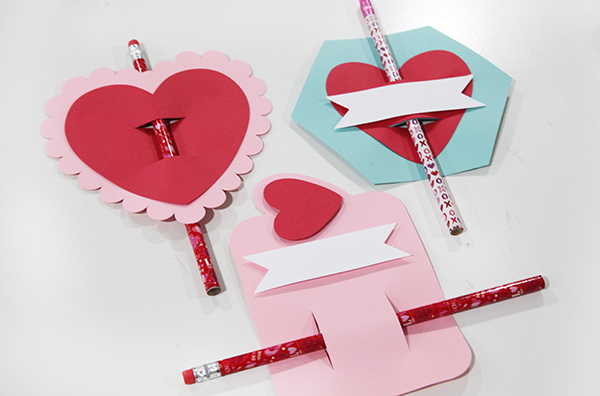
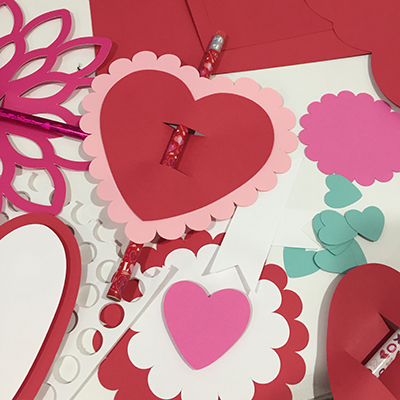 This week is the last one I’ll be releasing Valentine’s so I’m going out with a bang! I also decided to double dip. These pencil cards are not only my final Valentine’s release but are also Felicity’s class gifts. She’s going to write on each of them, and I’m sure we’ll add a few quotes like “I’m write for you.”
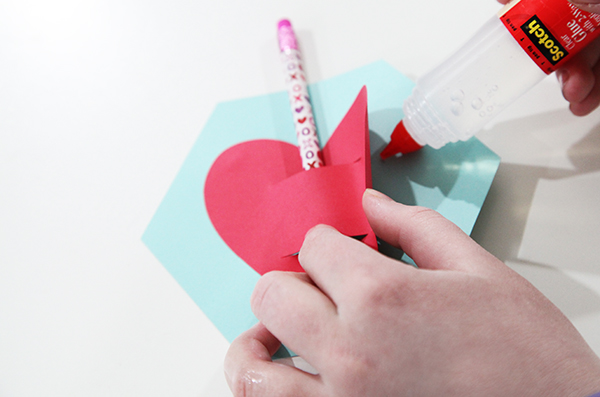
 We got a Costco playset in April, which has kept my kids outside most of the summer. I had this idea that I was going to make it more of a “clubhouse” by making curtains for it.


 It’s not even Thanksgiving… and my house and studio are buzzing with all sorts of Christmas fun. We are getting ready for our 4th quarter newsletter, which should be out sometime next week. We might even have a wicked little goodie for you…so be sure and sign up so that you can get access to the


 The freezer paper makes the fabric stiff enough to go through the printer. You iron the freezer paper’s waxy-shiny side to the fabric. My printer is able to print 13″ x 19″ sheet, which really helped with the construction. I printed off 4 sheets in the pink paisley from Love Nest™ and 1 sheet in the red calico flower from Love Nest™. (BTW, pattern for that flower will be coming soon to this blog!).
 The templates all fit on a 4 in x 4 in photo (I get 4″x6″ photos printed at Costco and leave the extra space blank). All I did was take my “ABC photos” and dropped the templates on top (the digital kit comes with both white and black versions-52 files in all).

 Speaking of projects, I have to show off these amazing projects by one of
  ctable philly burger with the refreshing limeade in a ridiculous amount of time. Yes, my mouth is salivating just thinking of it. Gen, watch out…I may be back sooner than you’d like!
 I’m a sucker for Valentine’s Day. And while we are still three weeks away, I’ve got some great little projects put together for this very pink holiday. If you haven’t picked it up yet, the
 Yes, my daughter wanted me to make her an octopus costume for her birthday. So how could I refuse? I kept it simple by buying a t-shirt (with the gems already on it) and women’s long socks. Add some filling, a t-shirt transfer kit and my sewing machine and I was set. The only problem? Once I made one for my oldest daughter, I had to make a second one for my youngest daughter. Thankfully, it’s project that can be done in a couple of hours.


 1. I bought a package of Dark T-shirt transfers and a few t-shirts in blue and dark pink. I picked them all up at Target but many places would have these goods.