2020 Planner is Available for just $1

You guys know I’m a crazy person when it comes to my planner. So here it is, my 2020 planner. So many of you asked me to make it available so I did…for $1.:)  Here it is in the shop – https://carinagardnershop.myshopify.com/collections/planners/products/2020-planner-download.

The best part is you can download it anytime of the year and use it by quarter. So maybe you decide you hate your current planner and want to try this one? Build just a Quarter 2 Planner (that’s what I did for myself).

This video explaining it was done during my Silhouette Live Video (Live video times below).

Tuesdays Silhouette Projects 10am MST
instagram @carinagardnerpapercrafts
facebook https://www.facebook.com/carina.gardner.designs/

Tuesdays MiniLou 11am MST
instagram @miniloukids
facebook https://www.facebook.com/miniloukids/

Thursdays Fabric Projects 10am MST
instagram @carinagardner
facebook https://www.facebook.com/carina.gardner.designs/
Silhouette Design Store JOANN Stores

Organize

IMG_4004_web

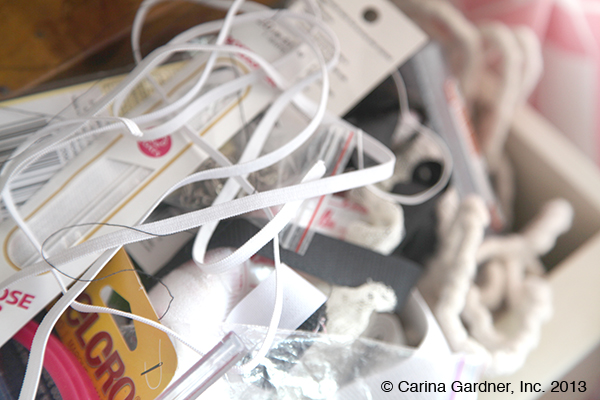
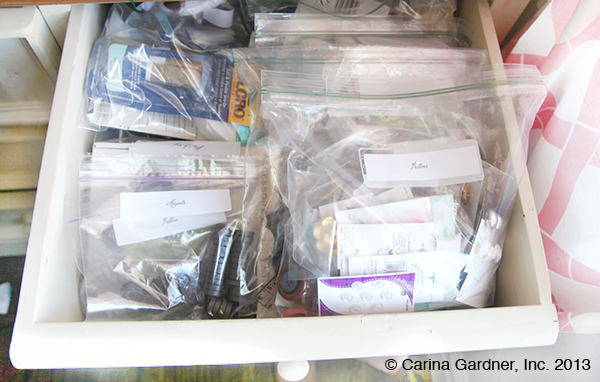
Heaven knows that there are a few (or more…) drawers in my house that could use some organizing. The (scary) one above is the one I tackled this week. I have been finishing up my fall pattern release, which of course, means that I spent the week sewing. After throwing my hands up more than once, I finally decided it was time to move some of that piping around to see what was in the bottom-most depths of that drawer. My simple solution (because, you know, I have deadlines this week!) included labels (from address labels from my warehouse) and gallon-sized ziplock bags. Simple and effective, right?

IMG_4010_web

Sad when you realize the number of packages of Velcro, bias tape, and elastic (oh my!) you have. I just kept buying more to avoid this drawer. Pathetic, I know.

On the upside, I have some cool news for you at the beginning of next week, I am extending my dishware line for Deseret Book for next fall and hellllooo! So This is Christmas has arrived at my house! Oh ya, and I’ll be announcing the new patterns soon.

Getting (a tiny bit) more organized,

Carina

Silhouette Design Store JOANN Stores

Hybrid Project Submissions Now Open!

We’ve had such a tremendous response to the hybrid section of the Quarterly Newsletter that I have decided to open it up to anyone who would like to submit projects they have done using my fabric, digital, or paper. This is very exciting for me since I love seeing everyone’s creativity!

Our first deadline is for Issue No. 6 Dec 2011-Jan 2012, which we expect to release mid-January. Submission Forms are due by December 15, 2011. Please download the form and look over the project guidelines. You can also check out previous hybrid projects done by the Creative Team in Issue No. 5.

Deadlines for future issues will be published on the Newsletter Page (as well as the download forms).

We’d love to publish your fabulous fabric, paper, and digital work so submit!

Hugs! Carina

Silhouette Design Store JOANN Stores

Carina Gardner Quarterly Newsletter (Issue No. 4)

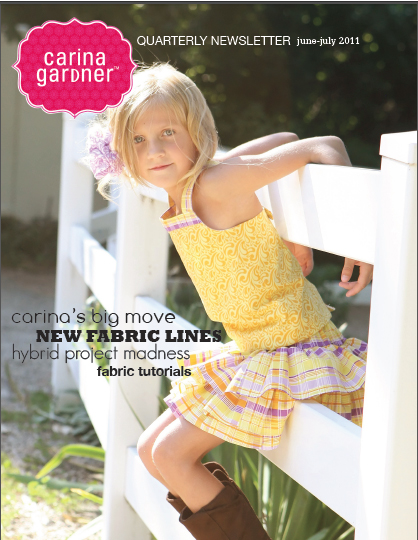
FINALLY! We’ve finished our fourth issue of our newsletter! Better late than never, right?

I think this is our best issue so far. First of all, there are a LOT of photos. And tutorials. And photos. And an announcement (which links to ANOTHER digital magazine). And did I mention photos?

It’s seriously delicious!

Susan has already posted a bit on getting ready for this crazy photoshoot (see it here). I can tell you right now that we had so many amazing photos that I’m not going to be able to resist posting them.

But first, click on the newsletter to the left here and take a peek at all the fun we were up to in the studio.

https://carinagardner.com/newsletter/carina-gardner-newsletter-issue-no-4/

More photos to come!

Silhouette Design Store JOANN Stores

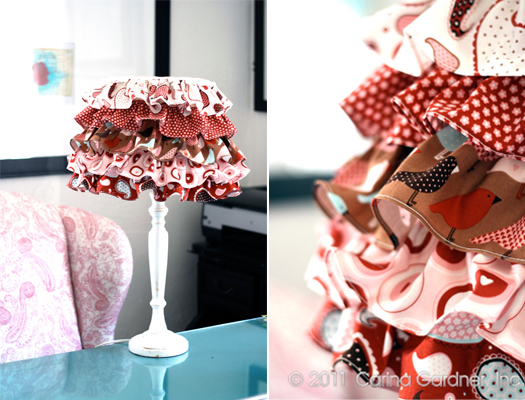
A Bit Ruffled

…in the best way possible of course! Susan says I get bonus points for the pom poms on top (They are kind of hard to see on the top of the lamp in these photos).

This lamp shade is a breeze to make. I think I got the shade from IKEA (a couple of years ago) and the lamp from a consignment shop. It takes two 5″ x 43″ strips of fabrics to make each ruffle (I have 5 ruffles here using my Love Nest™ fabrics). Hot glue ruffles, pom poms, and a ribbon on top and you are done. How easy was that? Into my girl’s room it goes!

Silhouette Design Store JOANN Stores

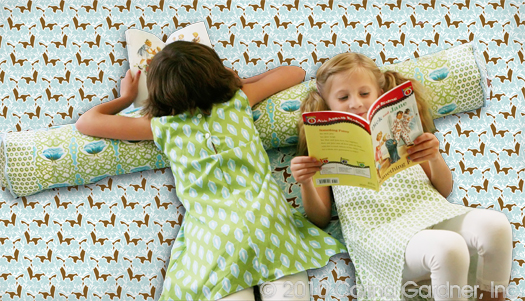
How to Make a LumJum Body Pillow-Free Download

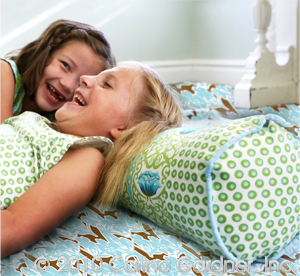
IMG_0995_filtered_2sm

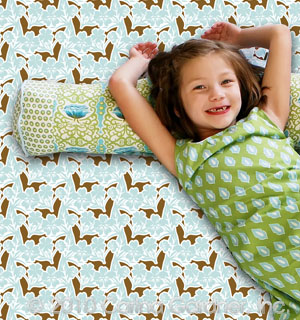
What IS a lumjum you might ask? Growing up with a Chinese mom meant that we had some pretty weird words for some of our favorite things. However, the most loved item that my mom made each of us was a lumjum, aka a cylinder body pillow.

Growing up, this was the lovie we all took on every vacation with us (skip the pillow, bring the lumjum). My siblings can attest. You didn’t leave home without your lumjum-it would mean a bad night of sleep.

Even today, I take my lumjum with me. When I don’t I have to have 5 pillows to take it’s place (ask Deena and Jen). Ya, more information than you wanted I’m sure.

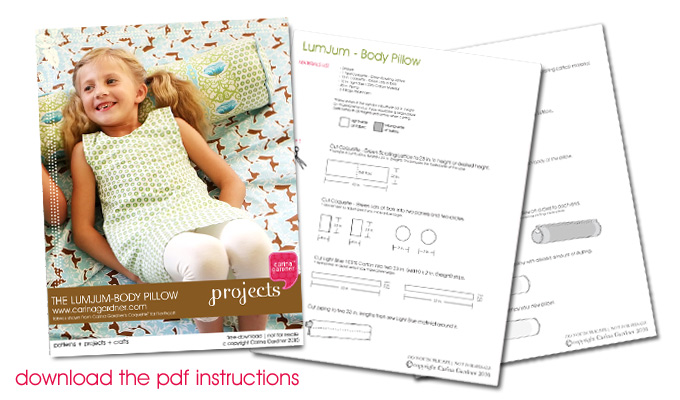
IMG_1101cropped_smMine is a little extra long with super easy instructions. You use ever bit of fabric, and it is fun for movie night or a cuddle. You can tell we’ve had some serious sewing time during the last couple of days. Oh yes, all these projects are made with my brand new bolts of Coquette™. The project madness has just begun…

Also wanted to give a reminder that the giveaway for my debit fabric line ends on Friday (a couple of days away) so be sure to put in your comment in the Coquette™ Fat Quarter post soon!

Click on the image below for the downloadable instructions for this easy body pillow.

_________________________________________________________

carinagardner2010_lumjum_dwnld_banner

photographs in this post by Susan Haglundphoto1_sm

Silhouette Design Store JOANN Stores

How To Make a Halloween Banner-Free Download

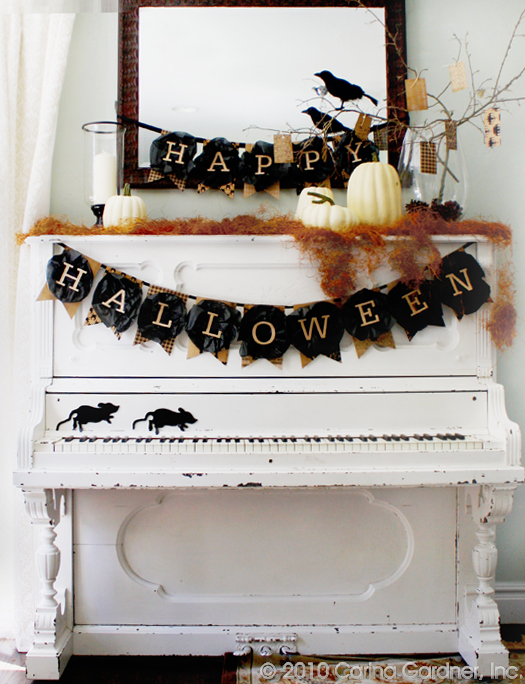
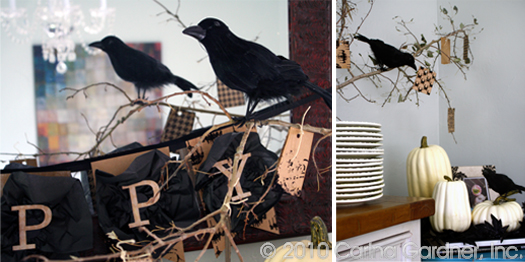
carinagardner_halloweenbanner1There have been spooky things happening at my house recently: Crows cawing, moss creeping, and mice scurrying along the old piano. It’s just enough to make you want to shout, “Happy Halloween!”

The spookiness has been so much fun that I made this banner using the Haunted™ Line. The instructions and pattern are below for you to download.

Another sweet creepy but easy Halloween project is just to tie pieces of Haunted™ paper with twine to dried branches. It’s cheap, easy, and chic all at once. Who knew Halloween could be chic?

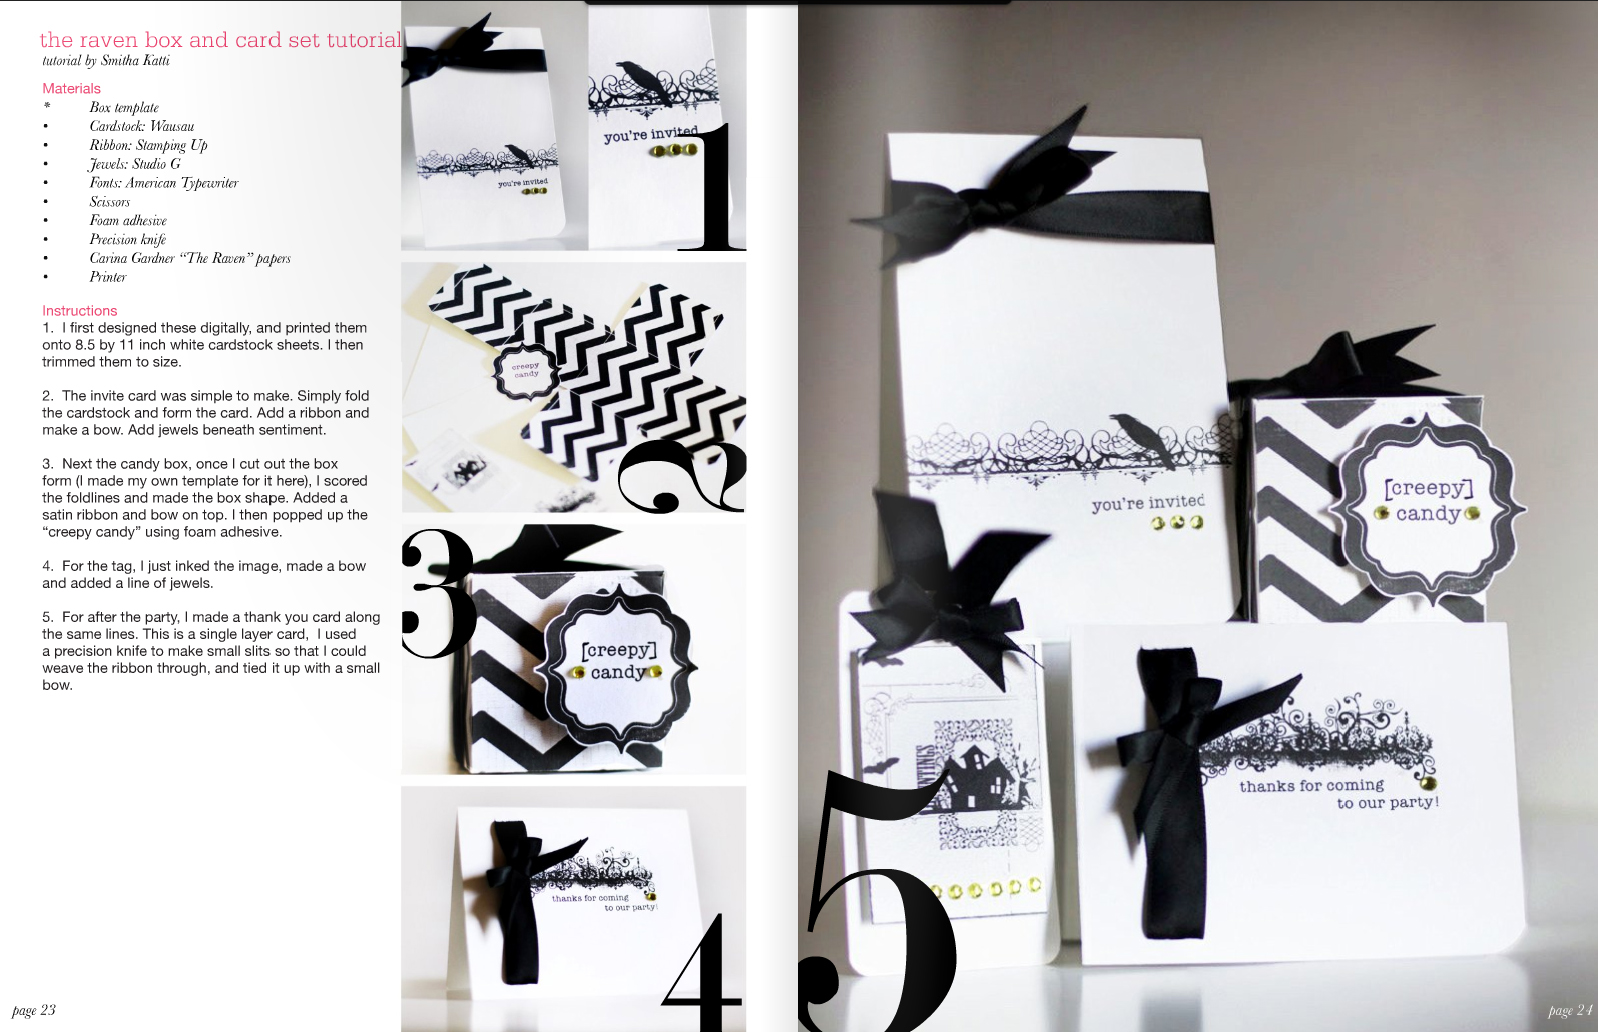
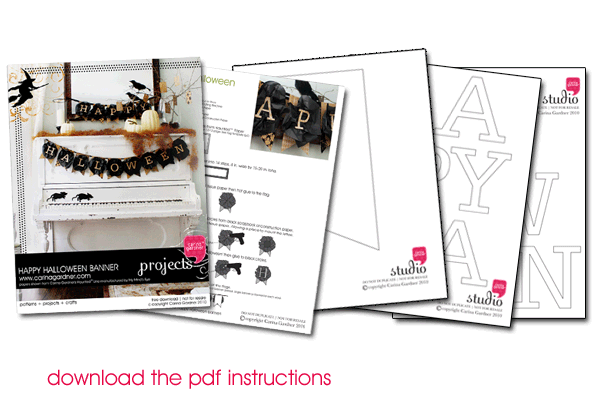
Be sure and download the Halloween Banner tutorial below (all you will need is one pack of Haunted™, hot glue, black tissue paper, black ribbon, and black construction paper…it’s a whole lot of black:). I also have Illustrator files for those of you with a cutting machine. See below to download.

So what will I be working on next? My daughters have decided to be Sailor Moon (yes both of them) and I will be recreating a pair of red, white and blue outfits (hmmm, sounds patriotic). Let’s hope (for my sake) they don’t change their minds.

HALLOWEENBANNER_2

Illustrator File Downloads:

Halloween Flag Illustrator File

Halloween Pattern 1 Illustrator File

Halloween Pattern 2 Illustrator File

Download the Instructions:

carinagardner2010_halloweenbanner_dwnld_banner

You can also paste this link into your Internet Browser: https://carinagardner.com/2010/09/10/how-to-make-a-halloween-banner-free-download/

Silhouette Design Store JOANN Stores

How to Make a Halloween Countdown Calendar-Free Download

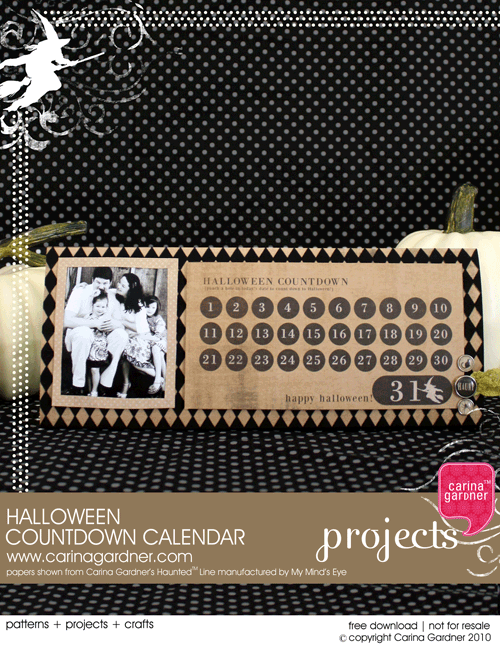
carinagardner2010_halloweencalendar_MP_bannerIt may seem a bit early, but Halloween has come to my house this last week. I’ve been happily crafting with my Haunted™ Paper Line. Lots of white pumpkins and scarecrows are visiting my living room (Photos coming soon!).

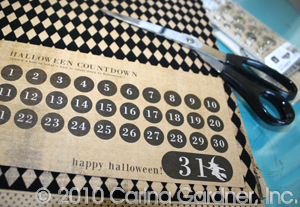
Here’s a fun project that you really need to do (and can easily do) in advanced. You will specifically need the Haunted™ Line because the reason it is so simple is because the journaling page in this line has this Halloween Countdown already to go! (simply cut it out!)

IMG_4846_1Once this fun little calendar is finished, all you’ll need to do is let your kids stamp a fun shape (The Haunted™ Acylic Stamps will be what we are using. I’m thinking we will be using white ink and that creepy, crawly spider.) or just draw a mark on each day as you countdown to a very spooky Halloween! It will be a fun way to start October 1st!

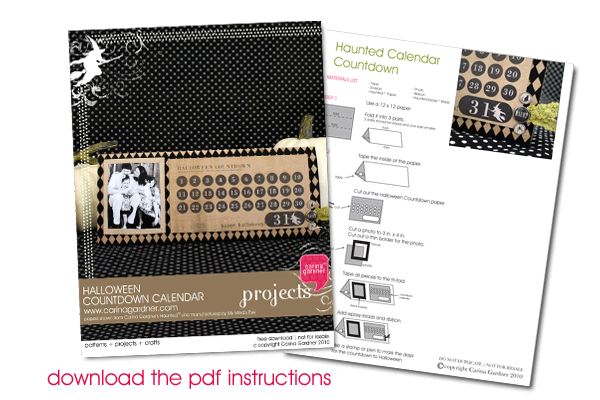
I have the tutorial for you to download below (seriously, this is a 20 minute project at best and the hardest part is making sure you have a photo of your family to add!) and you can certainly expect some more haunted crafting happening ’round here this week. Those cute, um, I mean spooky crows just love getting photographed!

carinagardner2010_halloweencalendar_dwnld_banner

Silhouette Design Store JOANN Stores

Hybrid Card Tutorial

I’ve been meaning to post this awesome tutorial from CT Member Joyce. This is a fantastic tutorial showing off how easy it is to take digital products and turn them into cards. Take it away, Joyce!

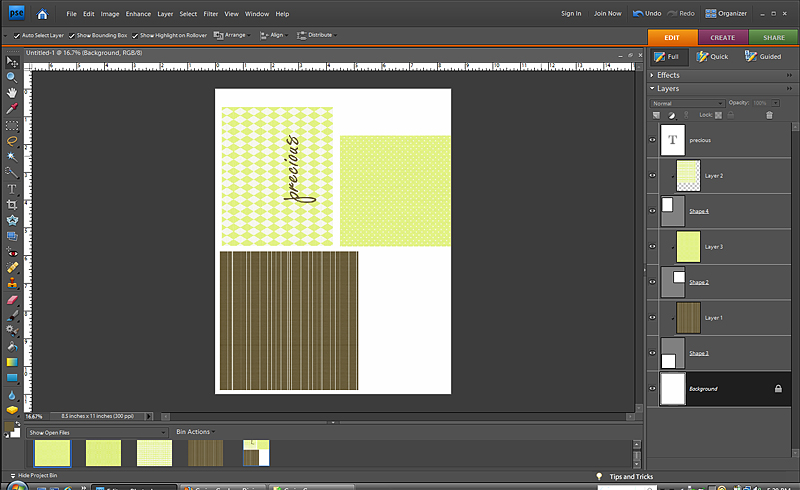
1.Create your cardstock pieces with a program like Photoshop Elements. I created 4×4, 5×5, and 4×5 shapes and clipped the patterened papers to them. I flattened the image and printed it onto white cardstock.

screenshot_BasicsHybrid

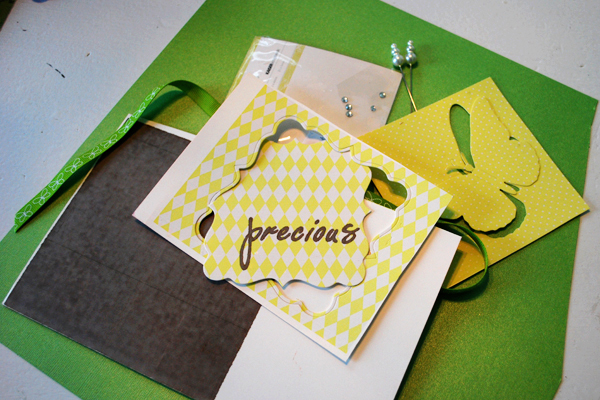
2. Next I trimmed my patterned paper pieces and used my Quickutz Epic
to cut out the butterfly and label shapes from the patterned paper. I
gathered up a few more supplies like green cardstock, butterfly
ribbon, Maya Road stick pins, and some buttons.

Precious_step2

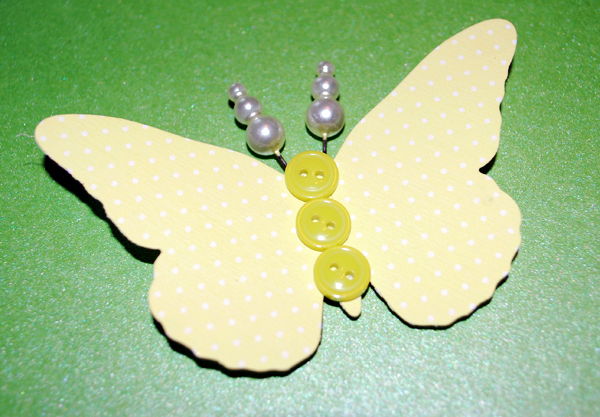
3. I embellished my butterfly by adding 3 tiny buttons to the front,
foam tape to the back, and stick pins pushed into the foam tape for
antennae.

precious_step3

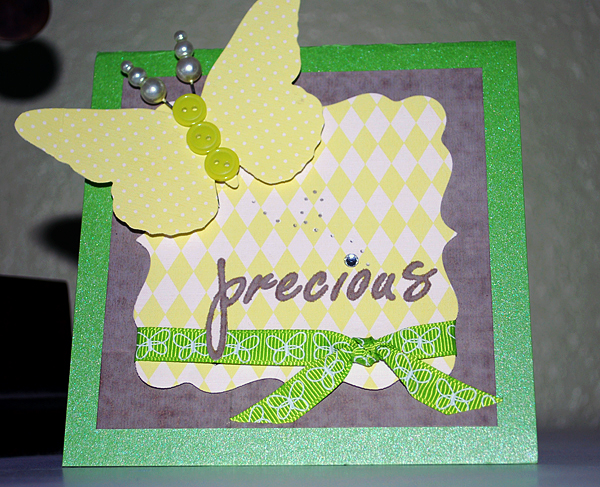
4. I cut my green cardstock to 5×10 inches, folded in half at the top,
and layered on my elements. Brown patterned paper trimmed to a 4.25″
square, then yellow patterned paper that was cut into a label diecut,
and butterfly in the corner. Another embellishment technique I used
was to add a butterfly flight trail with my punch tool and dot the “i”
of precious using a rhinestone.

Now I have the perfect unisex card for my next baby shower! The Basics
papers
are so versatile you can create something for most any occasion!

precious_hybrid

Silhouette Design Store JOANN Stores

Happy Fabric Flowers-Just Add Velcro

IMG_4844_sm
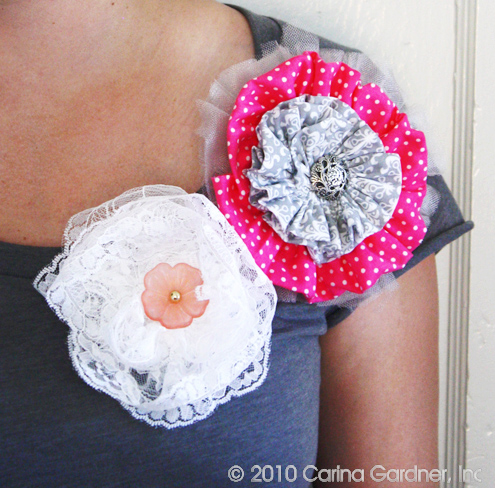
I was invited to a craft night with a whole lot of mid-western gals. Who knew there were so many Minnesotan’s in Utah (escaping the cold no doubt)? The theme was t-shirts so I brought T’s for the girls and myself with tons of fat quarters, lace, and buttons. Inspired by Whippy Cake’s headbands (introduced to me by Kari Holt at CHA), I decided to add velcro to all the shirts and make lots and lots of flowers so my little girly-girls and I would switch out depending on our mood. It was an instant hit with my kids, and Siri is sitting next to me learning to sew rosettes as I type. Thanks for inviting me Kelly!


Silhouette Design Store JOANN Stores

How to Brighten a Skimpy Wreath

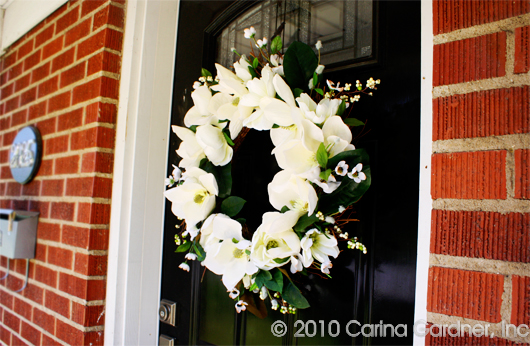
I love a white wreath on a black door and I found a really skimpy wreath marked down at my local craft store. Luckily there was also a few white flowers marked down. If you want a cheap wreath (and don’t want to create one from scratch), this is the best way to go!

IMG_3673Start with a wreath with the colors in it you want. I liked this wreath but I wanted something fuller.

IMG_3680

I bought these big white flowers (2 bunched) on clearance and simply hot glued them to fill it in.

IMG_3692

Easy, instant wreath! It’s different than anyone else’s and so much fuller!

Silhouette Design Store JOANN Stores

Dirty and Clean Dishwasher Tag—Free Download

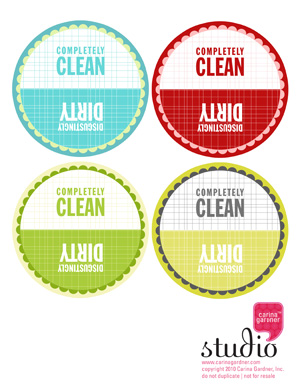
dirtyorclean_1I’ve been meaning to make this for myself for sometime now—A magnetic dishwasher button that tells everyone else in the house if the dishes are clean or dirty. Here it is for you too (should you also have the problem of everyone asking you if the dishes are clean or dirty). I’m going to laminate mine, glue to thick paper or board, and add a magnet to the back. A pretty simple project. If I had a button maker, I’d probably make it into a button instead. If you do cool things with this button, be sure add the link here or add it to our Flickr group.

When your dishes are clean, simply flip the “Completely Clean” side up and when they are dirty, flip the “Disgustingly Dirty” side up. I even included 4 colors here so you could decide which worked best in your kitchen:).

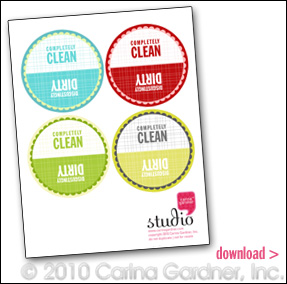
Download below!

dishwasher_cgHere’s a few other things to check out:

+ If you wanted Pretty Posy, you only have a few more hours to join the Facebook group. I extended giving out the freebie until tonight.

+ Coquette™ will be arriving in the next couple of weeks, and I’ve already started getting a quilt design together for you! I’ve also got all sorts of other crafty ideas for you with the line.

+ A few updates to the studio site was made including the addition of Love Nest™ to the fabric section. If you want to see this line at your local quilting shop, be sure and email the link to the web brochure to them! You can also check it out on the sidebar on this here blog.

Silhouette Design Store JOANN Stores

How to Change a Skirt into a Dress

IMG_2549 copy

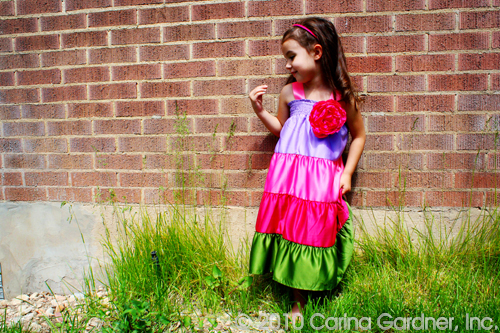
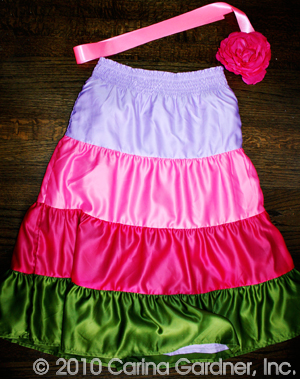
IMG_2509 copyI found these darling skirts at Gymboree clearanced out. So of course, the only sizes left were 9 and 10…a bit big for a 3 and 6 year old (and I wasn’t about to let these bad boys sit idly in a closet for a few years!). So I made these skirts into dresses.

With just a bit of ribbon and a giant flower (I got mine from The Lace Place), these skirts become dresses for my girls. Here’s what you’ll need to do a project like this:

+ 1/2 yard to 1 yard of ribbon that matches or contrasts your skirt (I went with the pink satin ribbon)

+ 1 yard of ribbon for a bow or silk flower

+ large safety pin

+ Fray check

+ small, squirmy child to try it all on

1. Fit the skirt to your child. Most likely you’ll need to bring it in a little. I’m not the kind to pick apart the whole thing and put it back together. I just turn it inside out and sew an inch (or whatever) into the seam. I don’t even sew the length of the dress! I just taper off after a couple of inches.

2. Cut the ribbon in 1/4 to 1/6 lengths and fit to your child ( you’ll need 2 lengths for each “sleeve”).

3. Sew the ribbon into the skirt wrong side out (You’ll do this four times…one at each point the skirt and ribbon connect). Sew at least two lines of stitches. Put fray check on the raw edges.IMG_2528 copy

4. Put the safety pin through the large flower or bow you’ve made. Then attach it to the dress. I like the safety pin because then you can take it off when you wash the dress or use it as an accessory on other clothing.

I think this project took me an hour from start to finish. Modeling for me is my darling niece Lola (I think my own kids have had it with me and the blog modeling!). She was actually excited about wearing Felicity’s dress (that’s a welcome change!).

Silhouette Design Store JOANN Stores

Sewing with A Ruffler

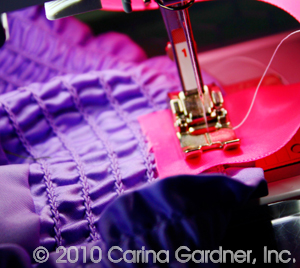
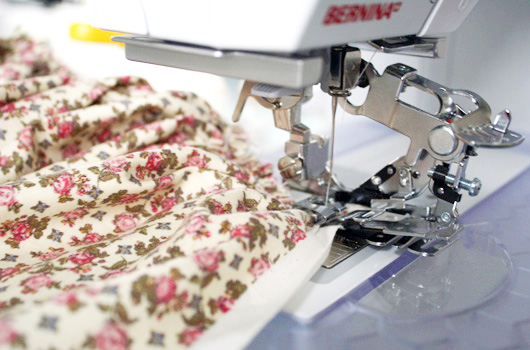
I have to take a little minute to chit chat about my new Ruffler. This amazing little device can save you minutes, nay hours of hand-gathering! I got this little baby when I started working on a children’s pattern with an absurd amount of ruffles (I just can’t help it! I adore ruffles!). The ruffles are perfect (you can choose a ruffle at every 1, 6, or 12 stitches thereby also creating the most perfect pleat).

IMG_1339

If you are an avid sewer + ruffle-person (please tell me I’m not the only one out there), you would love this device (BTW, Bernina did not put me up to this…it is simply my own little obsession. Josh is tired of me pushing guests into my studio to show them how amazing it is!).

Just as a side note, the MeadowLark™ giveaway ends tomorrow! Be sure and enter by adding a comment in the post below!

Silhouette Design Store JOANN Stores

On the Subject of Family

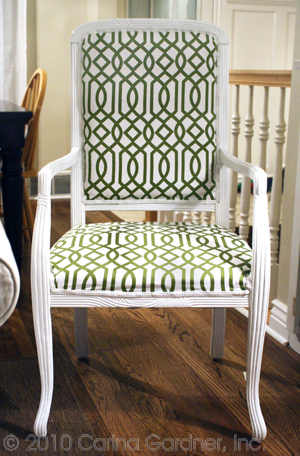
IMG_1374_smSunday night we got together as a family at Liz and Tim’s house. It was fun, the food was good, and the company was excellent. Liz also had me up late to help refresh an old chair. I couldn’t help but show it off here because the final result was amazing. I should have taken a before photo. Just know that old white washed wood was dingy and the old faded cream textured fabric was ragged and dirty. I was glad we gave it new life with this geometric fabric and white finish! The contrast of the antique chair with the bold geometric made me pretty happy.
I also promised an update on my sister who has adopted a darling little boy! SuiKim and Steve has had new baby Grant for a couple of weeks now. It seems as if he has always been here! Siri coos over the baby and asks when we are getting a baby brother. Um, not any time soon, darling. Sorry to disappoint. I just wanted to say thank you to everyone who bought Baby Mine! It was a wonderful success!

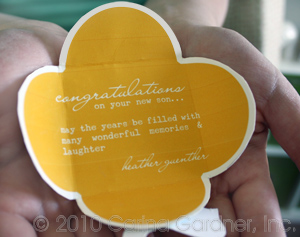
IMG_1383_smSuiKim was over at my house yesterday and I had a darling package from one of our Decorators from Design House Digital, Heather. She had used the Baby Mine kit to make two adorable sleepers (which she sewed!!!). SuiKim and I were touched! Thank you Heather for the generosity! Grant is going to look stunning in sleepers! I was also impressed with this darling baby card Heather made (I need that script font!). The tininess added  to the intimacy and  sweetness. You are best Heather!

IMG_1257_sm

Silhouette Design Store JOANN Stores