Learn to Be A Designer: Illustrator Pathfinder Explained Tutorial

I send out links to my new tutorials and free pdfs to my Courses VIP Group! To join my VIP group for free, go here: http://eepurl.com/dN2RcY. I regularly RESEND files so be sure to sign up so that you are getting all my free tutorials!

TUTORIAL/LIVE VIDEO SCHEDULE

Tuesdays Silhouette Projects 10am MST
instagram @carinagardnerpapercrafts
facebook https://www.facebook.com/carina.gardner.designs/

Tuesdays MiniLou 10:30am MST
instagram @miniloukids
facebook https://www.facebook.com/miniloukids/

Wednesdays Learn to Design Videos
Youtube only

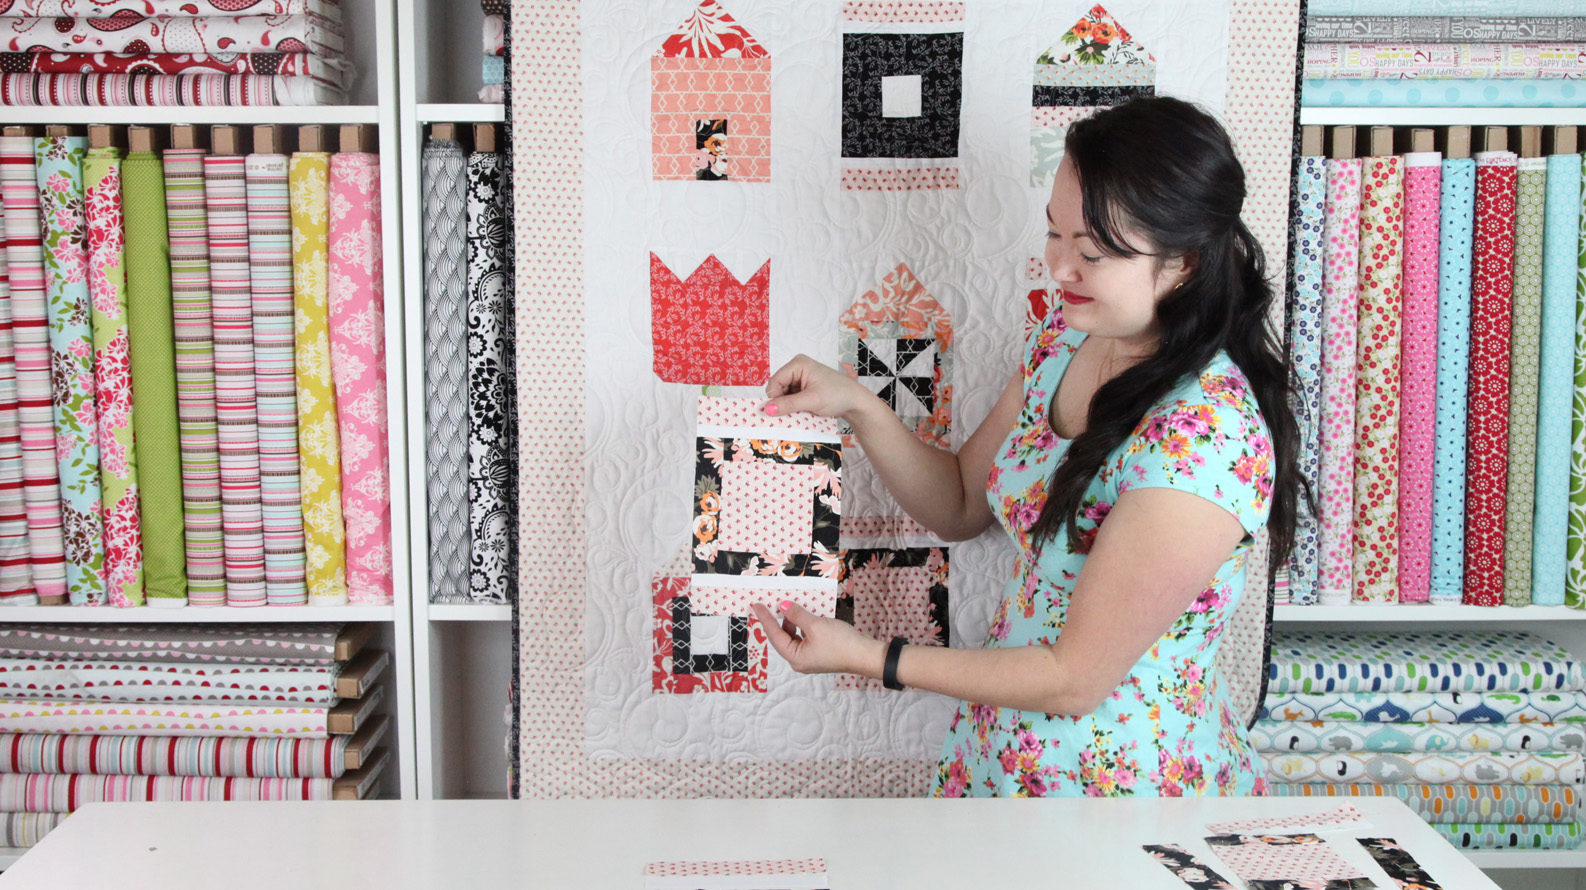
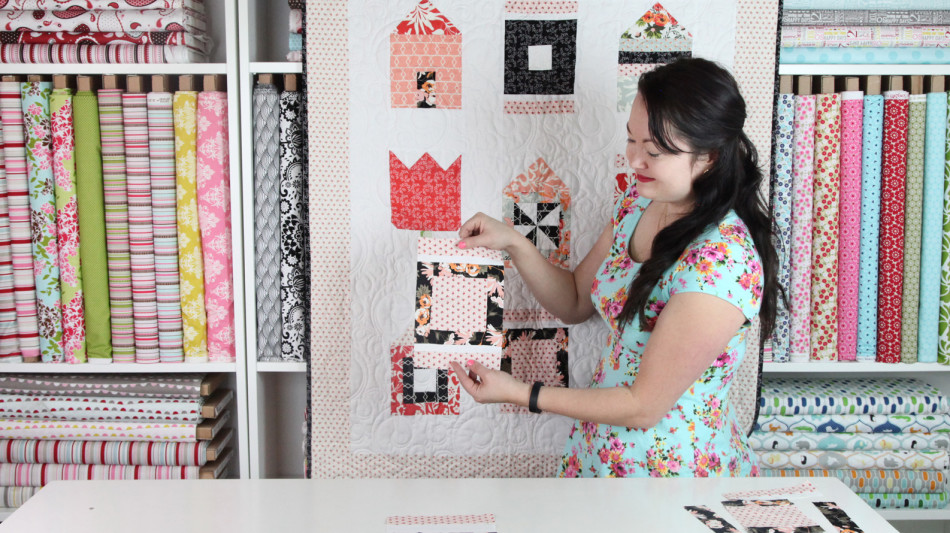
Thursdays Fabric Projects 10am MST
instagram @carinagardner
facebook https://www.facebook.com/carina.gardner.designs/

Silhouette Design Store JOANN Stores

So Ruby Quilt Along – Now on Youtube

HI everyone! Thank you to everyone who participated in the So Ruby Christmas Quilt Along on my instagram feed. I have the entire week’s worth of 1 minute tutorials bundled up into a single youtube video for you.

Due to the popularity of the quilt along. I will be doing block tutorials (maybe not full quilts) all the time on my feed. Be sure to check the feed often for these!

If you need cutting instructions, check out this:
https://carinagardner.com/2018/11/12/11691/

Silhouette Design Store JOANN Stores

How to Make Candy Corn Halloween Treat Bags

Hi there my fellow crafters!!   My name is Nicole, known better as “teachdanz” in the craft world, and I am here today with a Halloween inspired project for you.


To create my Halloween treat boxes I used the following files from Carina Garnder –
I started off by opening up the Snowflake Favor Bag in my silhouette design studio.  I ungrouped everything and then resized the bag to 11.5 inches in height keeping the sizing “locked” so that the image increased proportionately in size.  I resized the layers for the sides of the bag too.  After I cut out the bag and the layers I glued those together and got to work on the candy corn swirl flourish.  I sized the flourish to fit the sides of my bag and then did an offset.  Since I used a striped paper for my bag I wanted to make sure the candy corn flourish stood out and didn’t get lost in the busy background.  I used foam adhesive to pop my candy corn images up to give a bit of dimension to the bag.


I designed these to be given as a Halloween treat but they could easily be redone in fall colors to make it more of a “fall/Thanksgiving” themed treat bag.  I really like this treat bag and the versatility of it!!


Thanks so much for stopping by today!!  I hope I have inspired you today!

Find all of Nicole’s amazing projects at the links below!

Instagram – @teachdanz
Facebook – teachdanz


Silhouette Design Store JOANN Stores

How to Put Together a Big Paper Flower with Your Silhouette Cameo

I have a new tutorial up on my youtube channel for putting together my new favor bags for Silhouette! You can find all of these styles in my store at: https://www.silhouettedesignstore.com/artists/252689

You can automatically subscribe to the channel here for the latest tutorials!

Silhouette Design Store JOANN Stores

Halloween Boo Marquee Letters Tutorial

img_4593_web

This week I released these fun BOO marquee letters on Silhouette!  They take some time to put together, but are so worth it!  They are similar to my original marquee letters, but have more decorative element to make them fun for Halloween.  Click here if you want a tutorial on how to put the letter part together.  You can see how to put together the festive Halloween pieces below.  Happy crafting!

1.Cut out all SVGS.  We did the letters in black, and the other pieces in fun Halloween scrapbook paper.

2.  For instructions on putting the letter together, click here.

3.  Once your black letter piece is put together, pop dot the back of the flat letter piece and place it in the letter.

img_4408_web

4.  After the flat letter piece is placed in the letter.  Add the skinnier, flat letter pieces to the letter using pop dots.img_4418_web

5.  Once the letter part is done, add the fringe to the outside.  Before you start glueing, make sure you know where the fringe pieces fit.  Then hot glue down the center to attach it to the outside of the letter.  Make sure not to glue the fringe to the letter because you want to be able to bend it up.

6.  After all of the fringe pieces are glued down, bend the fringe pieces up.

img_4602_web

That’s all there is to making the BOO marquee letters!  Hope you have a much fun making Halloween decorations as I have!

Silhouette Design Store JOANN Stores

3D Ice-Cream Treat SVG tutorials for Silhouette and Digital Diecutting

I love summer and all of the treats that come with it! These 3D Ice-cream treats are so cute and wonderful. There are a few different kinds of popsicles, an ice cream sandwich, and a cute candy favor box.  You can get them in my store and on Silhouette on Monday. Check out these tutorials for help in putting them together.

Silhouette Design Store JOANN Stores

Wedding Props and Tealight Candle holder SVGS for Silhouette and Digital Diecutting

It’s party and wedding season!  Both of my SVG releases are wedding or party related.  You can find them in my Silhouette Store here.  This week I have tealight candle holders that you can use for decoration or center pieces.  I used translucent binding cover that you can get at your local office supply store for the windows.  They’re super simple and easy to cut out and all you need is a battery powered tealight to put in it.  They look great by them selves or with other decorations for a center piece.

Untitled-15


I also released wedding props that you can use for a photo booth at a wedding or other party.  Aren’t the mustaches fun? These are also easy to cut out.  Just attach them to a wooden dowel with hot glue or tape and you’re ready to take pictures!

Untitled-2


Happy Crafting!

Silhouette Design Store JOANN Stores