Tag: box
3D Intricate Cutout Boxes for Silhouette
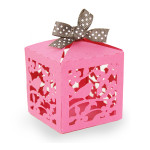
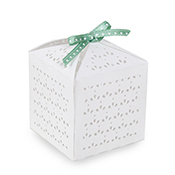
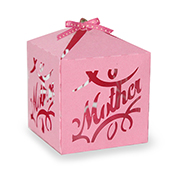
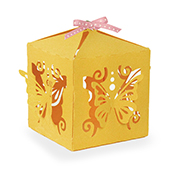
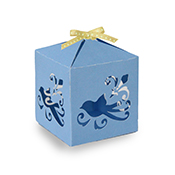
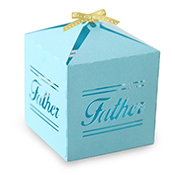
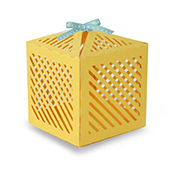
 These little intricately cut out boxes are one of my favorite projects right now! I can imagine them hanging in some overhead branches for a party or as little electric candle holders on a table. Any way you decide to use these, you will love the effect!
Here is the quick tutorial (and tips) for putting these intricate cutout boxes together.
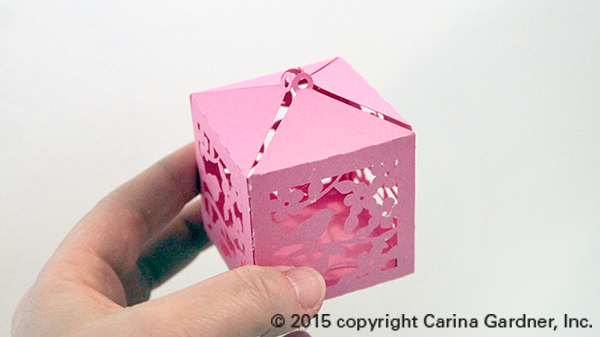
1. Cut out the silhouette file. The main body of the box is about 2 inches deep, wide and tall. It fits on an 8.5 inch x 11 inch paper.
2. Fold all the score lines and glue all the flaps to create the main body of the box.
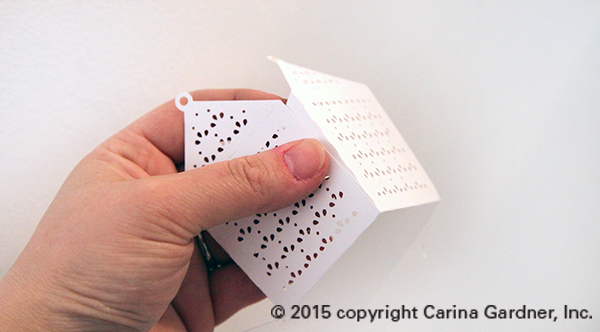
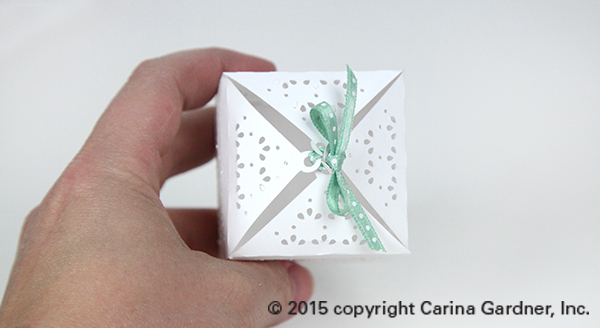
3. Fold up all the “circle” pieces at the top of the box. For dimension, you can finger press the triangle piece at the top to give it some curvature. You can also create a straight box by folding all the triangle pieces flat and putting a ribbon through all the pieces at once. However, if you want the box to have dimension, “sew” the ribbon through each of the holes individually. Hint, fold UP the circles at the top. There will be slight gaps between the triangles once the ribbon is tied on.
Other notes: This box can be scaled larger or smaller. Cut at a slower speed on your machine for to catch all the fine details. A sticker mat will also help the cutting process on these!
Hope you have fun making these!
Carina
(for all my silhouette designs, visit my silhouette store at http://www.silhouettedesignstore.com/?page=view-artist&artist_id=252689).