Carina shows you how to make this project with Silhouette America and Michaels! Files available in her Silhouette Shop at https://www.silhouettedesignstore.com/artists/252689.
Originally done live on September 24, 2021.

Carina shows you how to make this project with Silhouette America and Michaels! Files available in her Silhouette Shop at https://www.silhouettedesignstore.com/artists/252689.
Originally done live on September 24, 2021.
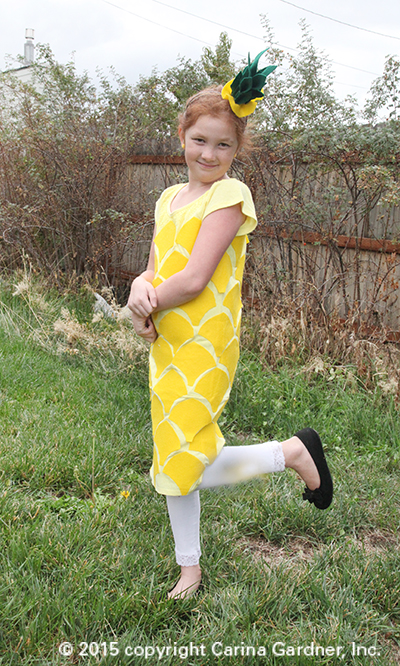 Some years I can convince my kids that going to the store and buying a costume is the way to go. Not this year. Both of my girls wanted homemade costumes. Siri wanted to be iPhone Siri (you can see her costume on my instagram feed @carinagardner) and Felicity asked to be a pineapple.
I know pineapples have been trending recently, but the truth is, in our family the word ‘pineapple’ has been trending for a couple of years. A while back, Siri decided that she loved the way the word ‘pineapple’ sounded and used it as her go-to, everyday word (“Can I get you a drink, Siri?” “Pineapple.” “Are you ready for bed, Siri? “Pinnneapppppllle.”…you get the idea). Does she actually like to EAT pineapples? Of course not! That would make too much sense :).
Ironically, it was Felicity who decided that being a pineapple was a must this year (although I can see Siri trying to steal this costume).
Here’s a little info on how to put this costume together. Your materials may be a little different than mine so feel free to make adjustments on how you make this sublime fruity treat.
PINEAPPLE COSTUME TUTORIAL
Materials
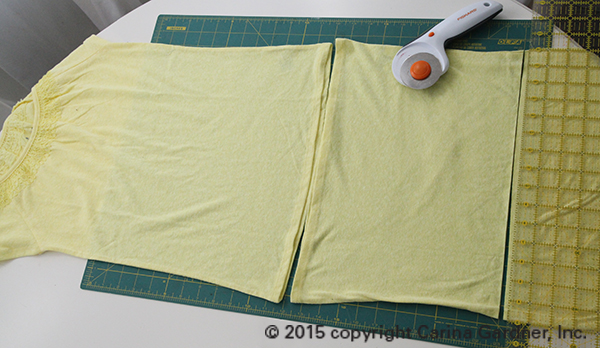
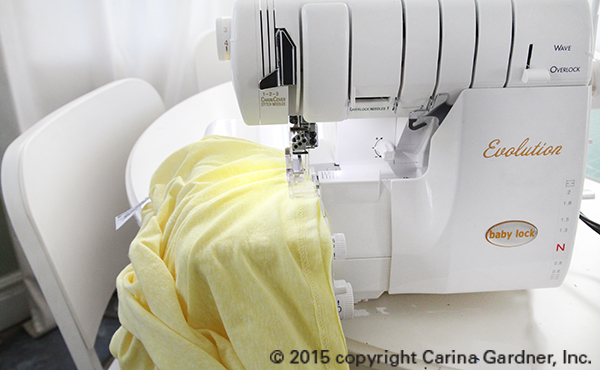
1. If you are working with two T-shirts, cut one in half to add to the bottom of the first T-shirt. Match up the RAW edge of the second/cut T-shirt to the bottom of the first T-shirt. That way you do not have to hem the bottom of the outfit. I used a serger with right-sides together of the T-shirts to sew these two pieces together into a long dress.
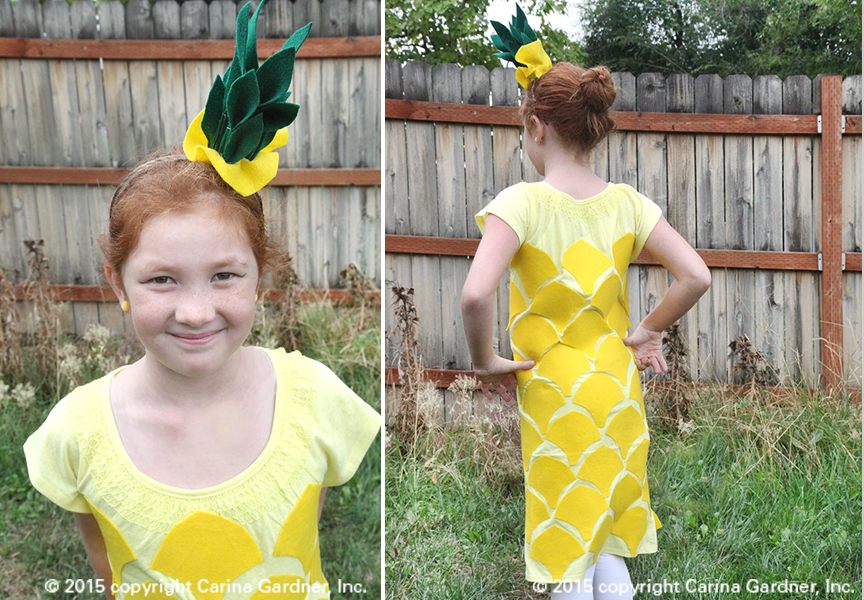
2. Once your T-shirt is now a ‘dress’, cut out yellow felt pieces using the pattern provided below. Pin them all the way around the dress as shown here. This will help you determine how many pieces you will need. The pattern can be made smaller or larger to accommodate the size of your outfit.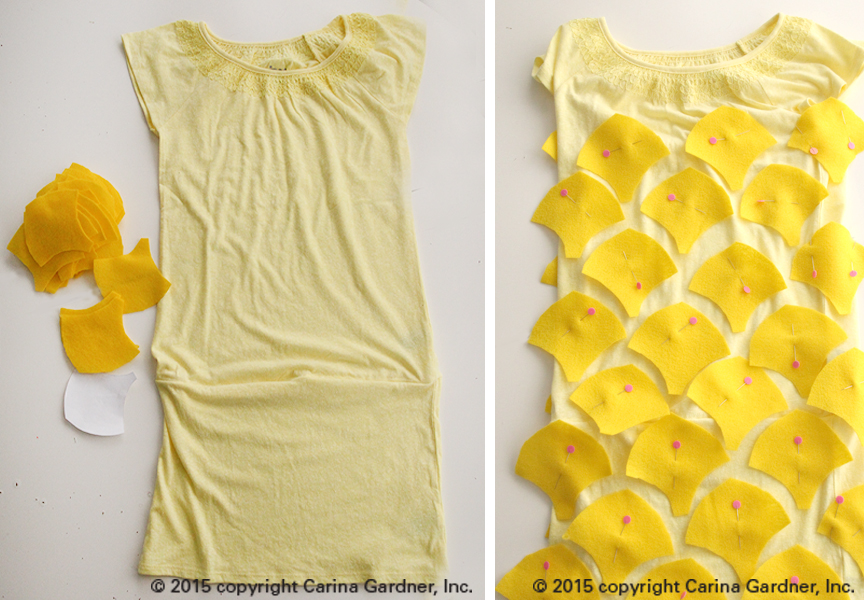
3. Next, use the double-sided adhesive (using the instructions on the adhesive you buy) to adhere the adhesive to the felt pineapple pieces.
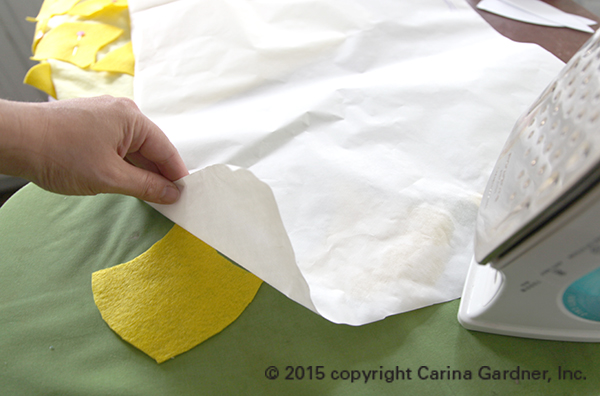
I used Heat and Bond and ironed on the adhesive on one side of the pineapple piece. Then, I pulled off the white protective layer on the felt piece and placed it on the dress. I ironed it directly onto the dress with the adhesive-side down (facing the dress).
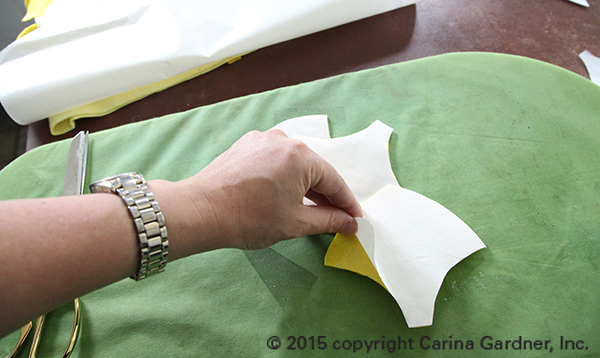
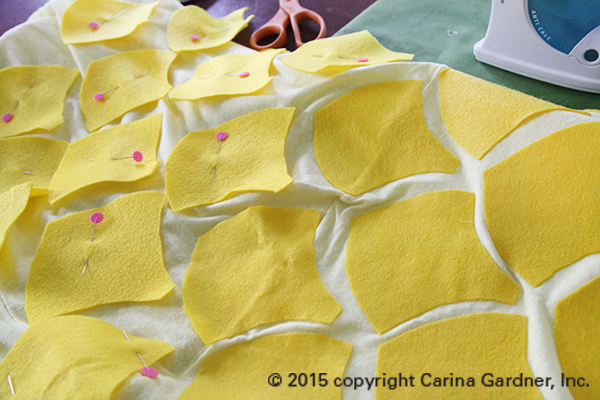
And you are done with the dress! Now for the headband!
4. The headband could be made so many different ways. Use my method or try putting it together anyway you want with the pattern pieces I’ve provided. You can also choose to do all of this with a hot glue gun if you want to avoid sewing!
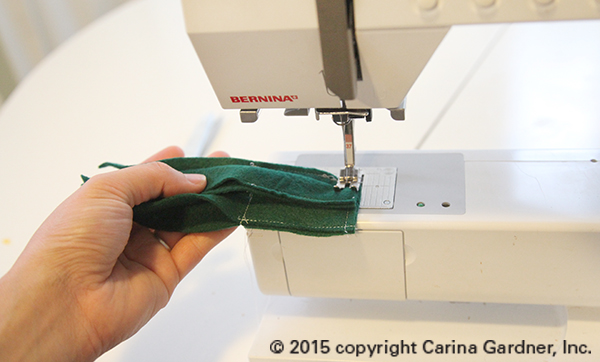
I cut out 4 each of the three leaf patterns. I folded in half the medium and large leaves and sewed them about half way up. (You could simply hot glue them up instead.)
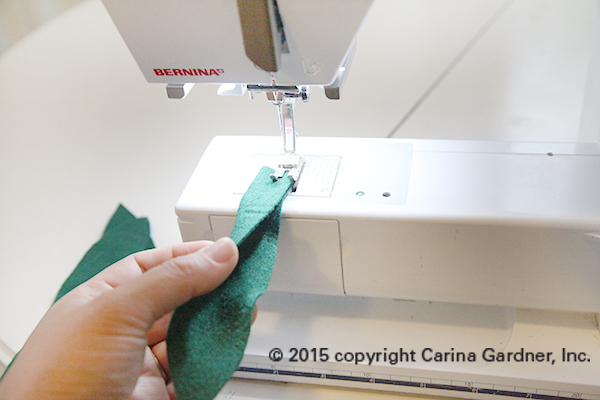
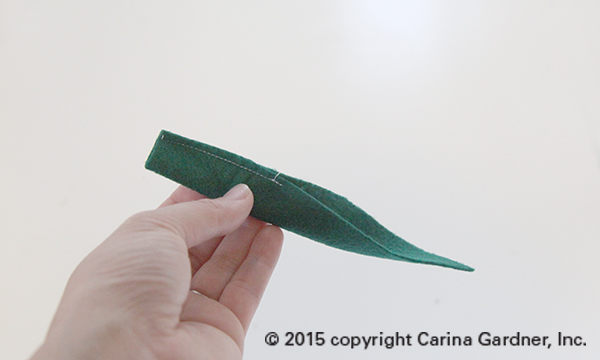
5. I then sewed together two of the biggest pieces like the image below.
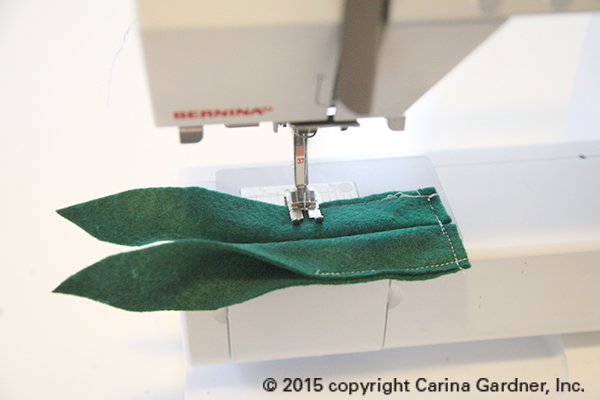
6. Then I laid a third piece in the middle of the two sewn together pieces. I sewed it to the front. I then sewed the fourth piece to the back center.
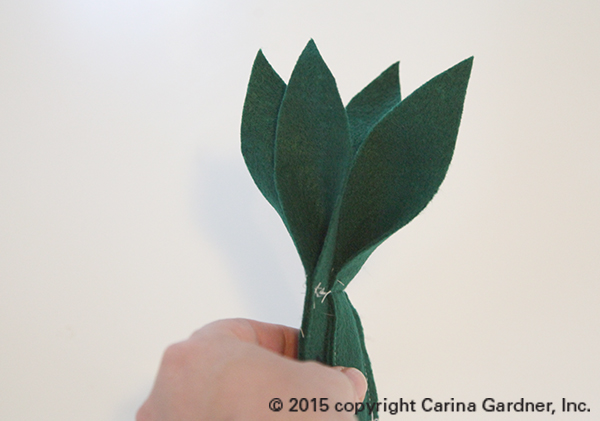
This will create a little symmetrical bunch.
7. Your next trick is to add the medium sized leaves to this bunch. I sewed mine but in retrospect I should have hot glued it! It was really thick and difficult to get through the machine. Simply, place them evenly around the large leaves.
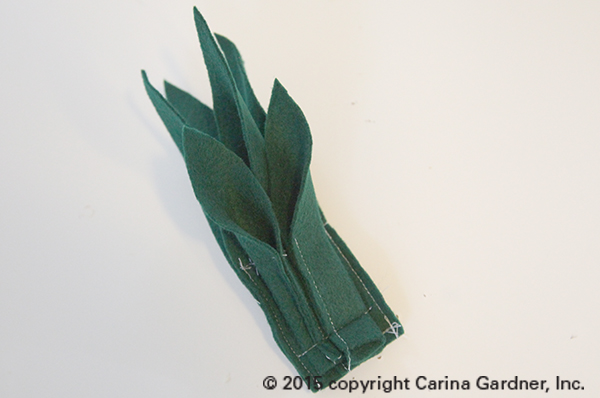
8. For the smallest leaves, I used hot glue and spaced evenly around the bunch.
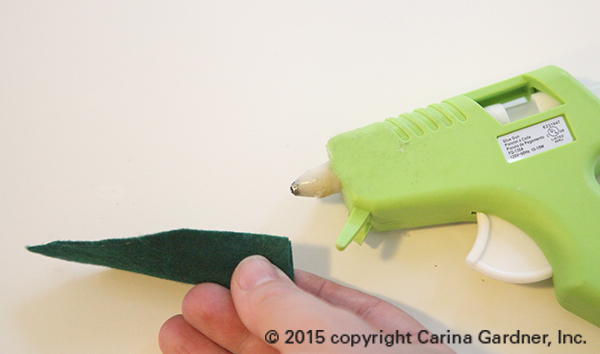
9. I cut a circle and hot glued it to the center of the bunch. Then I glued up the edges and trimmed them. This is simply to keep the bunch together and add a bit of yellow to the bottom.
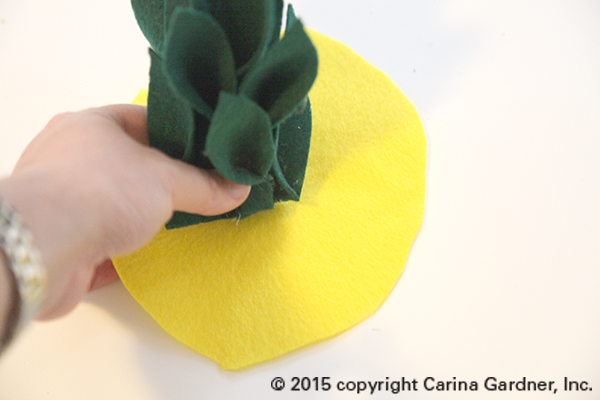
9. Finally, I cut a small round circle and sandwiched a headband between the pineapple top and the felt circle. Hot glue these altogether and you are done!
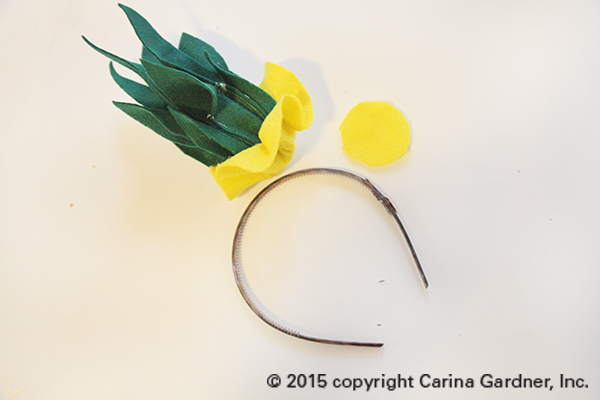
Here are the pattern pieces you will need to make this costume:
DOWNLOAD THE PINEAPPLE PATTERN PIECES
There’s a bit of work involved to make this costume but it was completely worth it! Felicity was giddy with the end result! Does your child want to be a pineapple? Download the pattern and get started! Halloween is around the corner!
Happy creating!
Carina
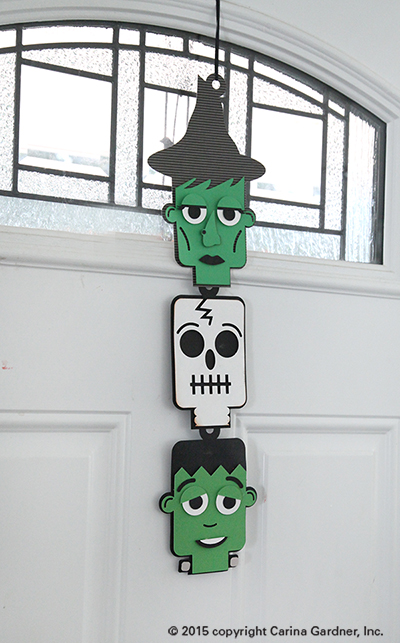 Halloween has officially begun at my house! Our little family celebrated by going to Frightmares last weekend and starting work on costumes—well, the kids started thinking about their costumes, and I started working on them.
(Photo to the left of Silhouette Halloween Tags now in the shop).
I’m always a happy girl when this time of year rolls around. I feel renewed with the autumn weather. I’m ready for the heat to be replaced by cool breezes and and falling leaves.
And then, of course, there is the all the halloween decor. Many years, I don’t get to pulling things out until the last minute. But these year, our studio has producing so many fun halloween designs! The end result—lots of goodies to hang all over my home.
(All of these designs can be found in my silhouette shop and digiplayground shop)
And yes, we’ve already watched The Nightmare Before Christmas and Hocus Pocus.
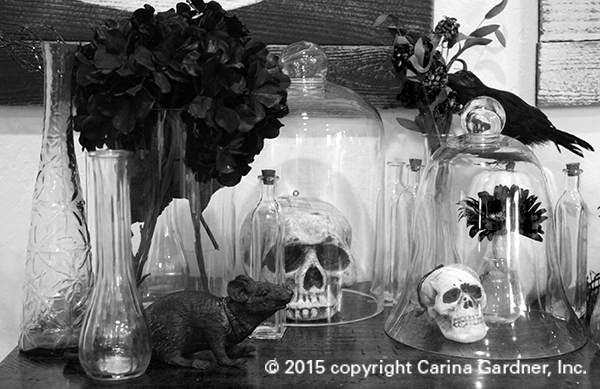
Hope you have a moment this week to pull out or make some pretty things! I’m going to get to work on costumes and start planning my Halloween kids party!
Happy Haunting,
Carina
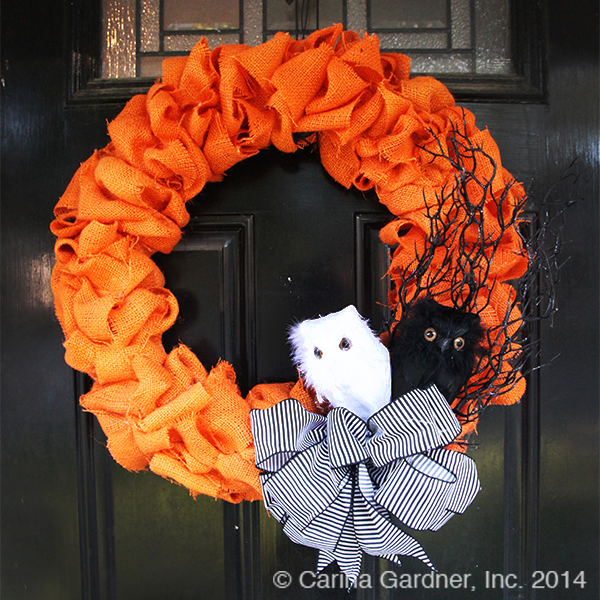
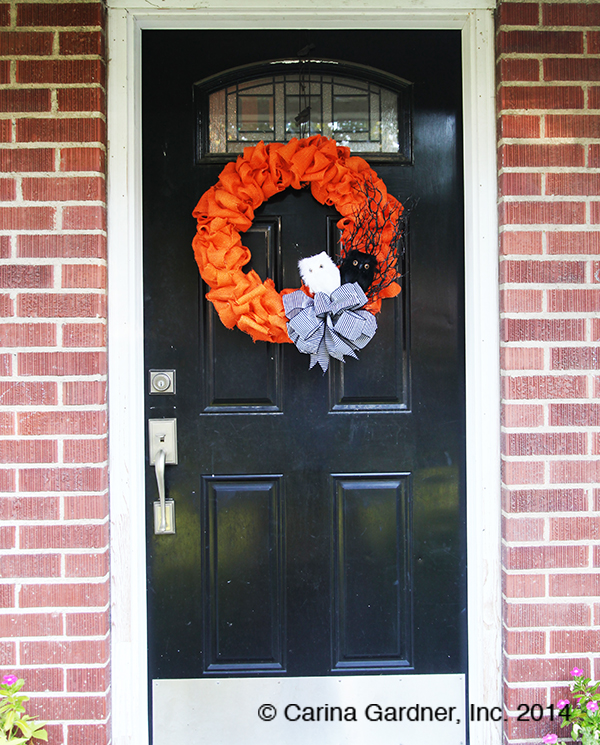
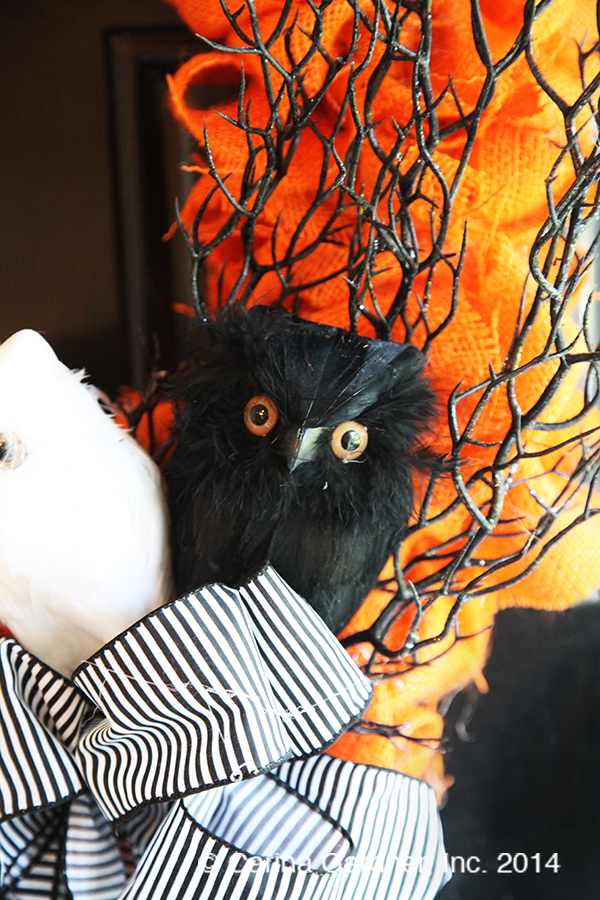 I love Halloween. Just look through the archives of this site, and the love is evident. Two days ago, my next door neighbor Sara said she wanted to make some Halloween wreaths. I was along for the ride and decided to take advantage of the burlap craze to make a new wreath for my door. The end result was the wreath you see above. My kids are obsessed with the owls and I’m obsessed with the way the orange pops on my black door. Win-win!
These are not step by step instructions but a guideline for making a wreath like this:
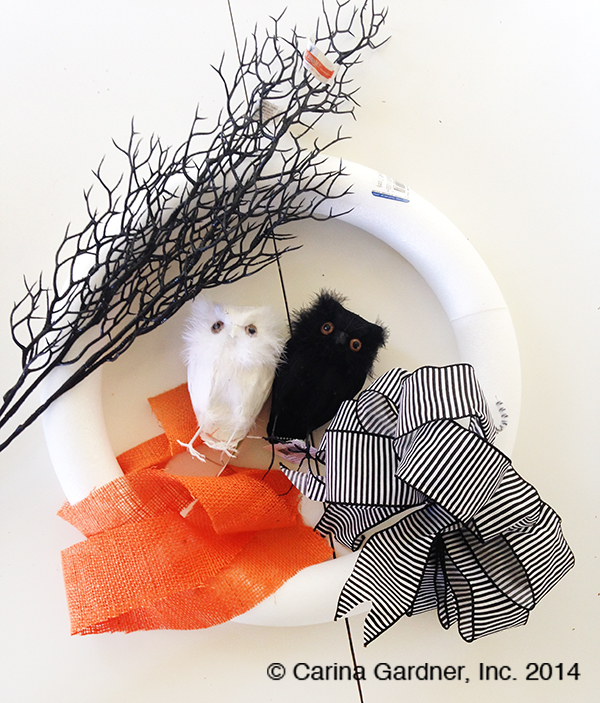
Materials:
Two owls
2 Black sparkly branches
Orange burlap (about 1 1/2 yards cut into 3 inch wide strips)
Styrofoam wreath form
Hot glue gun and glue sticks
Ribbon for a bow (or premade ribbon)
I should fess up now and tell you I simply bought the bow already made up from Michaels. It was the exact right pattern and I couldn’t find any ribbon like it so I just bought it.
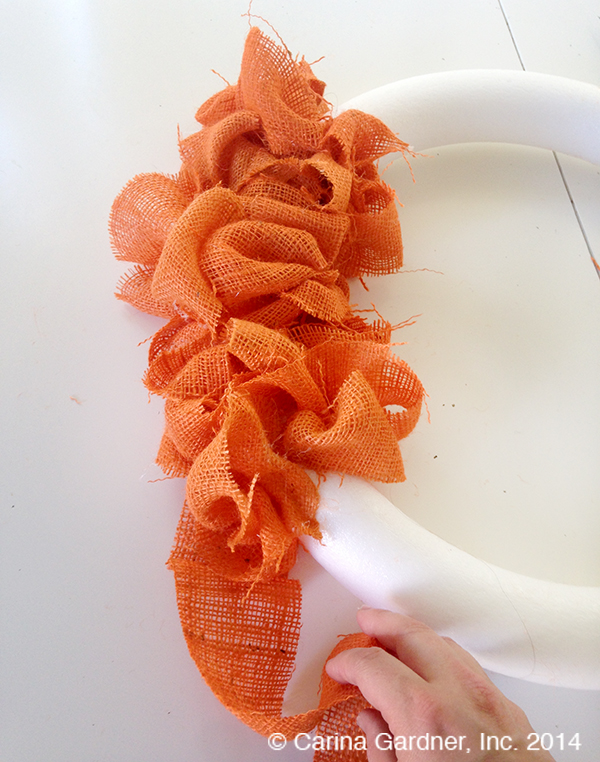 Hot gluing the burlap to the wreath was the longest part of the process. All I did was glue down one end of a burlap strip to the wreath form, make a loop, twist it a little, and glue the next part down. If you buy a wire wreath, you can use a method like this one here that I found on Pinterest.
Leave a small space in the burlap for the bow. Once you are done gluing down the burlap, add the bow and position the branches up. Glue in the owls.
Pretty simple huh?
And, for your crafting pleasure, here is a listing of other Halloween projects I have done over the years that you might be interested in checking out:
The Witch and Wizard Party: https://carinagardner.com/2012/10/17/witch-and-wizard-party-kids-halloween-party/
 Free Halloween banner download that I hung on my piano: https://carinagardner.com/2010/09/10/how-to-make-a-halloween-banner-free-download/
Free silhouette files and ideas: https://carinagardner.com/2012/08/15/episode-4-all-hallows-eve-decor-video/
Batty Wreath: https://carinagardner.com/2009/10/23/spiders-web-papers-batty-wreath/
Halloween Advent class in the shop: http://www.carinagardnershop.com/index.php?page=shop.product_details&flypage=flypage.tpl&product_id=162&category_id=37&option=com_virtuemart&Itemid=2
Happy crafting!
Carina
 I met the Crafting Chicks just this last month at Fabric Fest. Talk about a darling group of ladies! I loved the camaraderie they had with each other and the energy they have for new projects! I wouldn’t mind capturing a bit of that energy and bottling it for a deadline (wink, wink…).
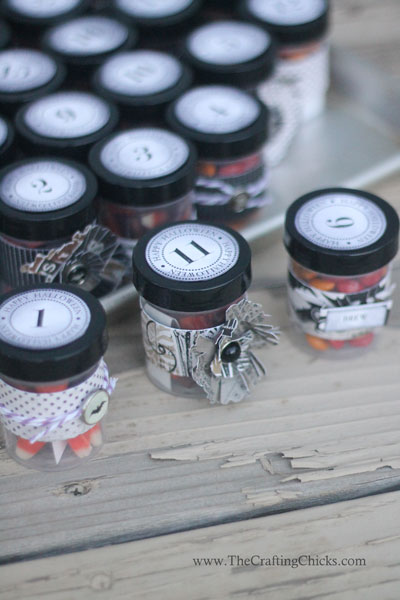
If you’ve been on their site recently, you’ll notice a myriad of awesome projects. That includes a darling printable, some easy Halloween decor, and a shout out from Becky who did my Halloween Advent class. Click on the photo to the right (image from craftingchicks.com) to see Becky’s take on the project.
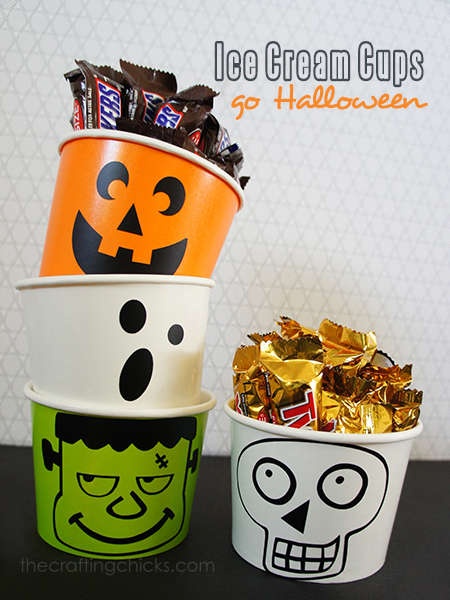
While you are over there, be sure and also check out Nikkala’s Halloween Ice Cream Cups. That background wallpaper sure does look familiar…
I have all sorts of plans of getting my own house spookarific (and I’m sure I will be using some of the Crafting Chicks cute ideas). Unfortunately, things have been a little hectic between the new Deseret Book deadlines, the Carta Bella Winter Show lineup, and all the renovating we are doing on the glamper. I do have an update for you on the glamper, but it will have to wait until tomorrow.
 Tonight I need to finish out my spring release of dishware at DB. Which reminds me…I have a lot of lovely announcements about new products from me from DB coming up here in the next three weeks. If you get your catalog in the mail, be sure and check out the bracelets, canvas art, and new Christmas dishware. More on that soon…
Carina
 That’s right! My big news this week is you can now find my diecutting files at silhouetteamerica.com. How cool is that?
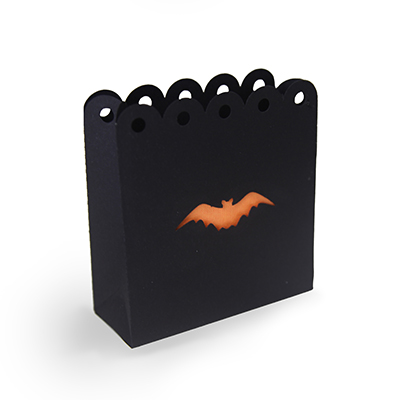
This week was the first week we placed files on the silhouette site. You’ll see this darling halloween scalloped bag, fabric flowers, the my life album set, and more! Yesterday I put together a myriad of new projects for the shop that will come out next week! More fabric stuff and great paper shapes. And some monster surprises for Halloween.
Speaking of Halloween, I thought I would point you in the direction of some happy Halloween fun.
Last year, I did a Witch and Wizard Party. It’s fun, full of ideas and was a total blast. Photos and inspiration here: https://carinagardner.com/2012/10/17/witch-and-wizard-party-kids-halloween-party/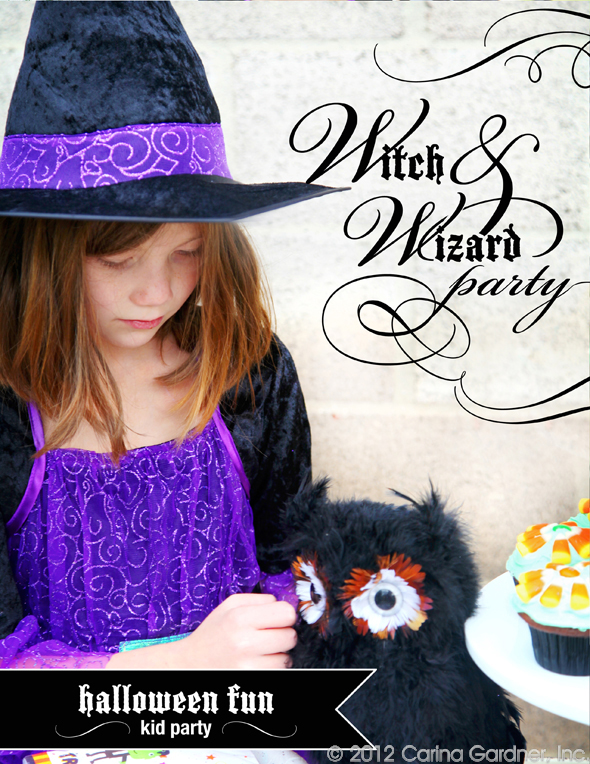
And of course, there has been the ever popular free banner download that I hung on my piano: https://carinagardner.com/2010/09/10/how-to-make-a-halloween-banner-free-download/
If you want ideas of easy bat art and free silhouette cutouts (and a video to boot!), there are free silhouette files here: https://carinagardner.com/2012/08/15/episode-4-all-hallows-eve-decor-video/
Want to make a batty wreath? Here’s the free pattern to make it: https://carinagardner.com/2009/10/23/spiders-web-papers-batty-wreath/
Last but not least, the Halloween Advent class is on sale for $3. That’s right! Take advantage of this sale while your can! http://www.carinagardnershop.com/index.php?page=shop.product_details&flypage=flypage.tpl&product_id=162&category_id=37&option=com_virtuemart&Itemid=2
Going to get up all my Halloween decorations this week! Wish me luck!
Carina
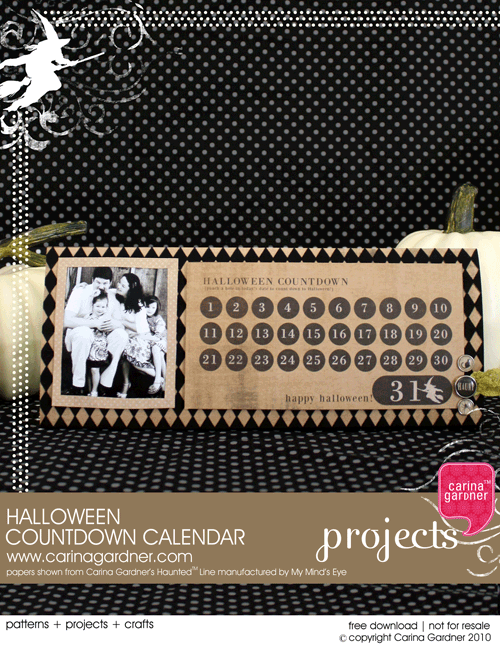 It may seem a bit early, but Halloween has come to my house this last week. I’ve been happily crafting with my Haunted™ Paper Line. Lots of white pumpkins and scarecrows are visiting my living room (Photos coming soon!).
Here’s a fun project that you really need to do (and can easily do) in advanced. You will specifically need the Haunted™ Line because the reason it is so simple is because the journaling page in this line has this Halloween Countdown already to go! (simply cut it out!)
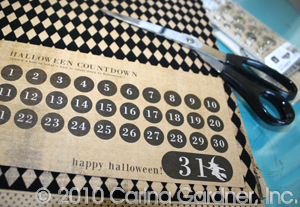 Once this fun little calendar is finished, all you’ll need to do is let your kids stamp a fun shape (The Haunted™ Acylic Stamps will be what we are using. I’m thinking we will be using white ink and that creepy, crawly spider.) or just draw a mark on each day as you countdown to a very spooky Halloween! It will be a fun way to start October 1st!
I have the tutorial for you to download below (seriously, this is a 20 minute project at best and the hardest part is making sure you have a photo of your family to add!) and you can certainly expect some more haunted crafting happening ’round here this week. Those cute, um, I mean spooky crows just love getting photographed!
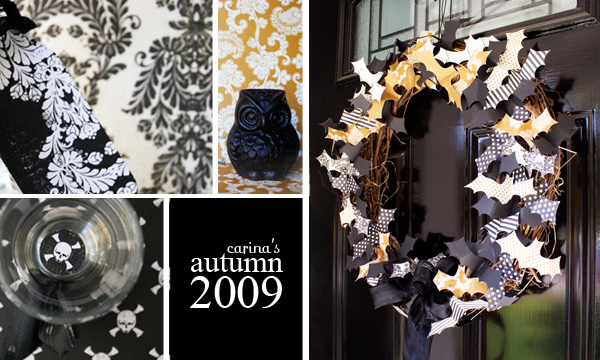
Just dropping in for a sec to wish you a Happy Boo Day! It’s few days early, but my Halloween starts tomorrow with a Halloween luncheon with my girls, Siri’s first Kindergarten Halloween Parade, and of course, trick-or-treating on the 31st. Plus, if you haven’t checked out my studio site recently, I’ve done a couple of updates! If you need a peek at some of the Love Nest papers, go here. I’ve had people tell me they were able to find the paper pad at Hobby Lobby and a couple of people tell me that it was already sold out! So be sure and drop by there if you want to snag it! Happy Haunting!