Weekends and Blueberry Crumb Cake

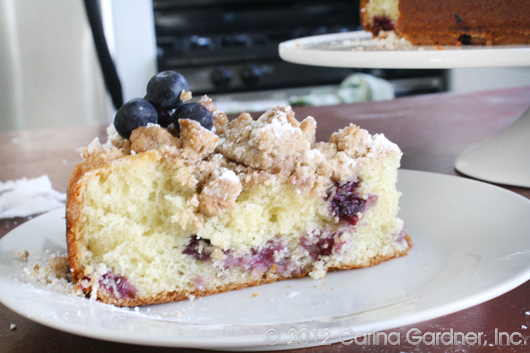
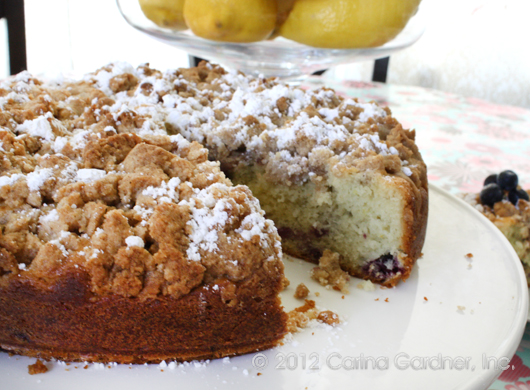
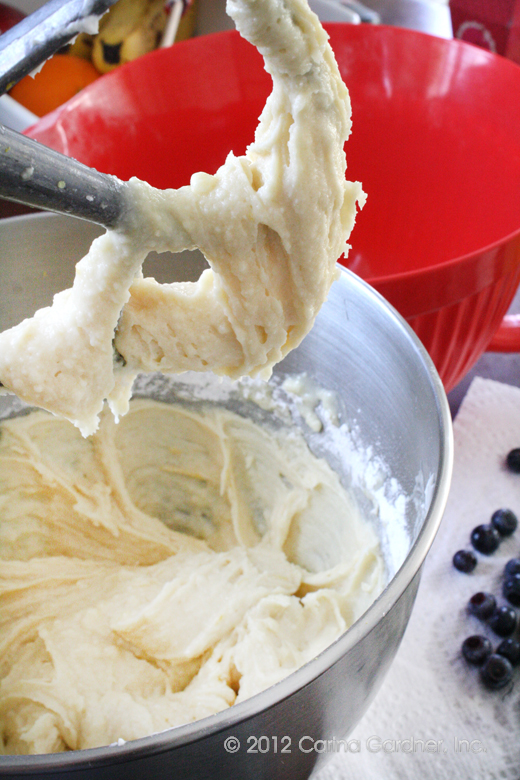
I always look forward to the weekend—I work a little less, have Josh around, and get around to cooking more. A couple of weekends ago, I started making the Barefoot Contessa’s Blueberry Crumb Cake. It’s totally divine, light, and could be breakfast or dessert (a major plus). A new cake is baking as I type so that when I get done with this post, I’ll be digging into a little bit of sweet.

This weekend, we finished setting up the tradeshow booth for Quilt Market. Sure, it’s a month and a half away, but this is my first time and I wanted to be sure to get it write. You can check out a couple of the instagram pictures on my sidebar or on my facebook page. Yes, I know that doesn’t give you the full picture of what we are up to, but I’m taking lots of pictures now and we’ll show off closer to the show.

_______________________________________________________

With the tradeshow coming up, you can bet I’ll be in full swing sewing soon with my new line Songbird due out in June. Of course in the meantime, I’m still sewing up some lovely stuff for Paris and Company (out this April!). The lines are totally different, which makes deciding how I want to use them that much more fun!

And there’s the oven timer going off! Hope you are having a lovely weekend too! —Carina



Silhouette Design Store JOANN Stores

Double Dessert Night

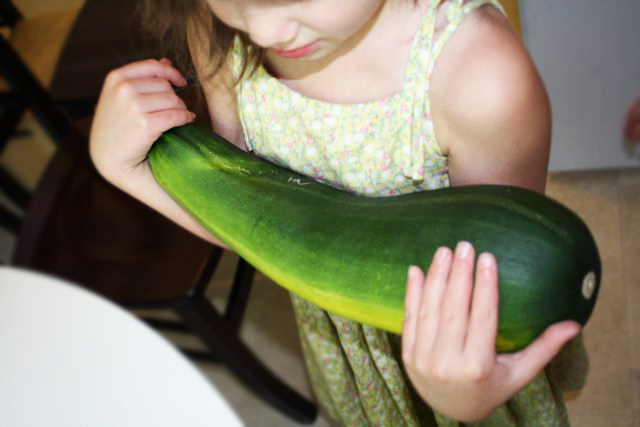
img_5462 Just as Siri, Felicity, and I had finished whipping up the vanilla pudding for our Puddin’Pie, our next door neighbor left this lovely green thing on our porch. I just looked at it and said, “Well, I guess I’m making zucchini bread.”
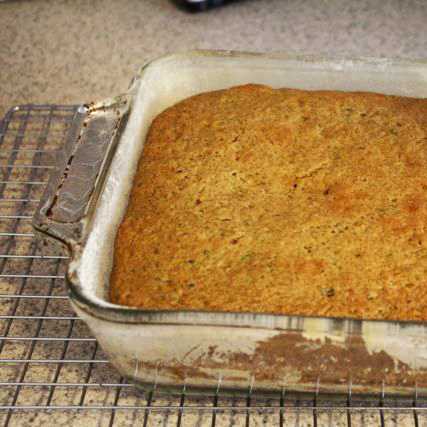
For you know, that this is all you can do with a zucchini of this size. So it was double dessert night and nobody was complaining at my house.

Zucchini Bread

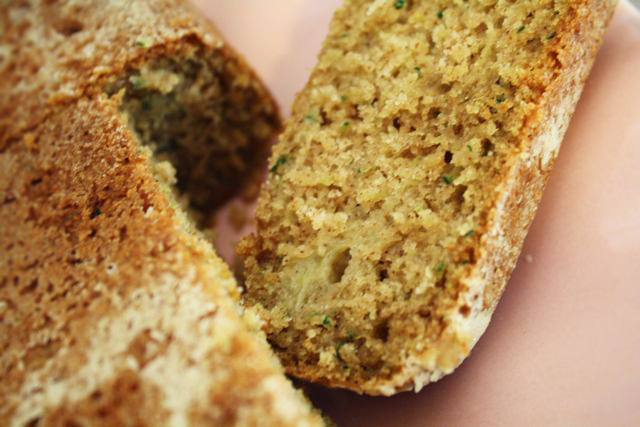
img_5463This recipe was taken from All Recipes.com. The user comments were really useful. I ended up using 1 cup of brown sugar to replace one cup of white sugar and doubled the zucchini used (4 cups). It turned out to be TWO zucchini breads (We did one for the neighbor without chocolate chips and one for the kids WITH chocolate chips). Visit the original recipe here. This is my variation on it:

  • 3 cups all-purpose flour
  • 1 teaspoon salt
  • 1 teaspoon baking soda
  • 1 teaspoon baking powder
  • 3 teaspoons ground cinnamon
  • 3 eggs
  • 1 cup vegetable oil
  • 1 1/4 cups white sugar
  • 1 cup brown sugar
  • 3 teaspoons vanilla extract (or more)
  • 4 cups grated zucchini
  1. Grease and flour two 8 x 4 inch pans. Preheat oven to 325 degrees F.
  2. Sift flour, salt, baking powder, soda, and cinnamon together in a bowl.
  3. Beat eggs, oil, vanilla, and sugar together in a large bowl. Add sifted ingredients to the creamed mixture, and beat well. Stir in zucchini and nuts until well combined. Pour batter into prepared pans.
  4. Bake for 40 to 60 minutes, or until tester inserted in the center comes out clean. Cool in pan on rack for 20 minutes. Remove bread from pan, and completely cool.

img_5470

Puddin’ Pie

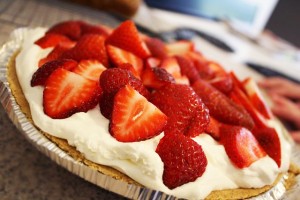
I know you’ve had this dessert before. It’s so easy and delicious. My favorite backup for a yummy summer treat. It’s vanilla pudding, cool whip, graham cracker crust, and fresh berries. I tend to go for the premade pie crust but I admire anyone who makes it from scratch. I mean, it is just graham crackers and butter afterall. I also buy the no-sugar vanilla pudding and the fat free cool whip.

  • 1 Graham cracker crust
  • 1 vanilla pudding package/2 cups of milk
  • 1 cool whip
  • package of strawberries (and or blueberries, raspberries)

img_5473Put together vanilla pudding as instructed on the package. Pour into crust and let sit in the fridge for an hour. Top with Cool Whip and cut Strawberries/Berries on top.
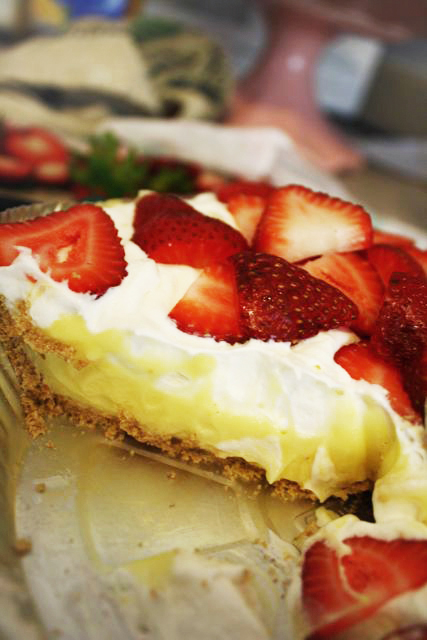

It looks pretty and it’s effortless! Very summery with the berries on top, huh? If you wanted to get fancy you could add glaze to the top of the strawberries (It would also make the strawberries last longer). img_5487

And of course, the best part, eating it! Yes, it makes a mess:).

With all these recipes, I have been compiling them in my little recipe box. Pretty soon I’m going to take them to get laminated to keep them from spills.

img_54891

Silhouette Design Store JOANN Stores

My Cauliflower Soup: Yummy Summer Soup Recipe

My newest kit came out yesterday at 2peas, Sproutlets! The Collections Team have put together some fantastic layouts for this kit so go check them out here.

img_53371

I wanted to share my Cauliflower Soup recipe. It’s really good…packed with vitamins and a bit of fat. I love using fresh herbs in this. It makes the whole thing really fresh! This is really yummy in the fall for an evening treat.

Carina’s Cauliflower Soup

1 head of cauliflower

1 pint of half and half OR cream

4 cups of chicken broth

1/2 cup of chopped onion

3 cloves of chopped garlic

olive oil

2 Springs of Rosemary

2 Springs of Thyme

Salt and pepper to taste

Parmesan Cheese

Bacon (optional)

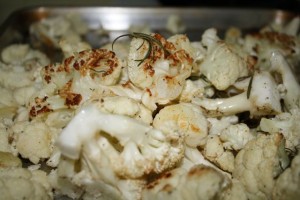
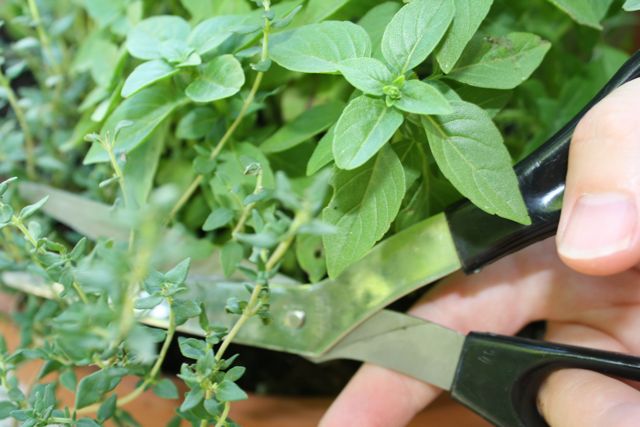
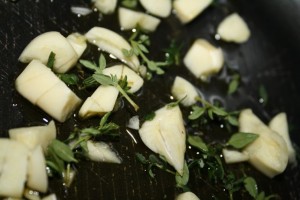
img_5343What gives this soup all it’s flavor is roasted cauliflower. Preheat your oven to 400 degrees. On a baking pan hand toss the cauliflower head (roughly chopped), olive oil (drizzled over it), salt, pepper, and 2 springs of rosemary. Bake in the oven for 20-25 minutes. Be sure and move around the cauliflower half way. You’ll get a nice brown color. on the edges. While the cauliflower is in the oven, saute 2 tbs of olive oil, garlic, and onion in a large pot for about 5 minutes. Add the thyme (chopped). Pull the cauliflower out of the oven and add to the pot. Saute all together for another 5 minutes.
img_5339Add the chicken broth and bring to a boil. I sometimes like to let it sit and simmer at this point for about 20-30 minutes so the cauliflower gets soft. Sometimes I’ll let it sit longer or short though depending on when I started the pot. Add the half and half (or for a creamier soup use cream). Take portions of the soup and blend in a blender or a hand mixer until you get a smooth consistancy.
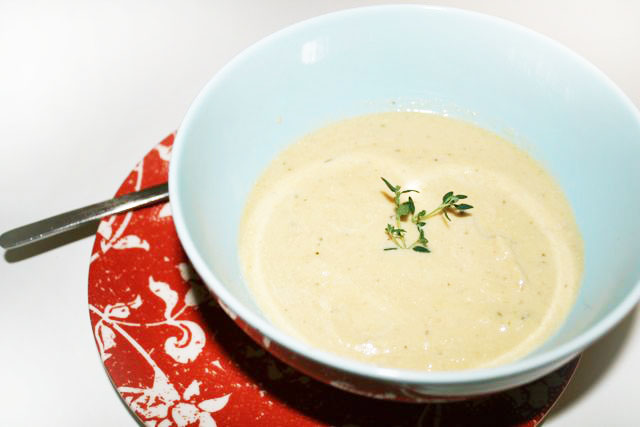
Let the soup simmer for as long as you want. Add a sprig of thyme, a little parmasian, and even some bacon bits to the top before serving. Yum, yum!

img_5357

Photos are Copyright of Carina Gardner

Silhouette Design Store JOANN Stores

Slow roasted Salmon with Spring Herb Sauce

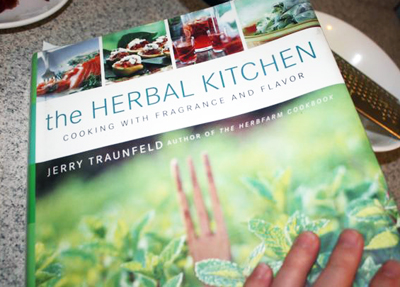
I got this lovely recipe book from the library a couple of weeks ago and finally got around to using it last night for dinner! I think the recipes are relatively easy and the photos are inspiring. There are probably 10 recipes I have marked in this book.

img_2290

I really think this is a very easy recipe as it requires very little work and ingredients I generally have in my kitchen.

img_2289

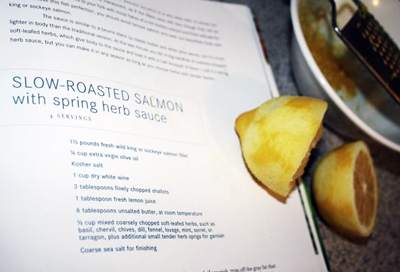
There are basically two parts: Cook the Salmon (and I did Chicken too because I knew my ids would prefer that) and Make the Lemon sauce. Let me see if I can decipher these ingredients from the picture…


SLOW-ROASTED Salmon with spring herb sauce

1 1/2 pouds fresh wild king or sockeye salmon fillet

1/4 cup extra virgin olive oil

Kosher salt

1 cup dry white wine

3 tablespoons finely chopped shallots

1 tablespoon fresh lemon juice

6 tablespoons unsalted butter

1/2 cup mixed coarsely chopped soft-leafed herbs such as basil, chervil, chives, dill, fennel, lovage, mint, sorrel, or tarragon, plus additional small tender herb springs for garnish

Coarse sea salt for finishing

(and remember that if you have my kitchen recipe digital kit that you put this one on a recipe card for your kitchen! It’s a keeper! I’ve been pretty good about documenting all my recipes as I have had many new ones recently and my little recipe box is getting nicely filled!)

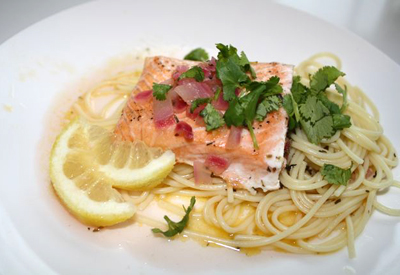
So I’m sure you don’t have ALL those ingredients in your kitchen. I just bastardized it a bit, heehee. I only had flat leaf pasley and I used dried thyme to help. I did have the lemons and butter, but no shallots. I substituted a finely chopped red onion instead. I also threw in pasta as our carb…I know, not traditional with Salmon, but I knew that’s what my kids would eat.

For the salmon and chicken, you just let the meats sit in olive oil for about 30 minutes and then stick them in the oven until done. Salt them before they go in the oven. I then put the pasta on and made the lemon sauce. All you need to do is mix the wine, lemon, shallots, and a teaspoon of salt in a pan and let it boil until it reduces to half. Then whisk in the butter. Easy peasy!

img_2291

And that’s it! Combine the pasta with some of the sauce, throw on the fresh herbs at the end (for the dry ones, I think I threw them into the sauce…once again bastardized).

img_2298

[ad]

Silhouette Design Store JOANN Stores

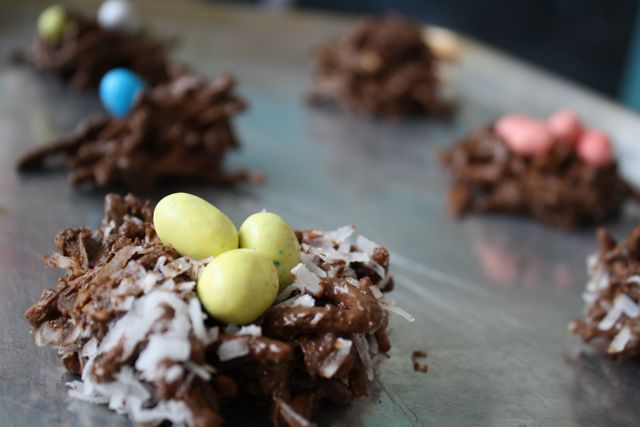
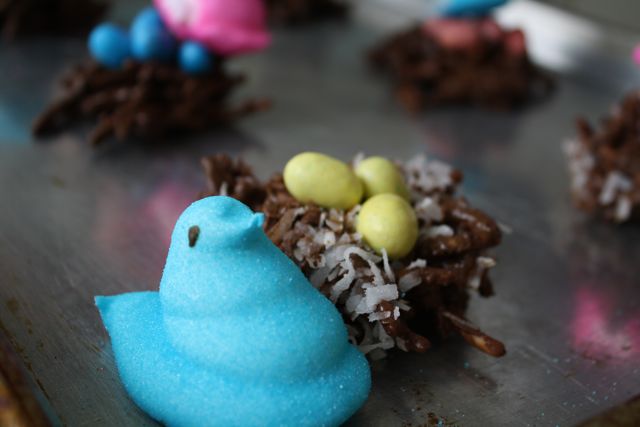
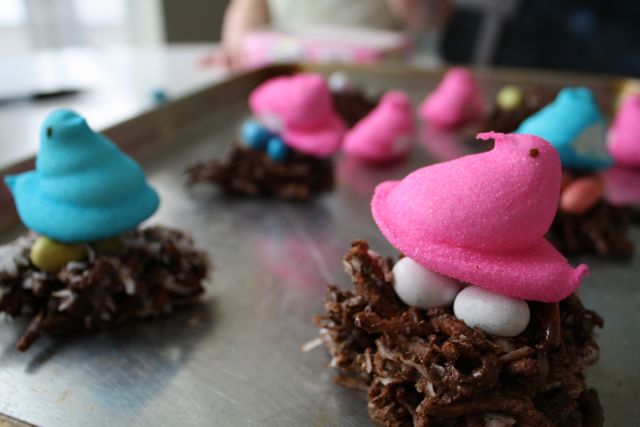
Easter Birdie Nests—Kid Edible Project

We made these edible easter nests that Siri is obsessed with it. I guarantee they’ll be a hit with your kids too! Plus they are easy!

img_2107

Add a peep birdie for extra sweetness!

img_2111

All you need is:

Chow Mein Crunch Noodles

Chocolate Chips (We like milk—it’s naughtier)

Shredded Sweetened Coconut (optional…I like it, the kids don’t)

jelly bean eggs or whopper eggs

Peeps chicks

Heat up a pan and melt the chocolate chips. Add the chow mein noodles and mix gently. I usually heap half into spoonfuls on a plate or tray and then mix the coconut in for the rest. Let your kids add the eggs and peeps. Easy Peasy! 

img_2119 

[ad]

Silhouette Design Store JOANN Stores

Kitchen 123: Valentine Project and Heart Freebie

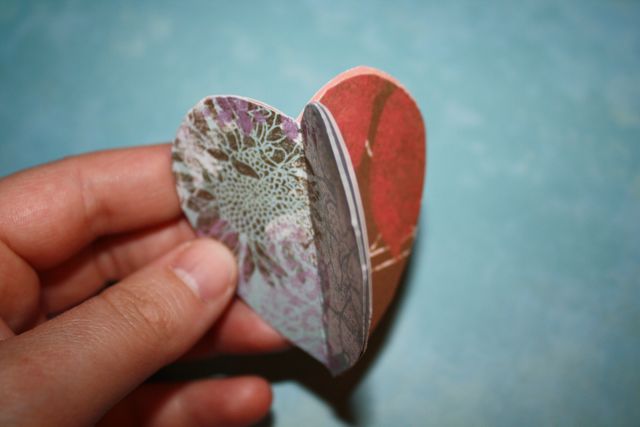
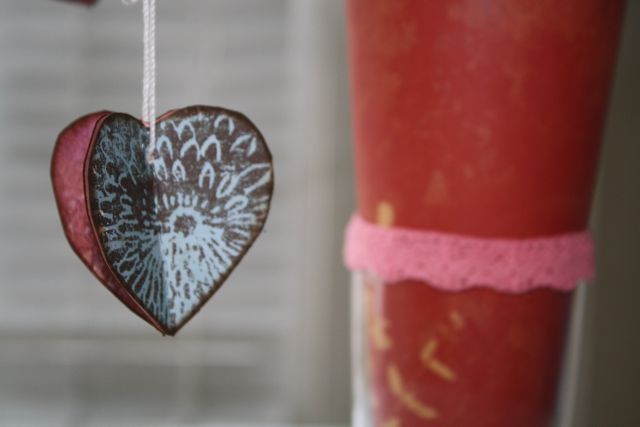
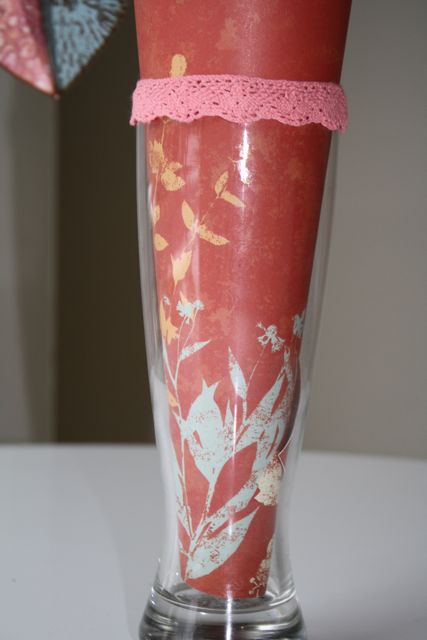
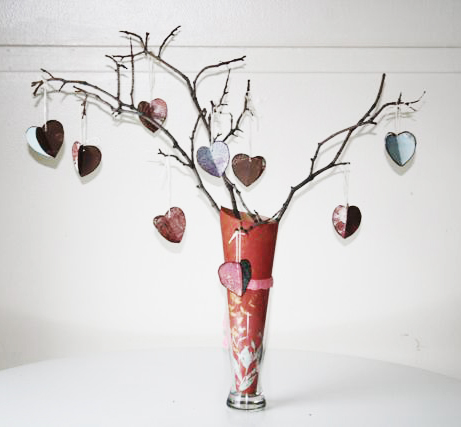
As Valentine’s day is approaching, I decided to be festive and actually do a project. You know, one where I am not on the computer. Ya, that doesn’t happen a lot. lol. If you want to make this heart tree, it’s SO easy and really inexpensive. Use any paper you like…my paper is the Bohemia line from My Minds Eye. I made 9 little “heart trios” as I call them, but you can make any number you like. So here’s the project: I took branches from outside and placed them in a vase. I used a piece of scrapbook paper, rolled it, and stuffed it in the vase. Then I put on these little heart trios. Here’s how to make them:

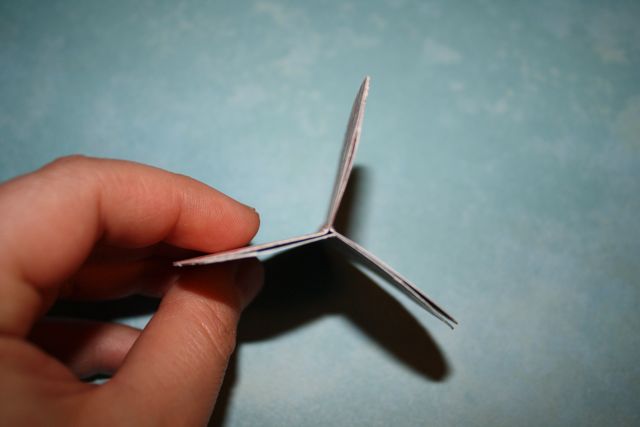
First, download my heart freebie here. Print is out as your template. Then you are going to want to cute out hearts from 3 different types of papers. I actually folded my heart template in half and folded the scrapbook paper too so my hearts were symmetrical. Then you want to glue stick three of the hearts together so they look like so:

img_0573

img_0572

img_0569

I then punched a little hole in each of these with a “baby” hole puncher. and hung then on string. I think ribbon would be cute too, but at the moment I don’t have ribbon thin enough for this project. So string it was!

img_0586

img_0597

I did tie a little crochet lace around the top of the vase. I love how graphic this paper is because it feels so organic. I’d also suggest painting the branches white. I didn’t because I like the natural feeling of the branches, but I think that it could be a cute alternative.

img_0600

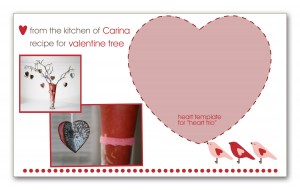
Here’s my Kitchen 123 Recipe card I made to file away this project (See the recipe card post).

carinagardner_2ps_kitchen123_holidaytabs_recipecard_valentine_ex

Grab the heart template freebie at my 4shared link: Heart Freebie Template

[ad]

Silhouette Design Store JOANN Stores